
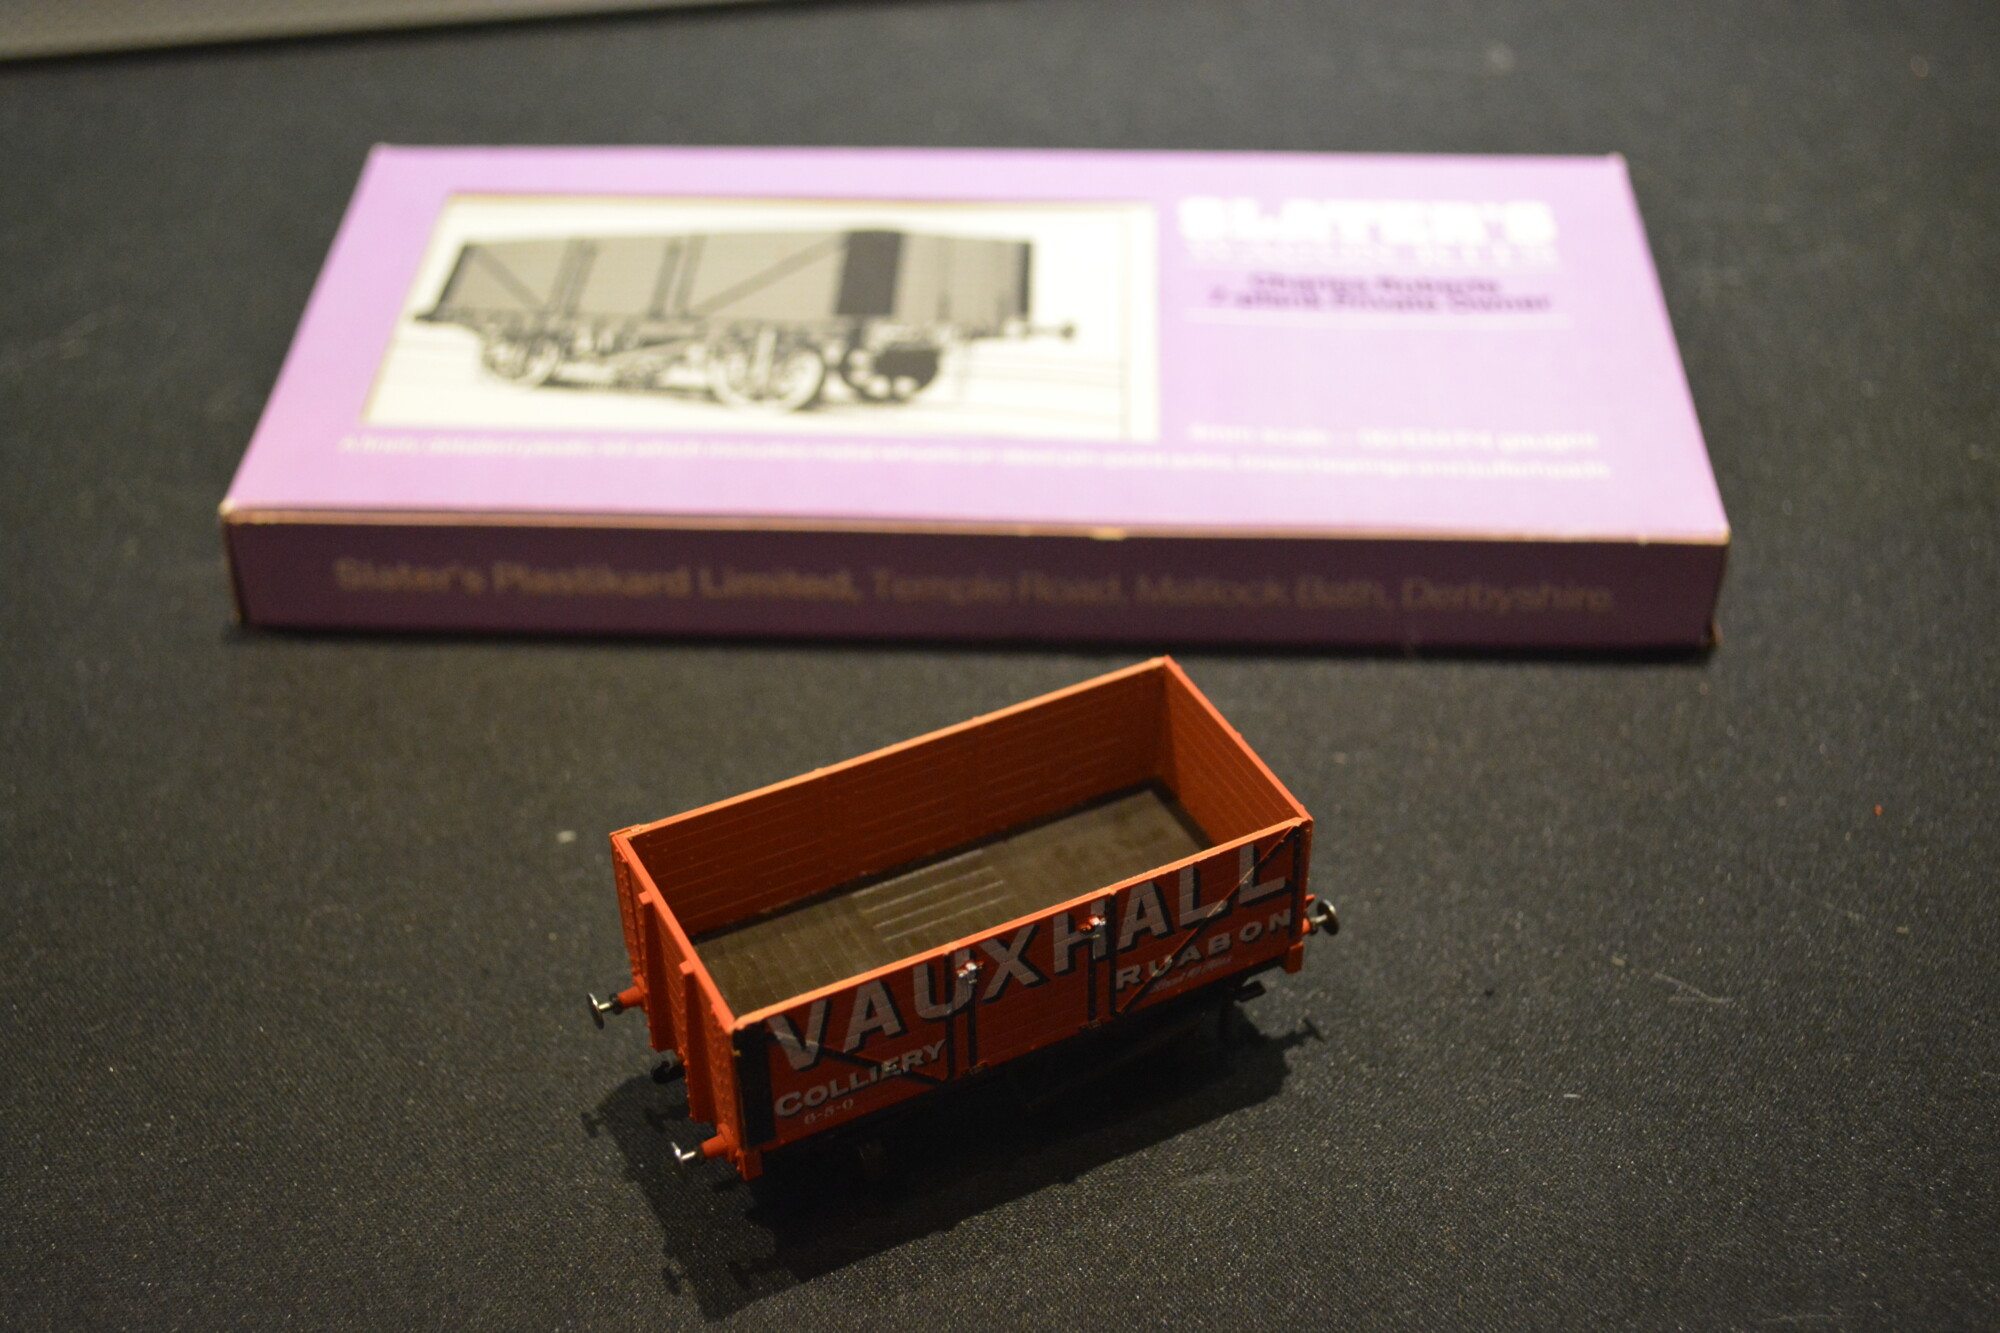
I was given a few wagon kits last Christmas, but up until now I’ve been focusing on getting Weybourne to a stage where the trackwork and electrics are done, so I can run trains again. Now that is largely done, I fancied a change, so today I’ll be building one of the kits, a 7-plank open wagon from the Slater’s range (item #4P040/1) .
I picked this one as it’s been a while since I built a kit, and this one looks to be the easiest of the bunch to put together. It’s also pre-painted, so it should hopefully be a quick build.
What’s included
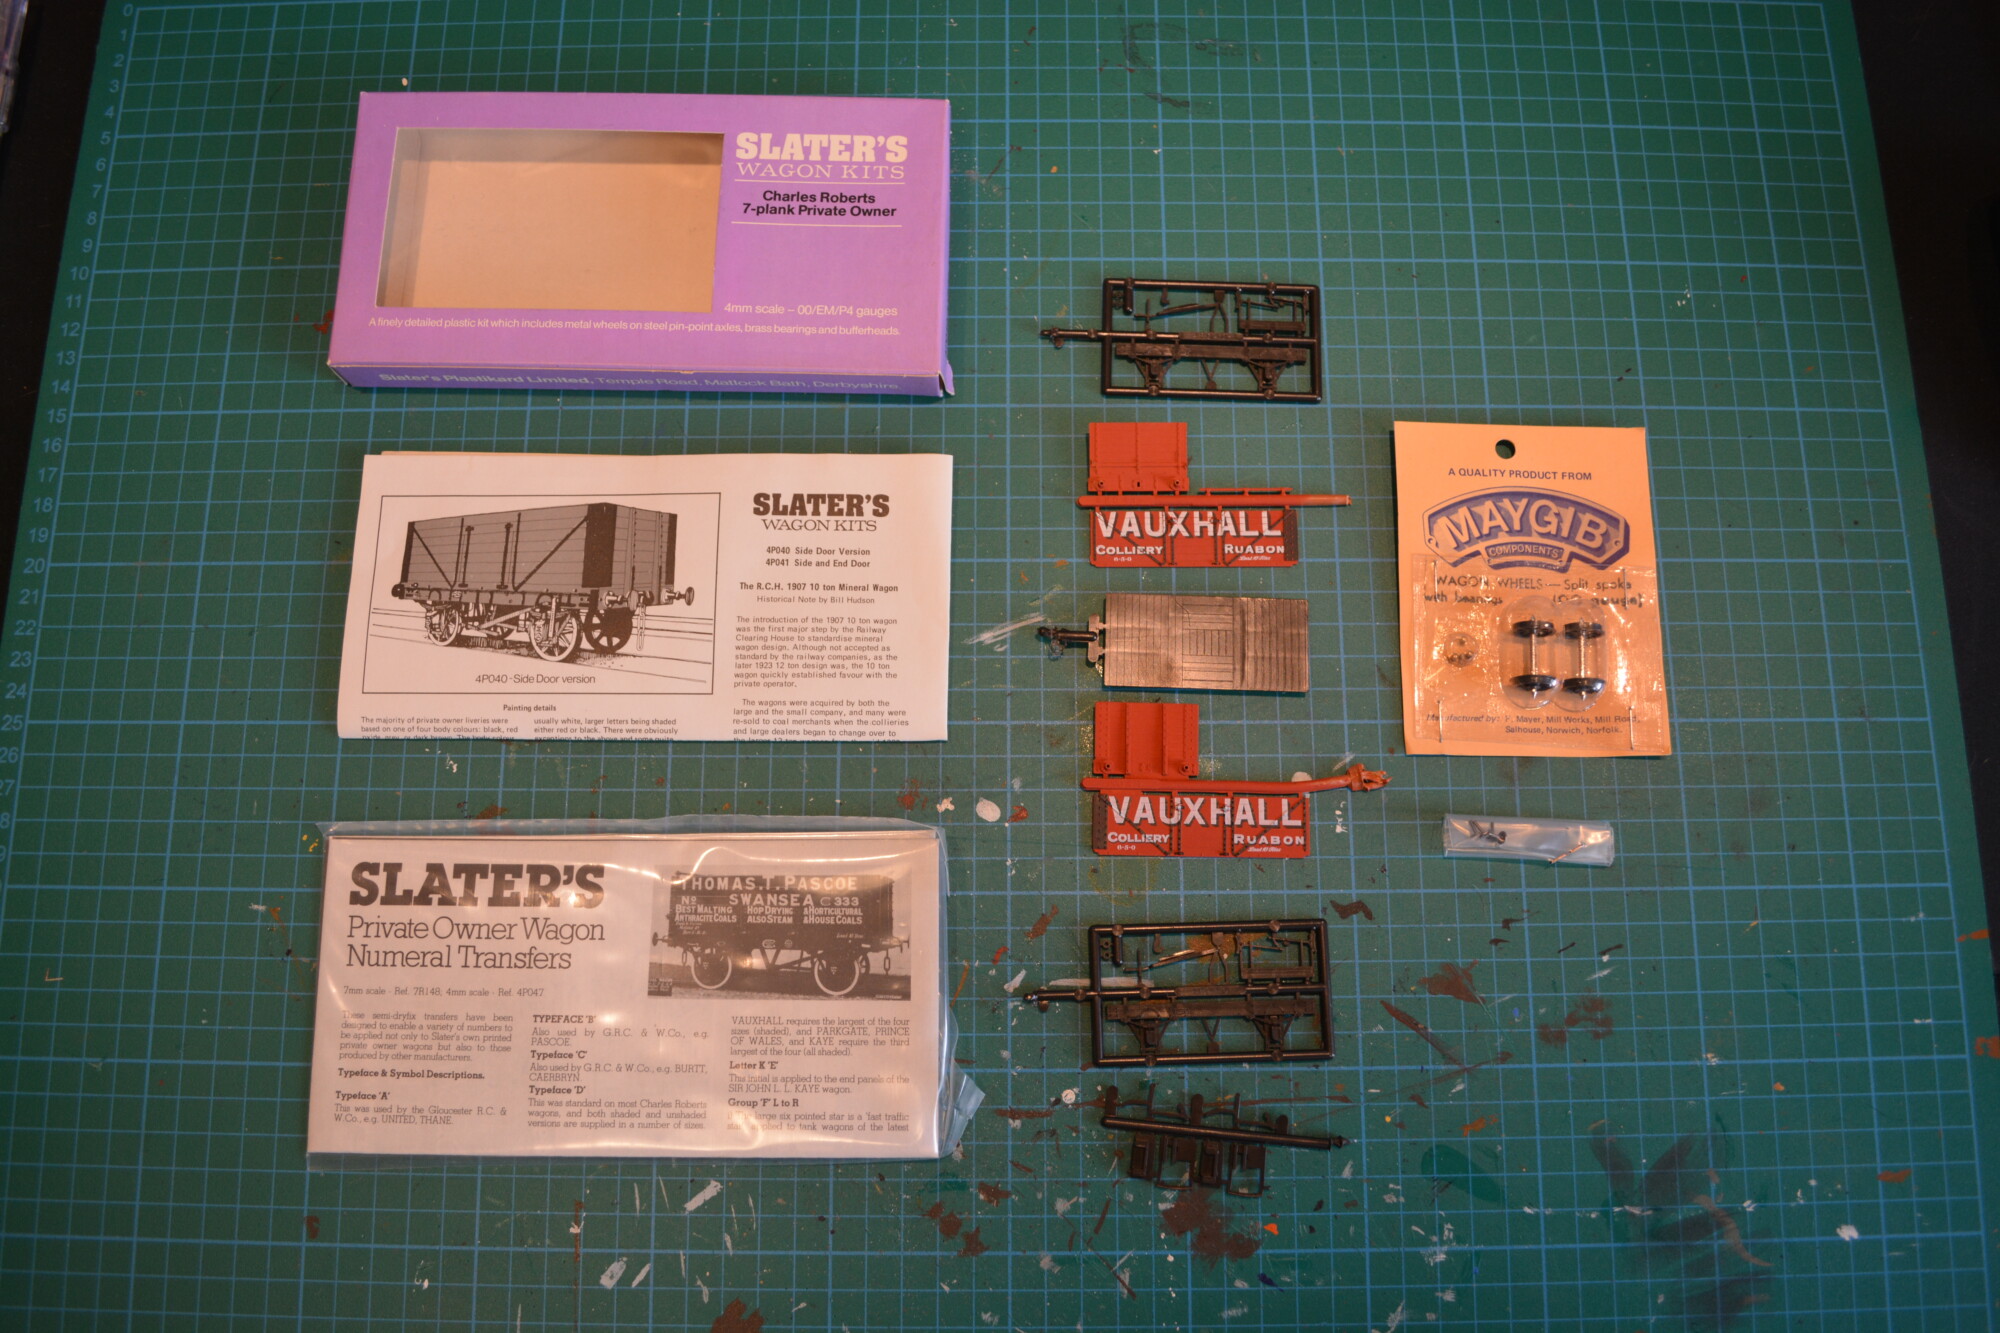
The kit contains the following:
- Plastic components for the body, chassis and under-frame.
- Metal wheels (pinpoint axles) and brass bearings.
- Build instructions and information sheet.
- A sheet of transfers for numbering the wagon.
The build
Body
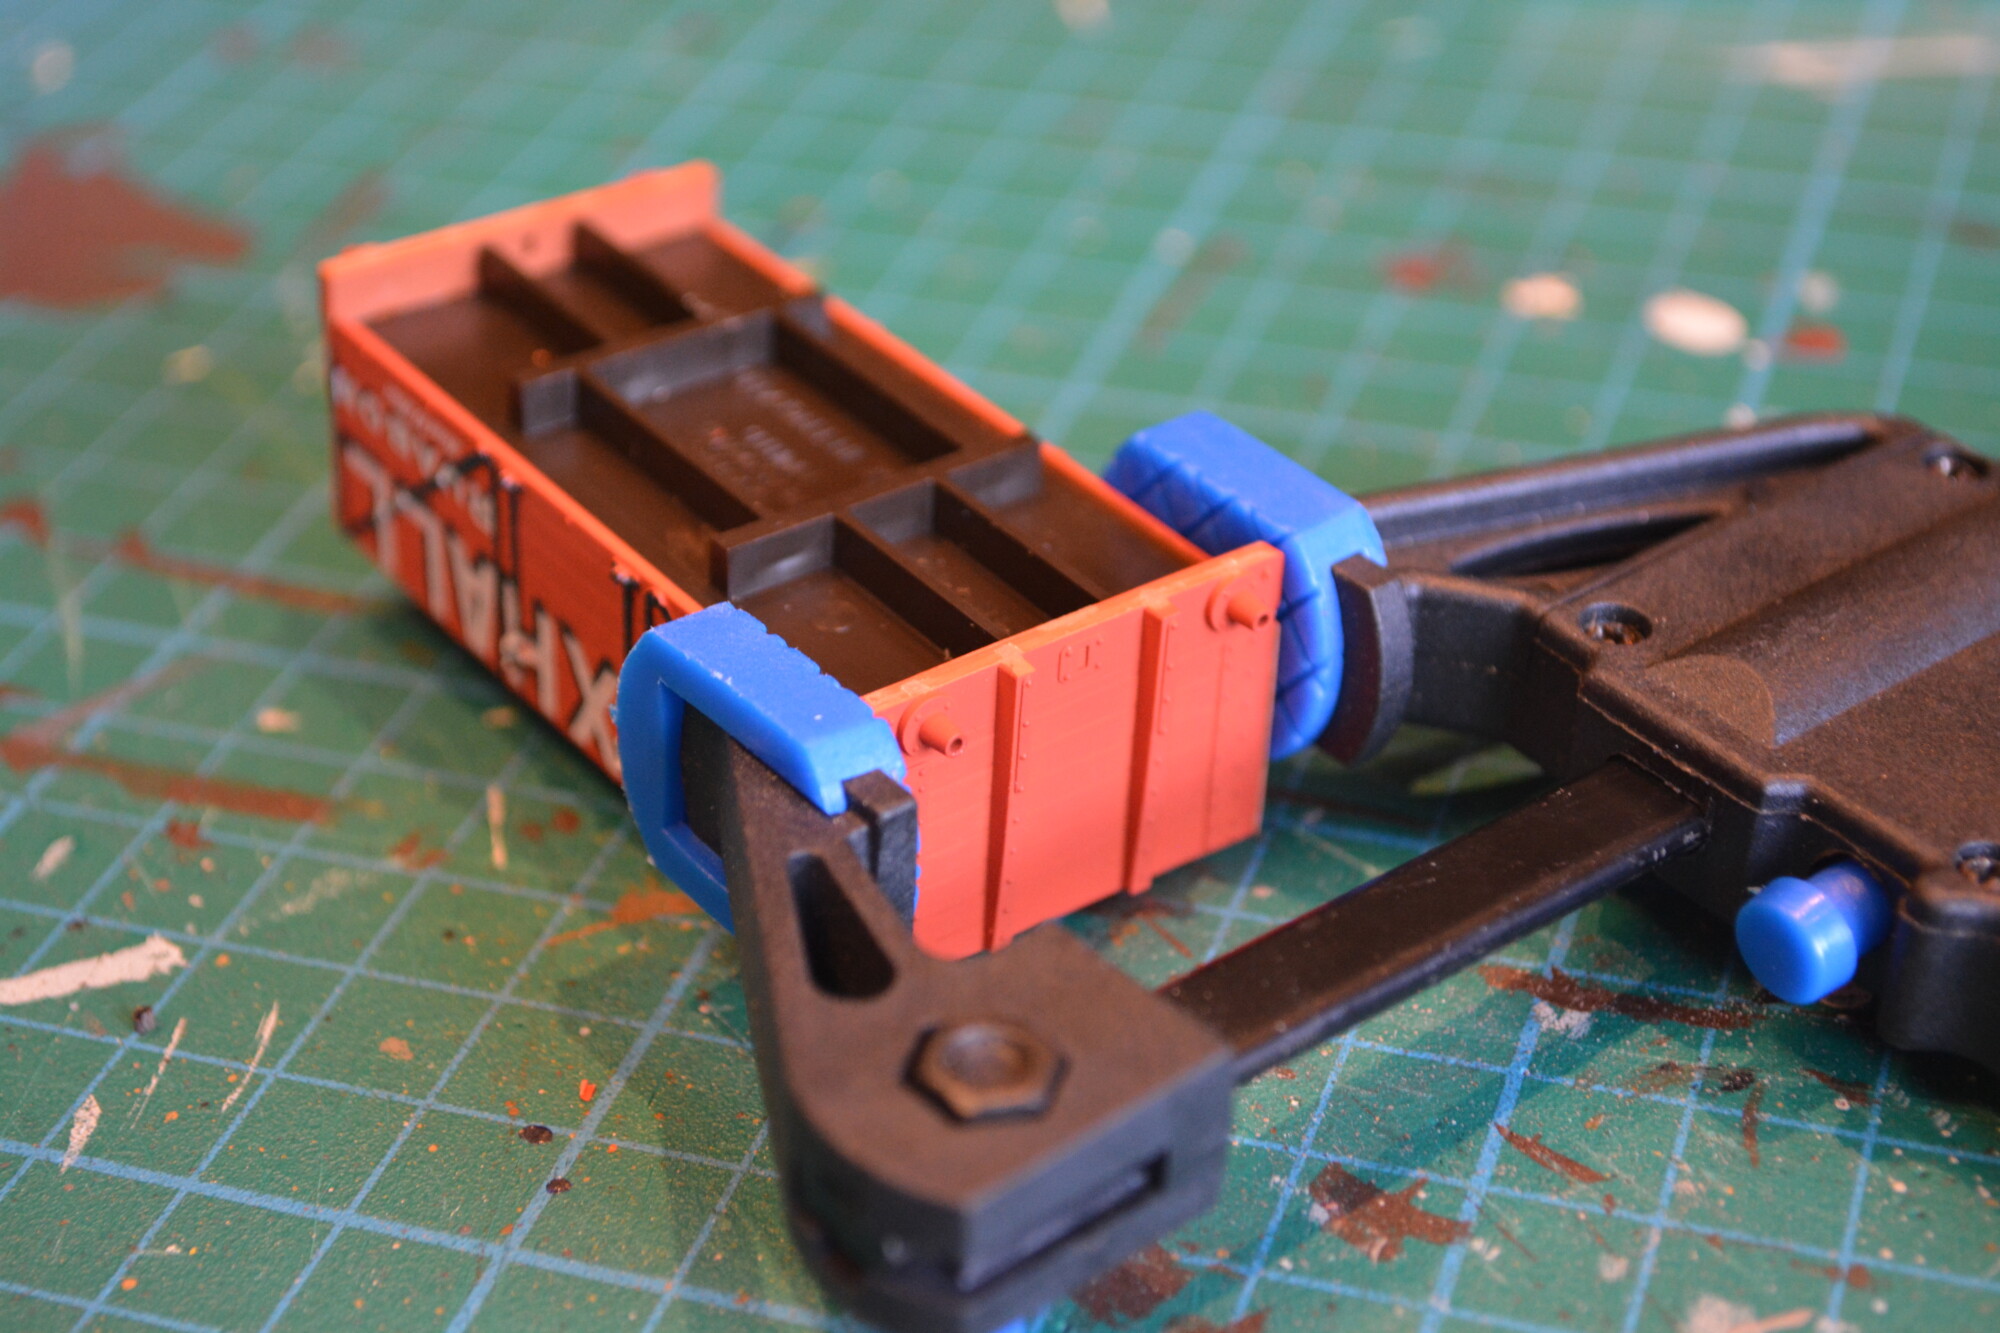
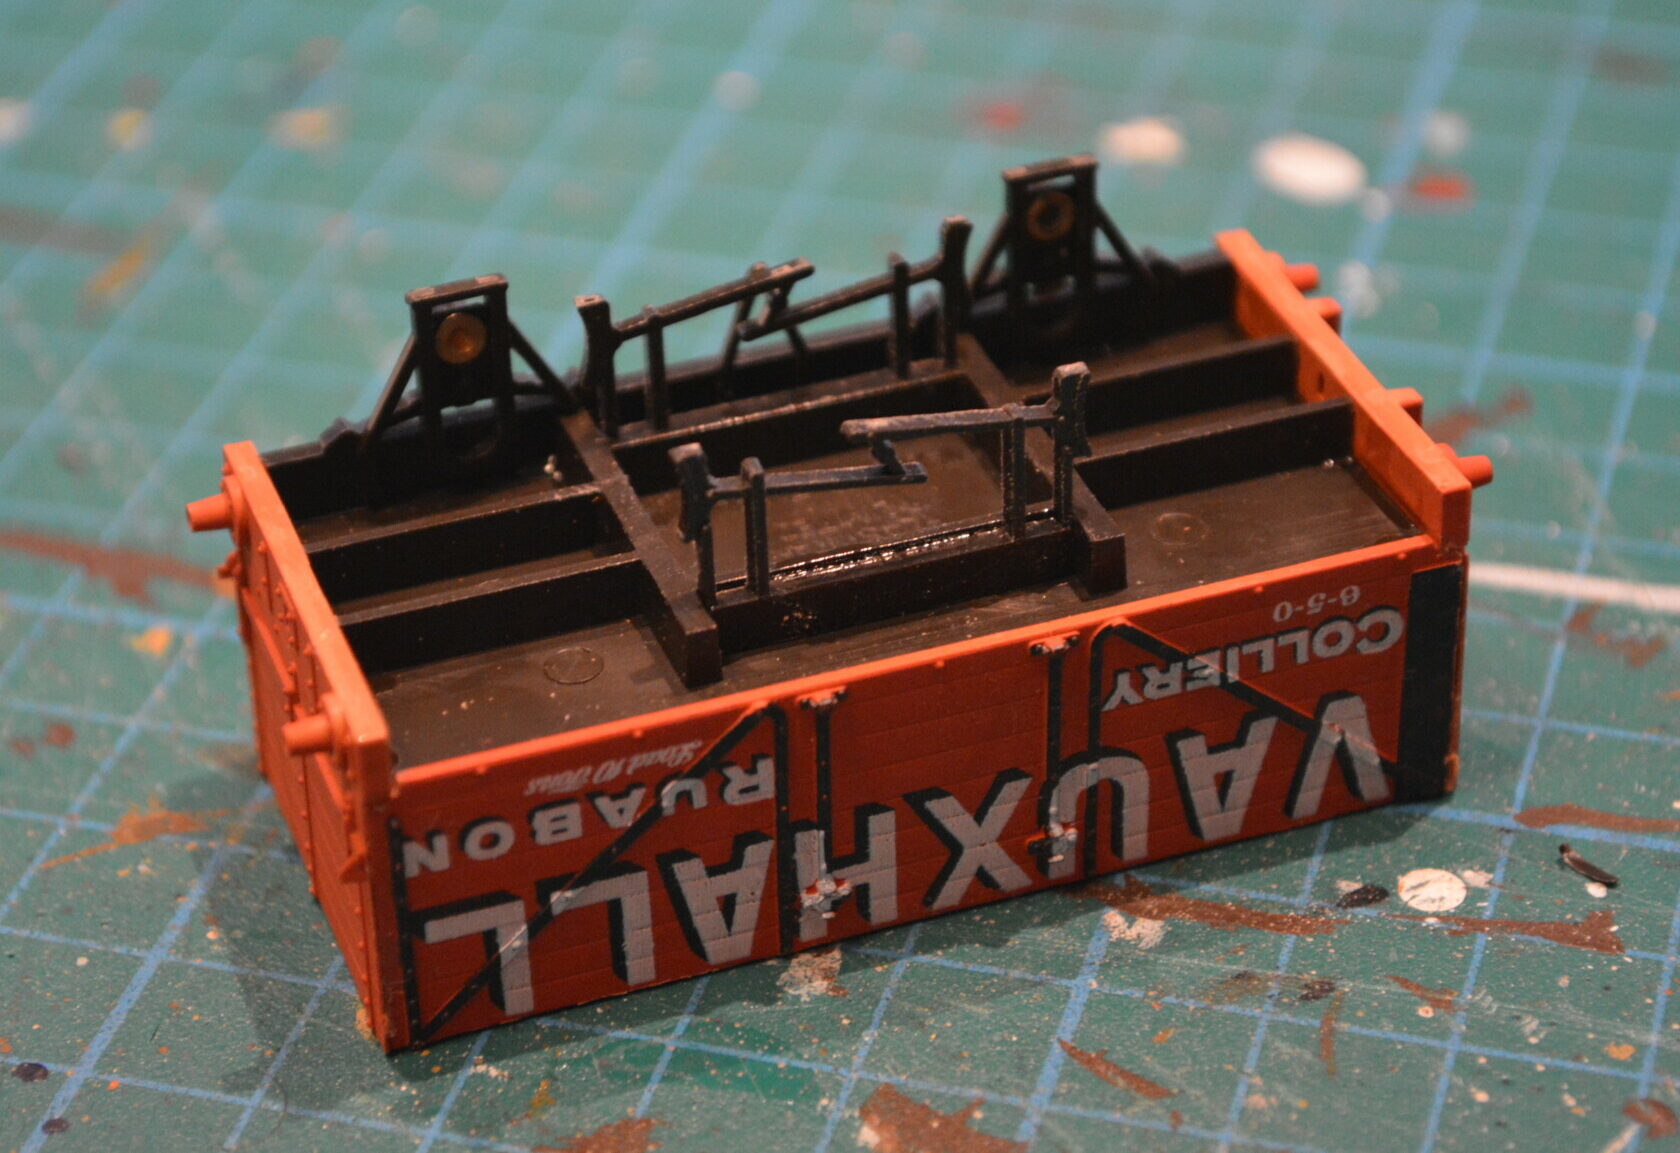
The first step is to assemble the wagon body. The instructions recommended that the sides be glued together first, and then the base fitted, but I tried this and found it to be impossible to get the base in. So I opted to fit the ends to the base first, and then add the sides.

Chassis and under-frame
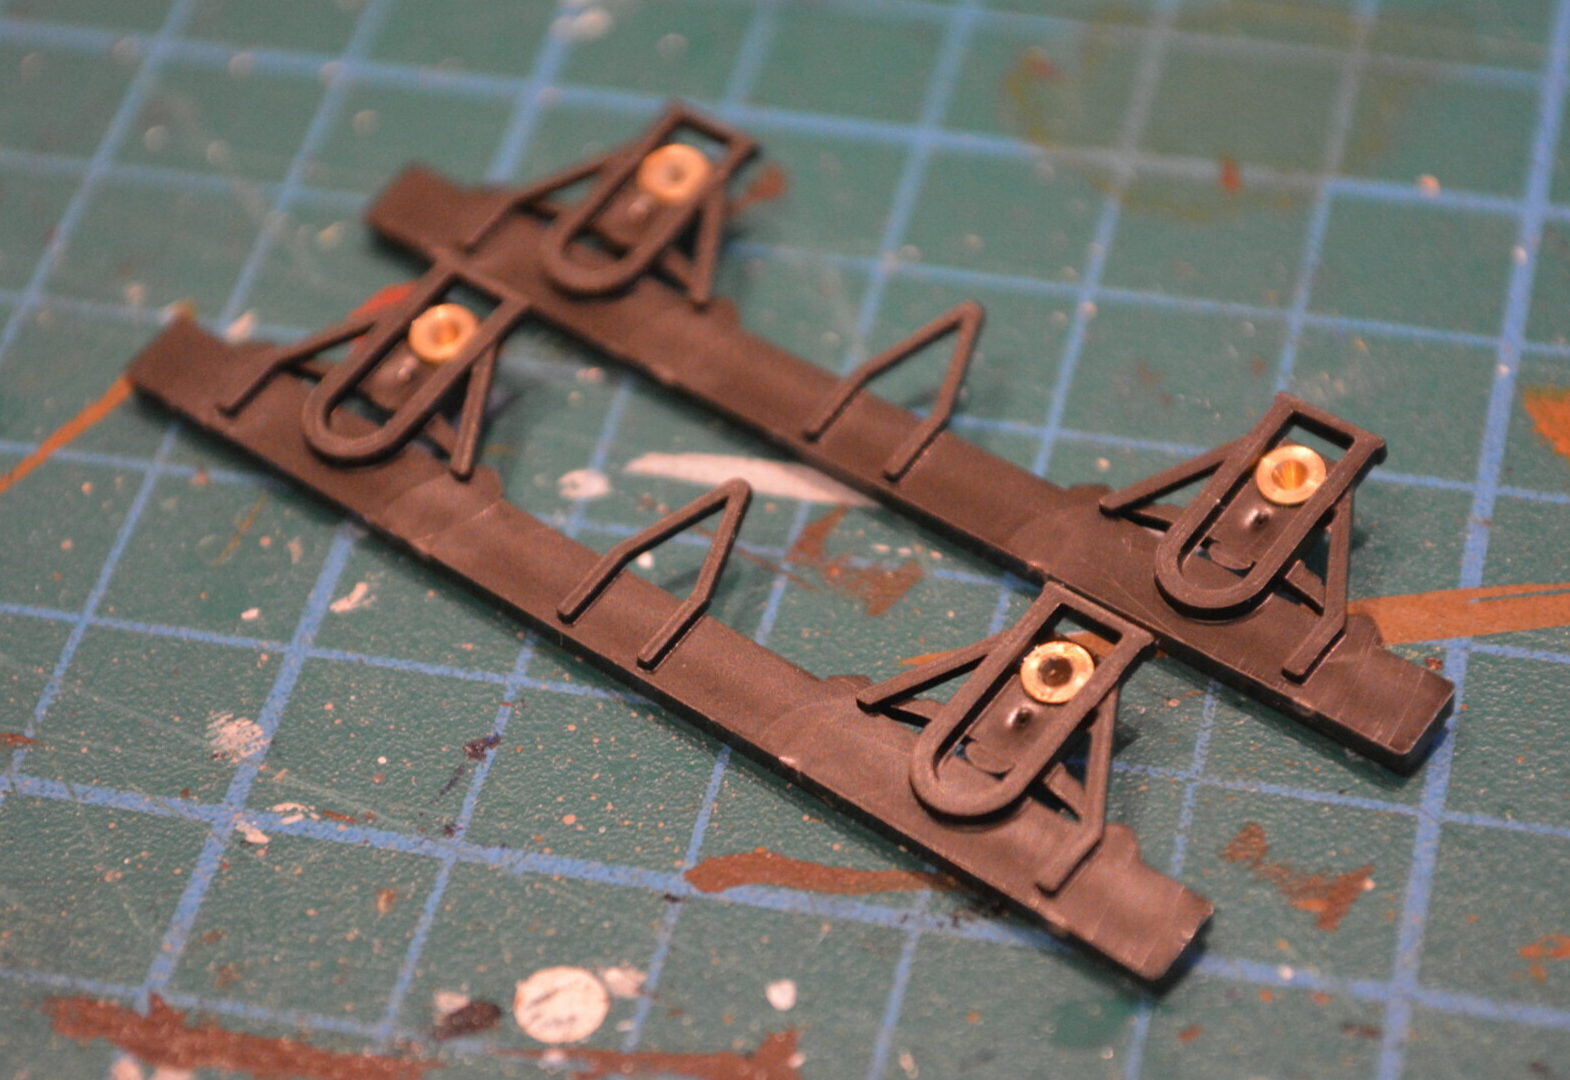
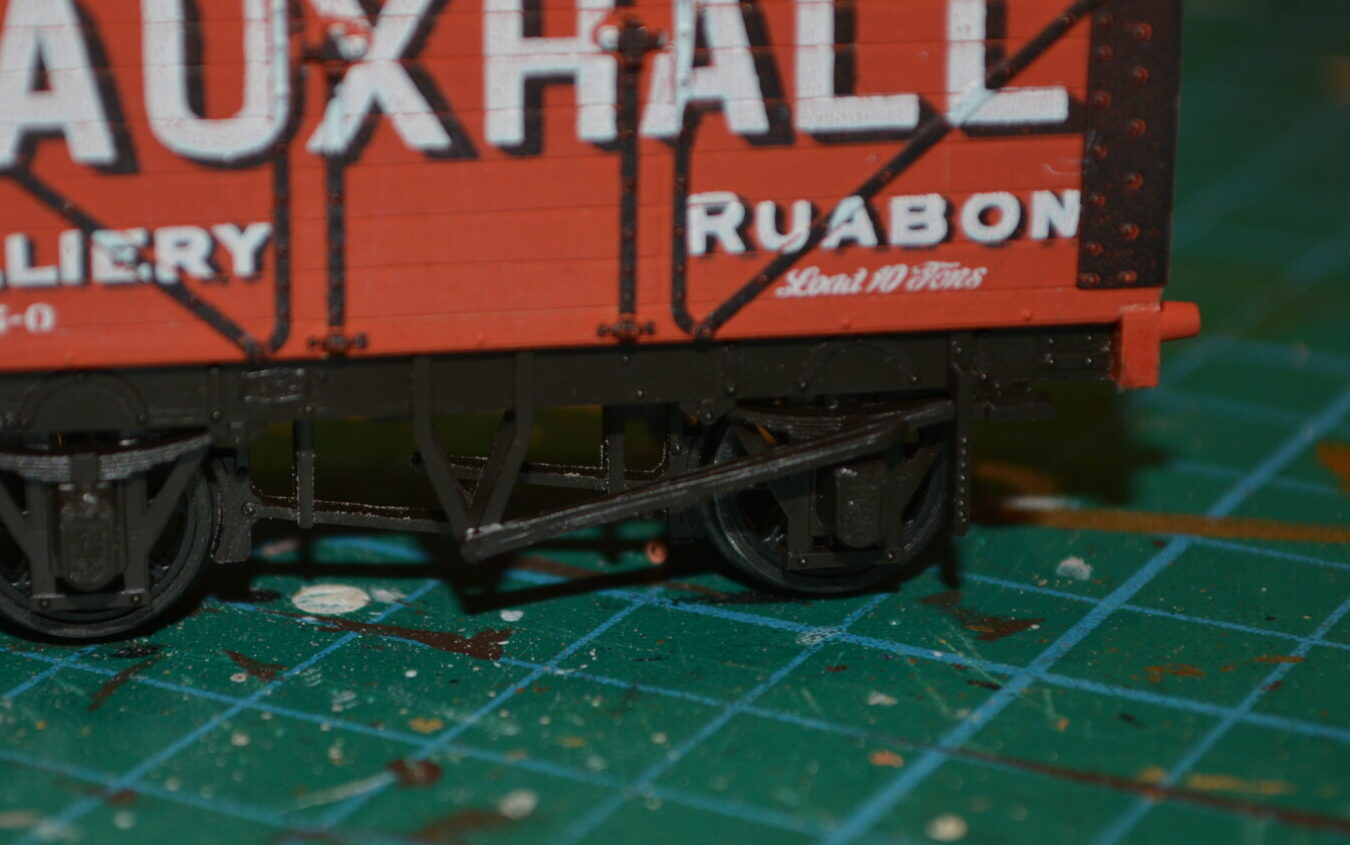
Next, the solebars and brake rigging were added. After a bit of trimming with a scalpel (the solebars were about 0.5mm too long to fit between the end pieces), they slotted in nicely. The ribs on the underside mean that fixing on these pieces was relatively straightforward, as it’s not really possible to get them in the wrong place.

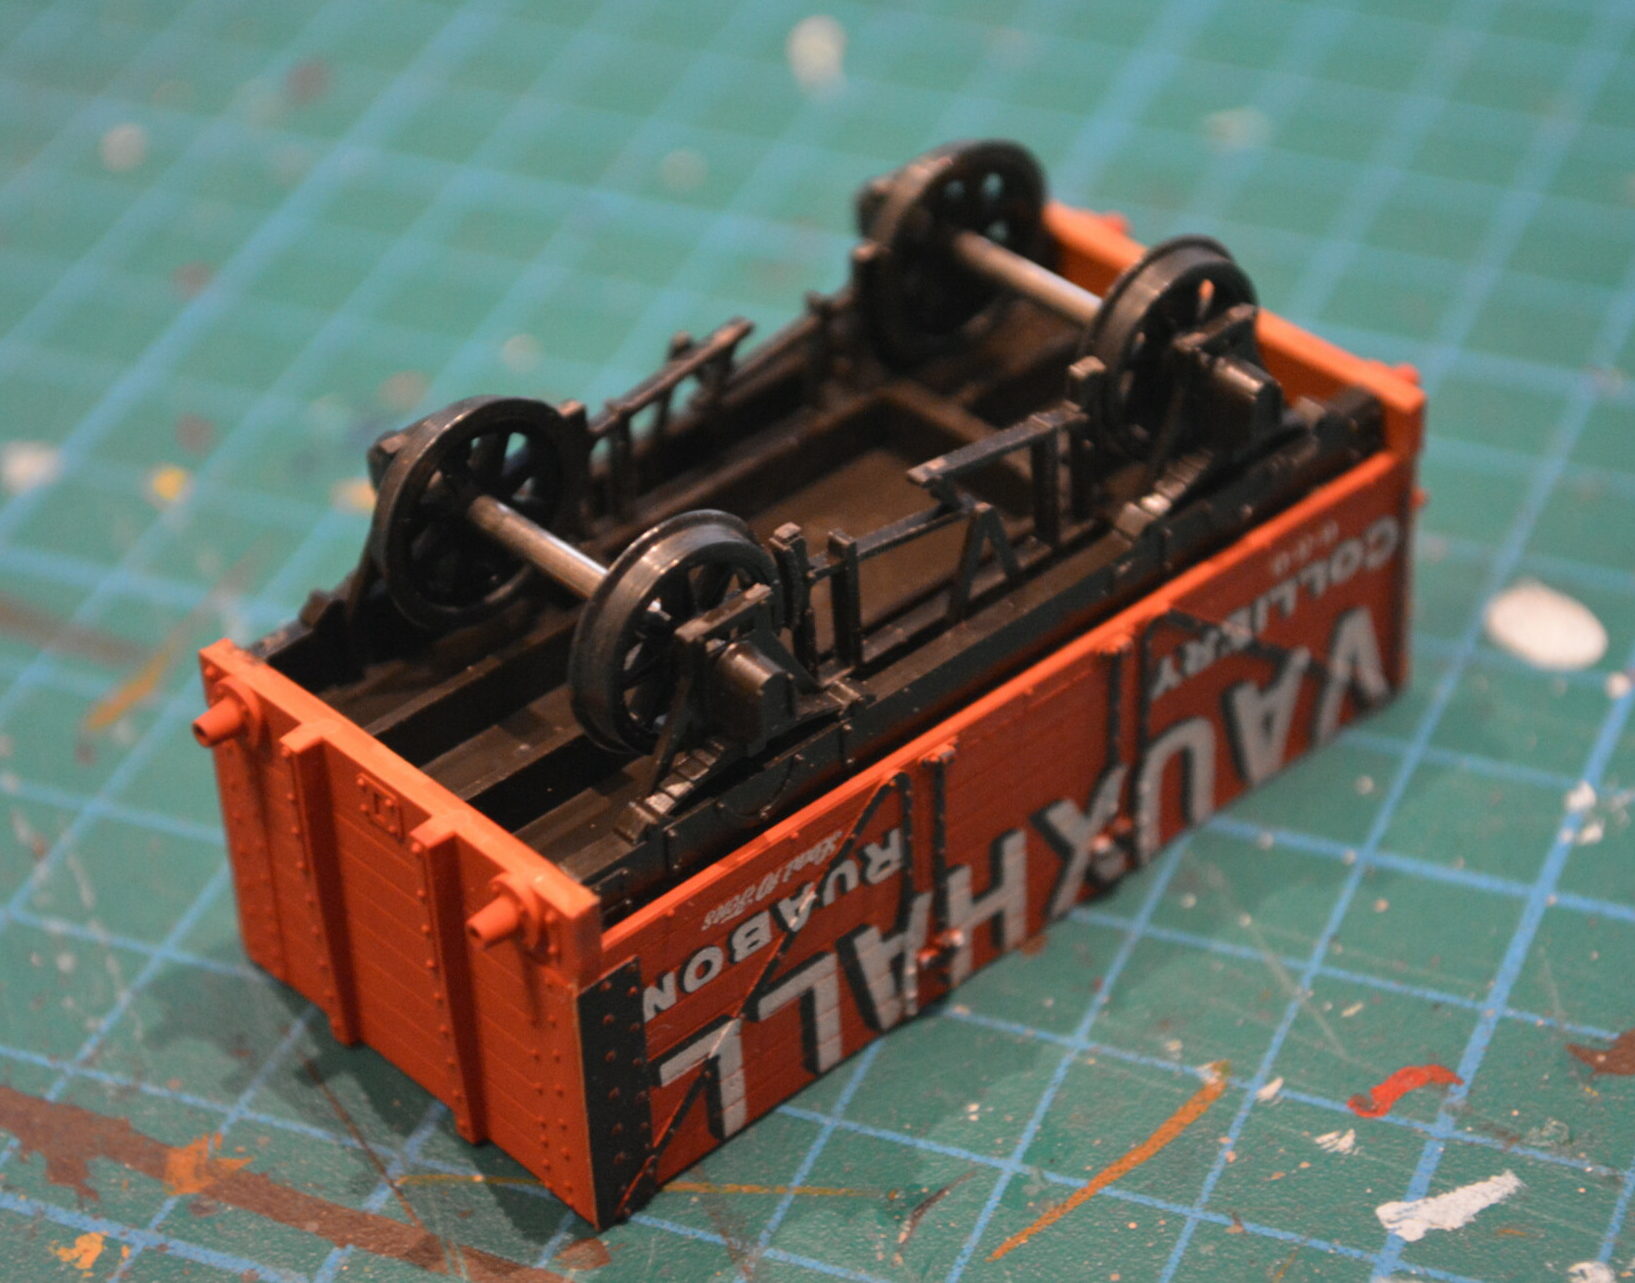
With one solebar fitted, adding the wheels was simply a matter of locating them in the fitted solebar, applying glue to the second solebar, lining up the axles and holding the second solebar in place for a couple of minutes whilst the plastic cement did its job.
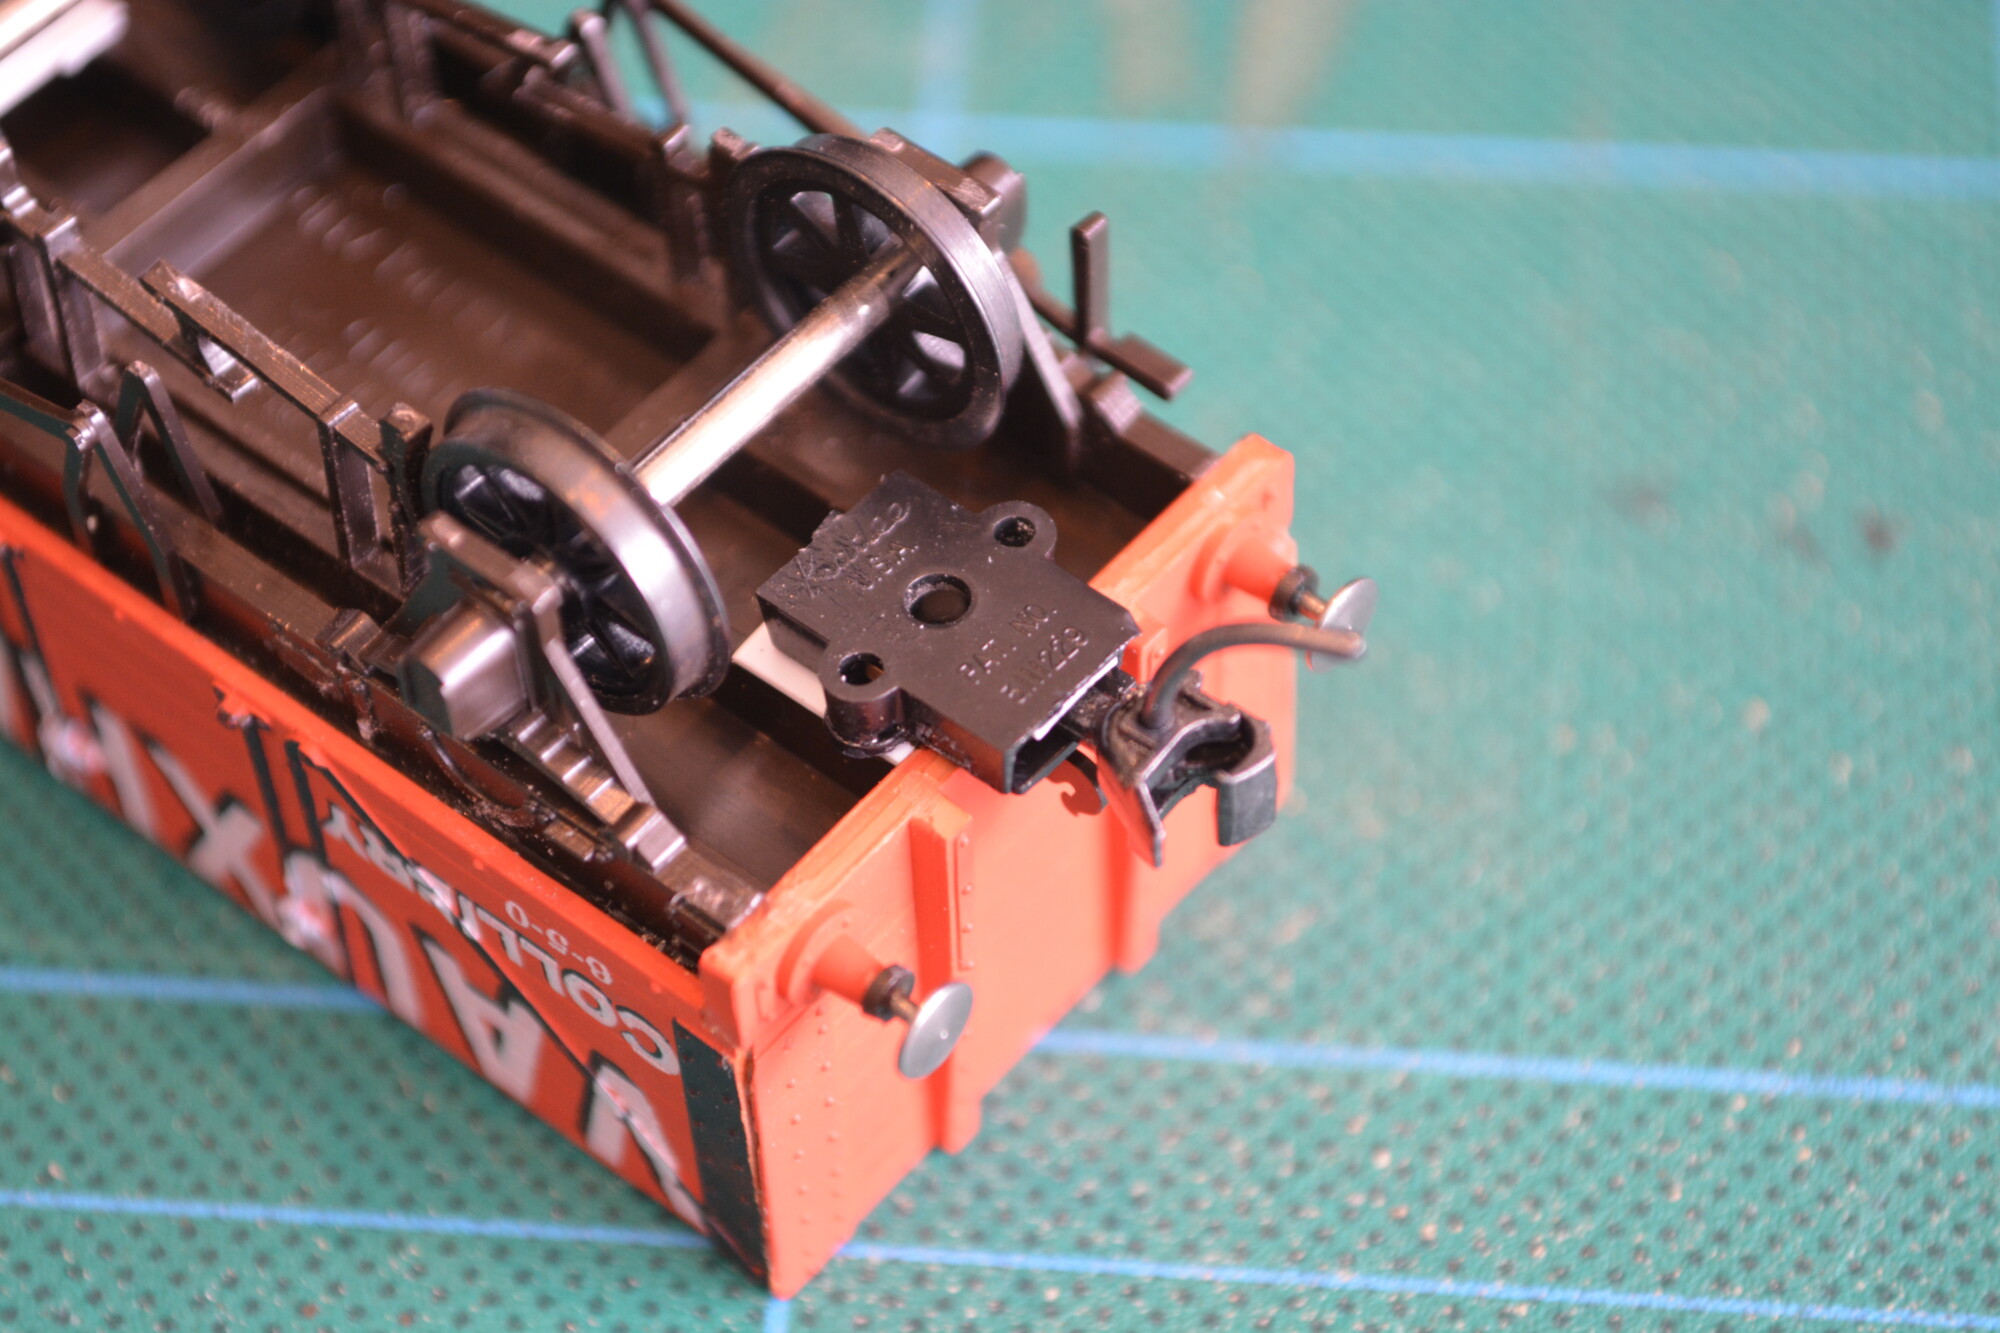
Buffers
The buffers supplied with the kit are made from steel and look much better than an equivalent plastic offering. They were fitted by first placing the small black plastic collar around the shank and then pressing firmly. As with the bearings, a tiny drop of superglue was applied to help them stay put over time – these sort of things have a habit of falling out after a few years otherwise!
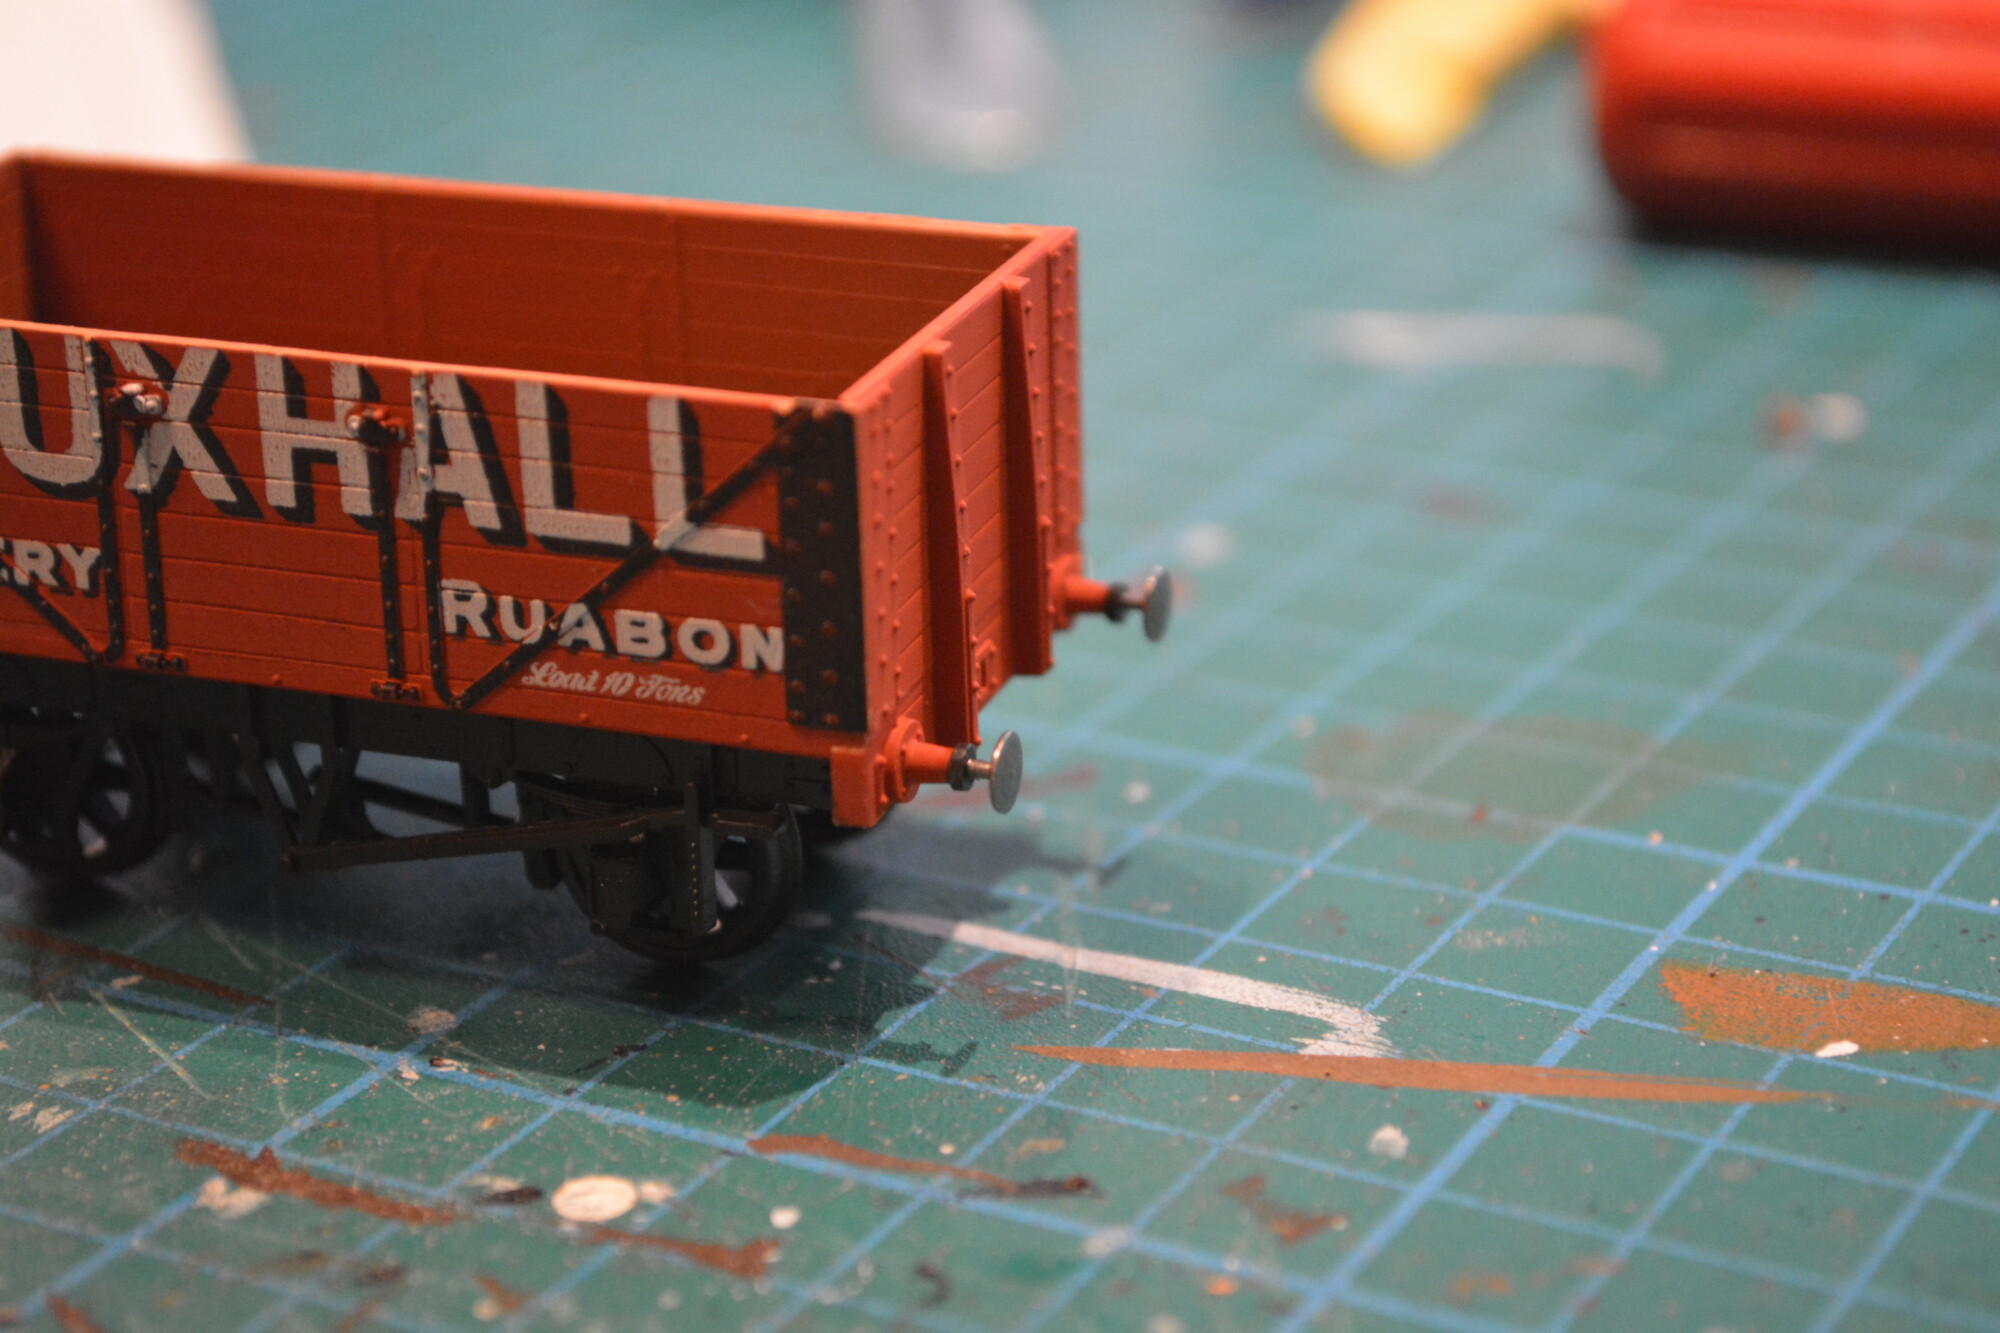
The last step was to fit the supplied dummy coupling hooks, and voila, one (almost) complete wagon!
Couplings
The kit comes with a couple of tension lock couplings that can be made up, but I’ll be fitting Kadee couplings to the wagon instead. These not only look better, but also allow vehicles to be uncoupled using magnets located underneath the track. I have fitted uncoupling magnets to Weybourne for this very reason.
There are a lot of variants of the Kadee coupling, and I tend to use nos 17, 18, 19 and 20 for rolling stock with NEM pockets. However, for kit builds and conversion of older vehicles that do not have pockets, I use a no. 5.
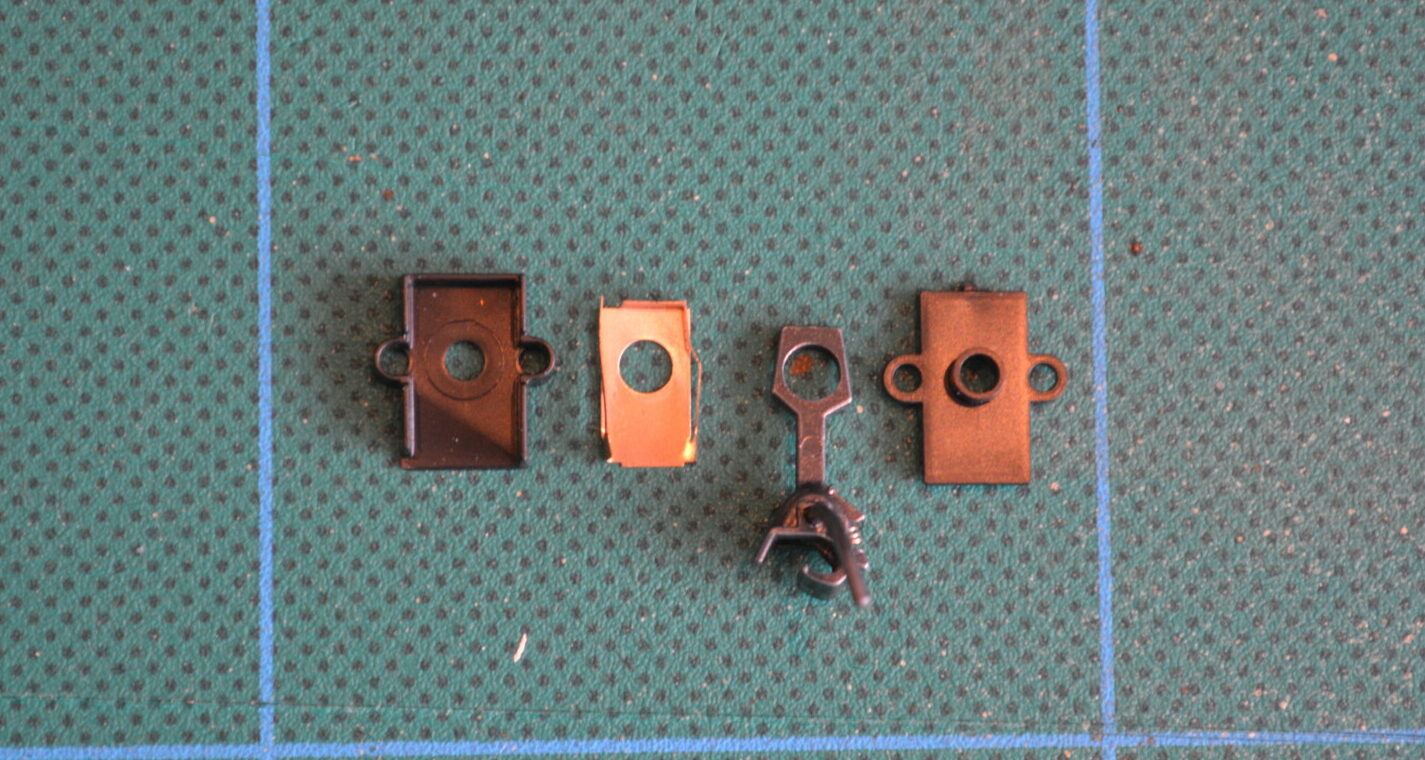
This consists of four pieces, which are assembled by placing the copper spring inside the box on the left, then adding the coupling itself, and finally gluing or screwing on the top plate.
Once the coupling is assembled, I then offer it up to the vehicle and check if it is sitting at the correct height. Kadees are sensitive to this – too high and they won’t uncouple when over the magnets, and too low and the metal bar will snag on point frogs and cause problems. I use the Kadee height gauge to guarantee I get it right – well worth the £5 I spent on it!
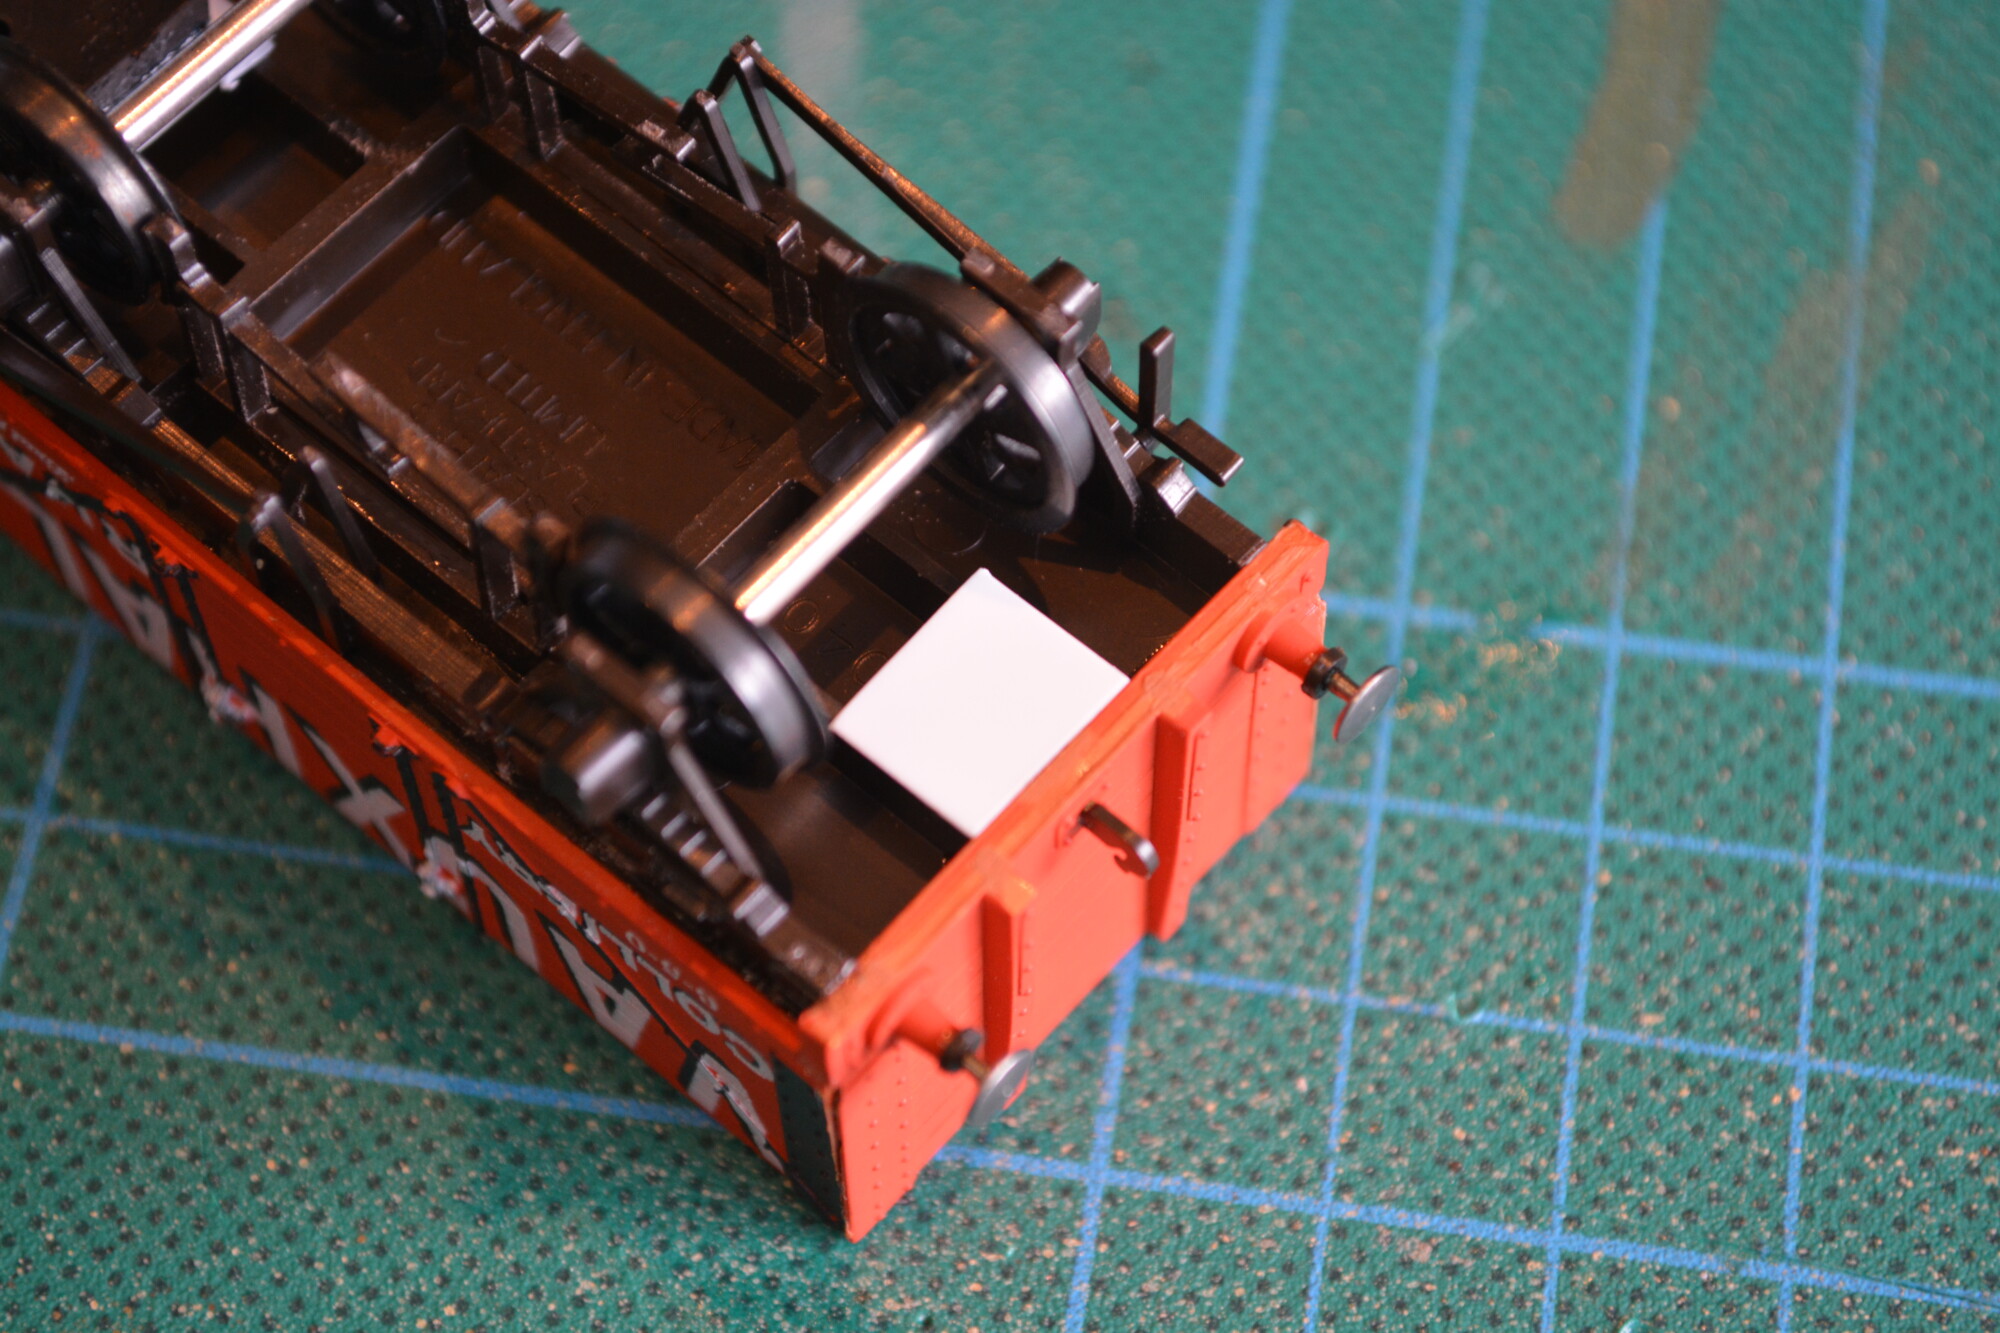
In this case I found that a 55 thou shim of plasticard was enough to correct the height. It is attached to the base of the wagon using a couple of drops of superglue.
Next
There are still a few things to do to complete the kit. The wagon needs to be numbered using the supplied transfers, weathered and a coal load added.
Overall I’m very happy with this kit – despite my rustiness it only took a couple of hours to assemble and it looks great! I’m already thinking about a small rake of 3 or 4 of these for the industrial area on Weybourne.