In this article I’ll be tackling a project that’s been on the back-burner for a while, but I seem to keep putting off – fitting working table lamps to a restaurant car. I bought a set of DCC Concepts’ working table lamps a while back, but I’ve held off installing them because it seemed like a daunting and fiddly task.
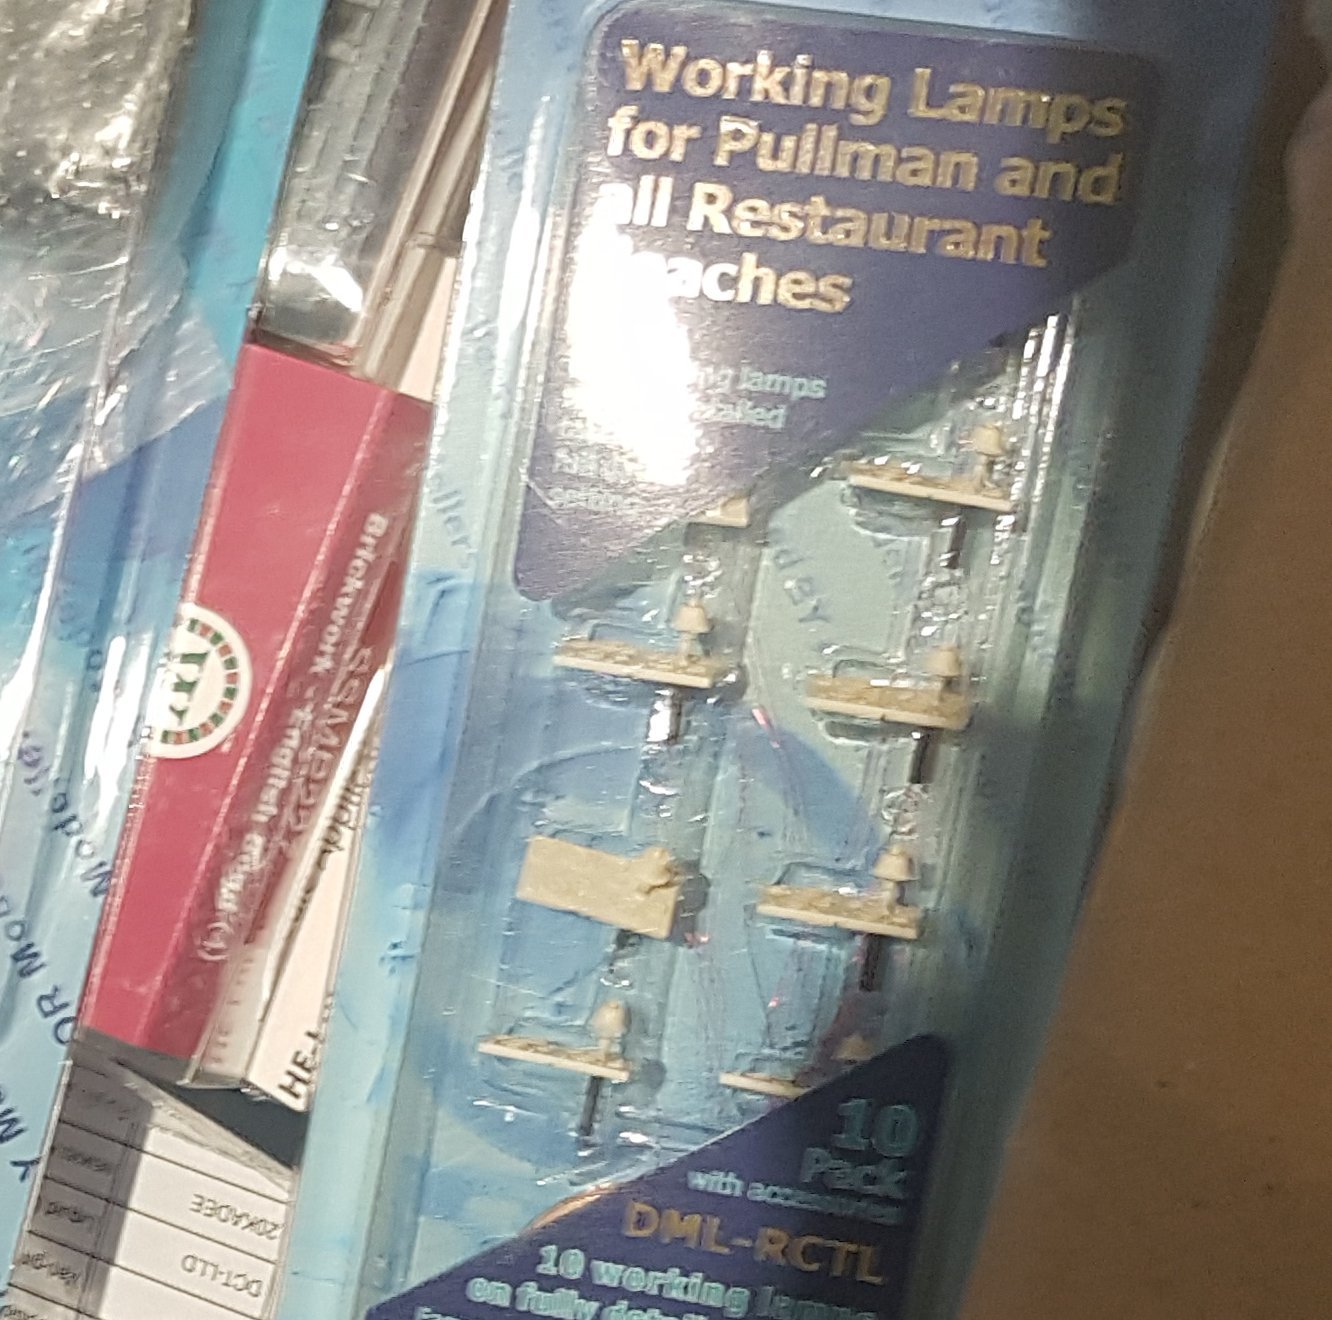
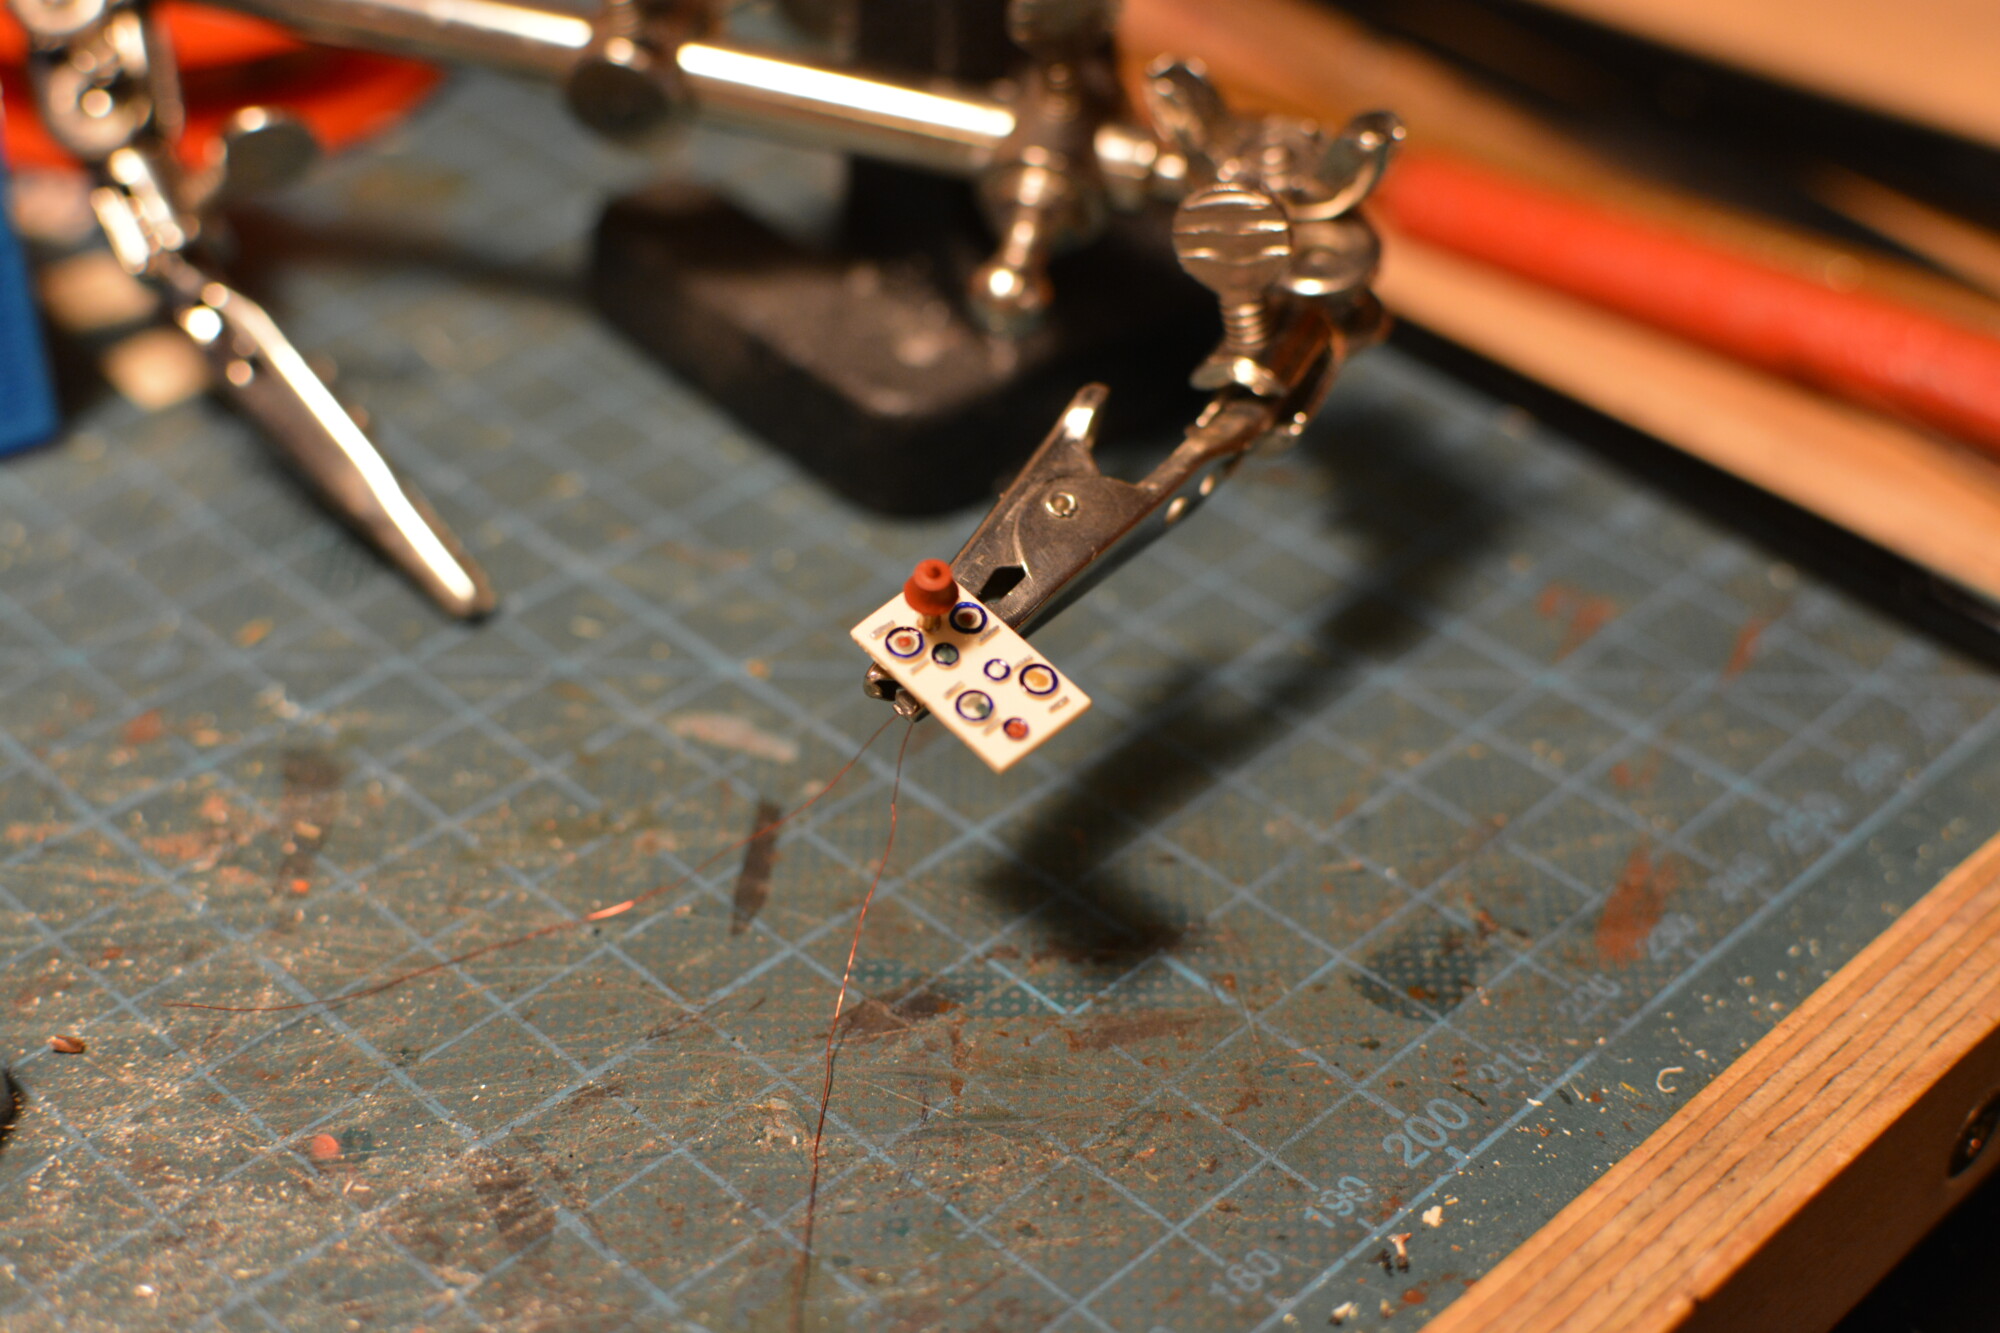
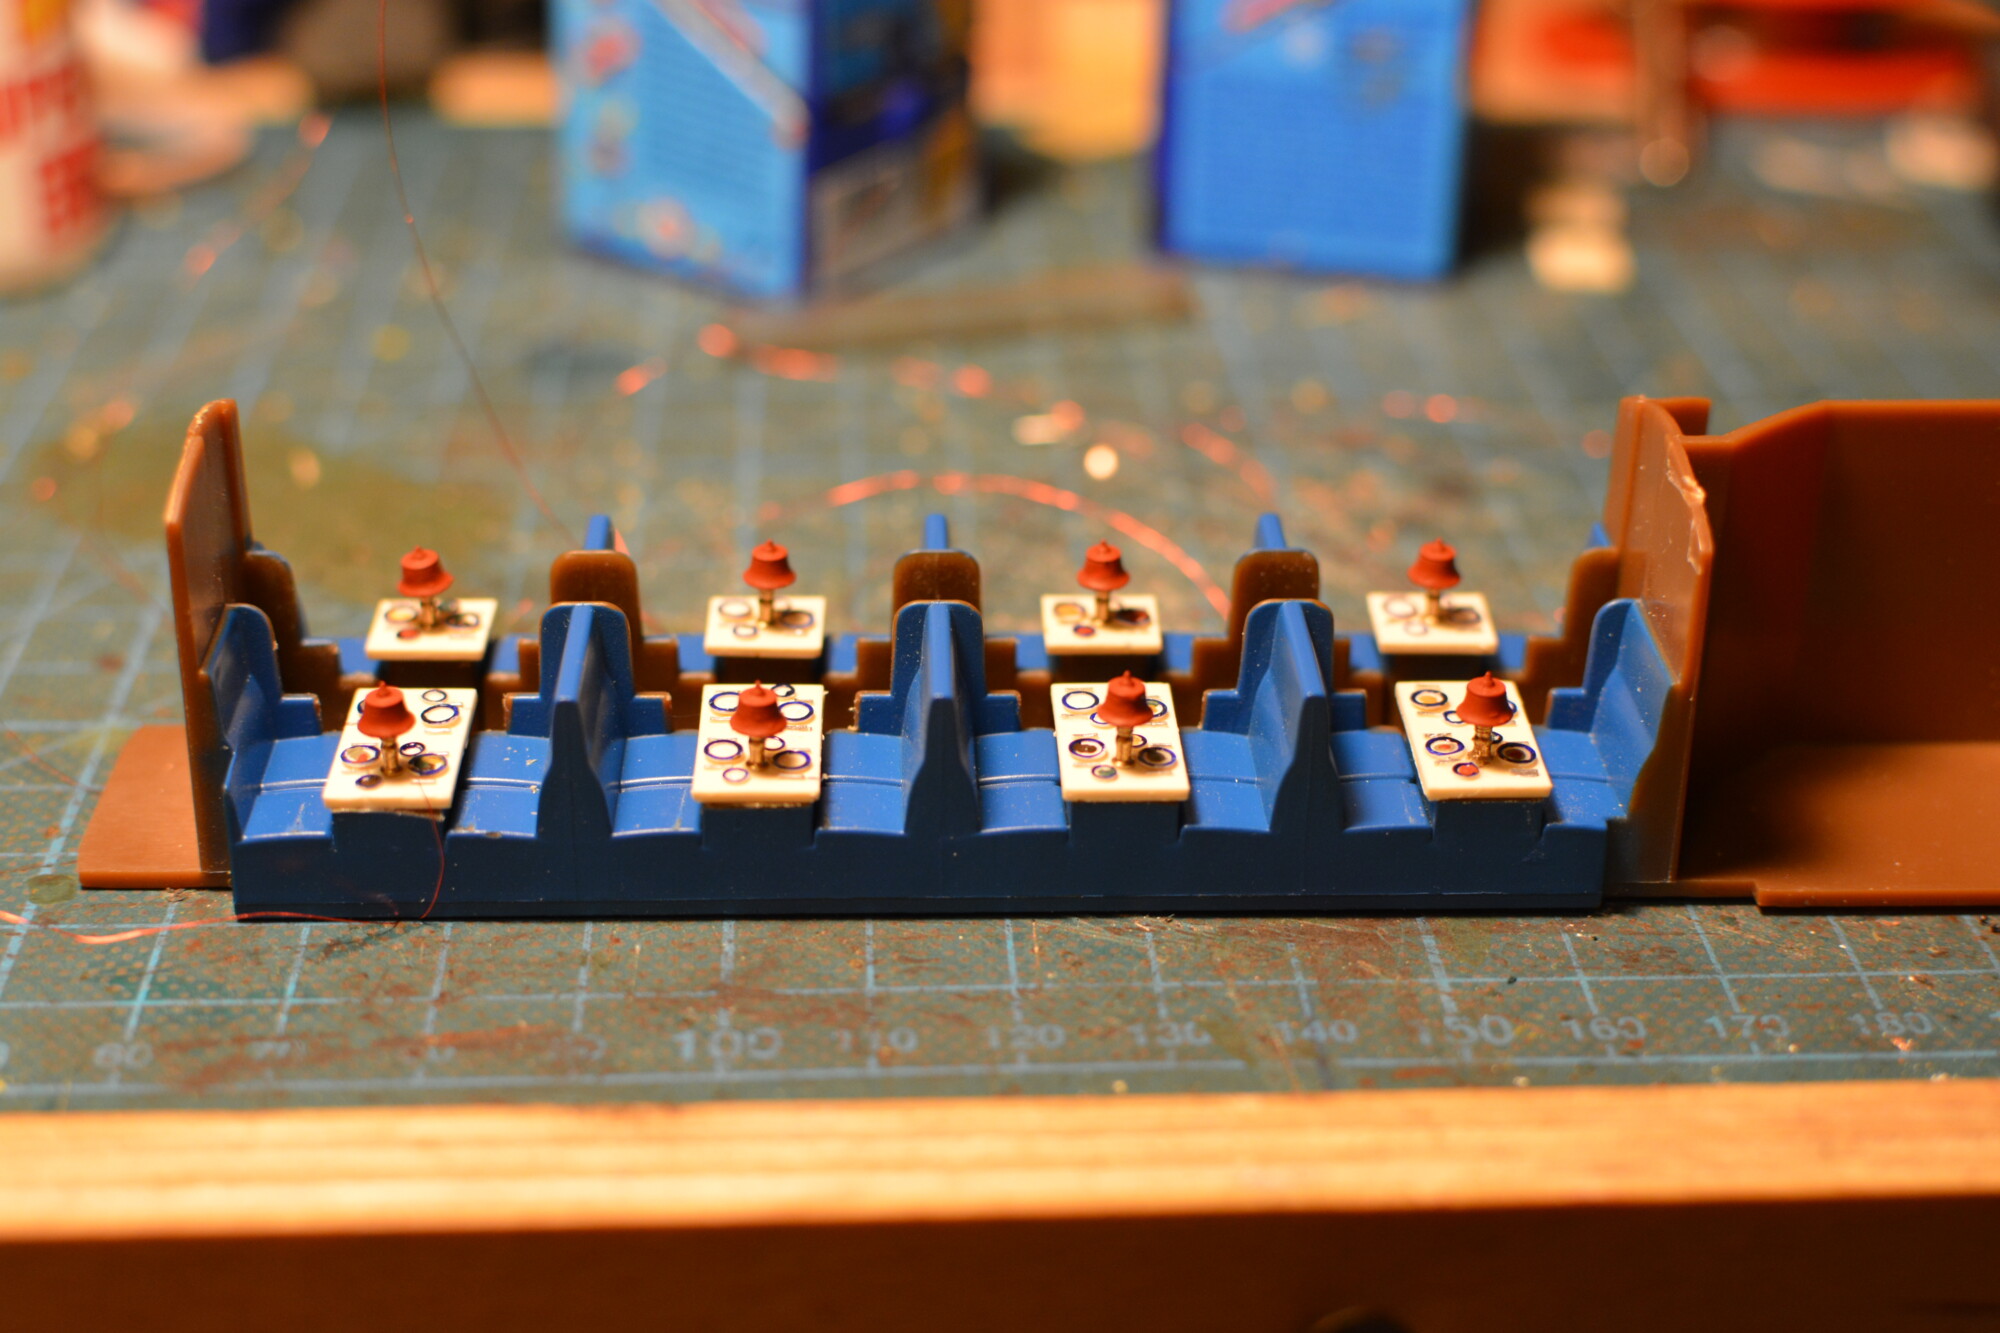
The lamps themselves are impressive, certainly a lot more detailed than anything else out there in 4mm scale. Each table is for four people, but they have a handy “snap line” on the underside to allow you to convert a four into a two.
Preparing the coach
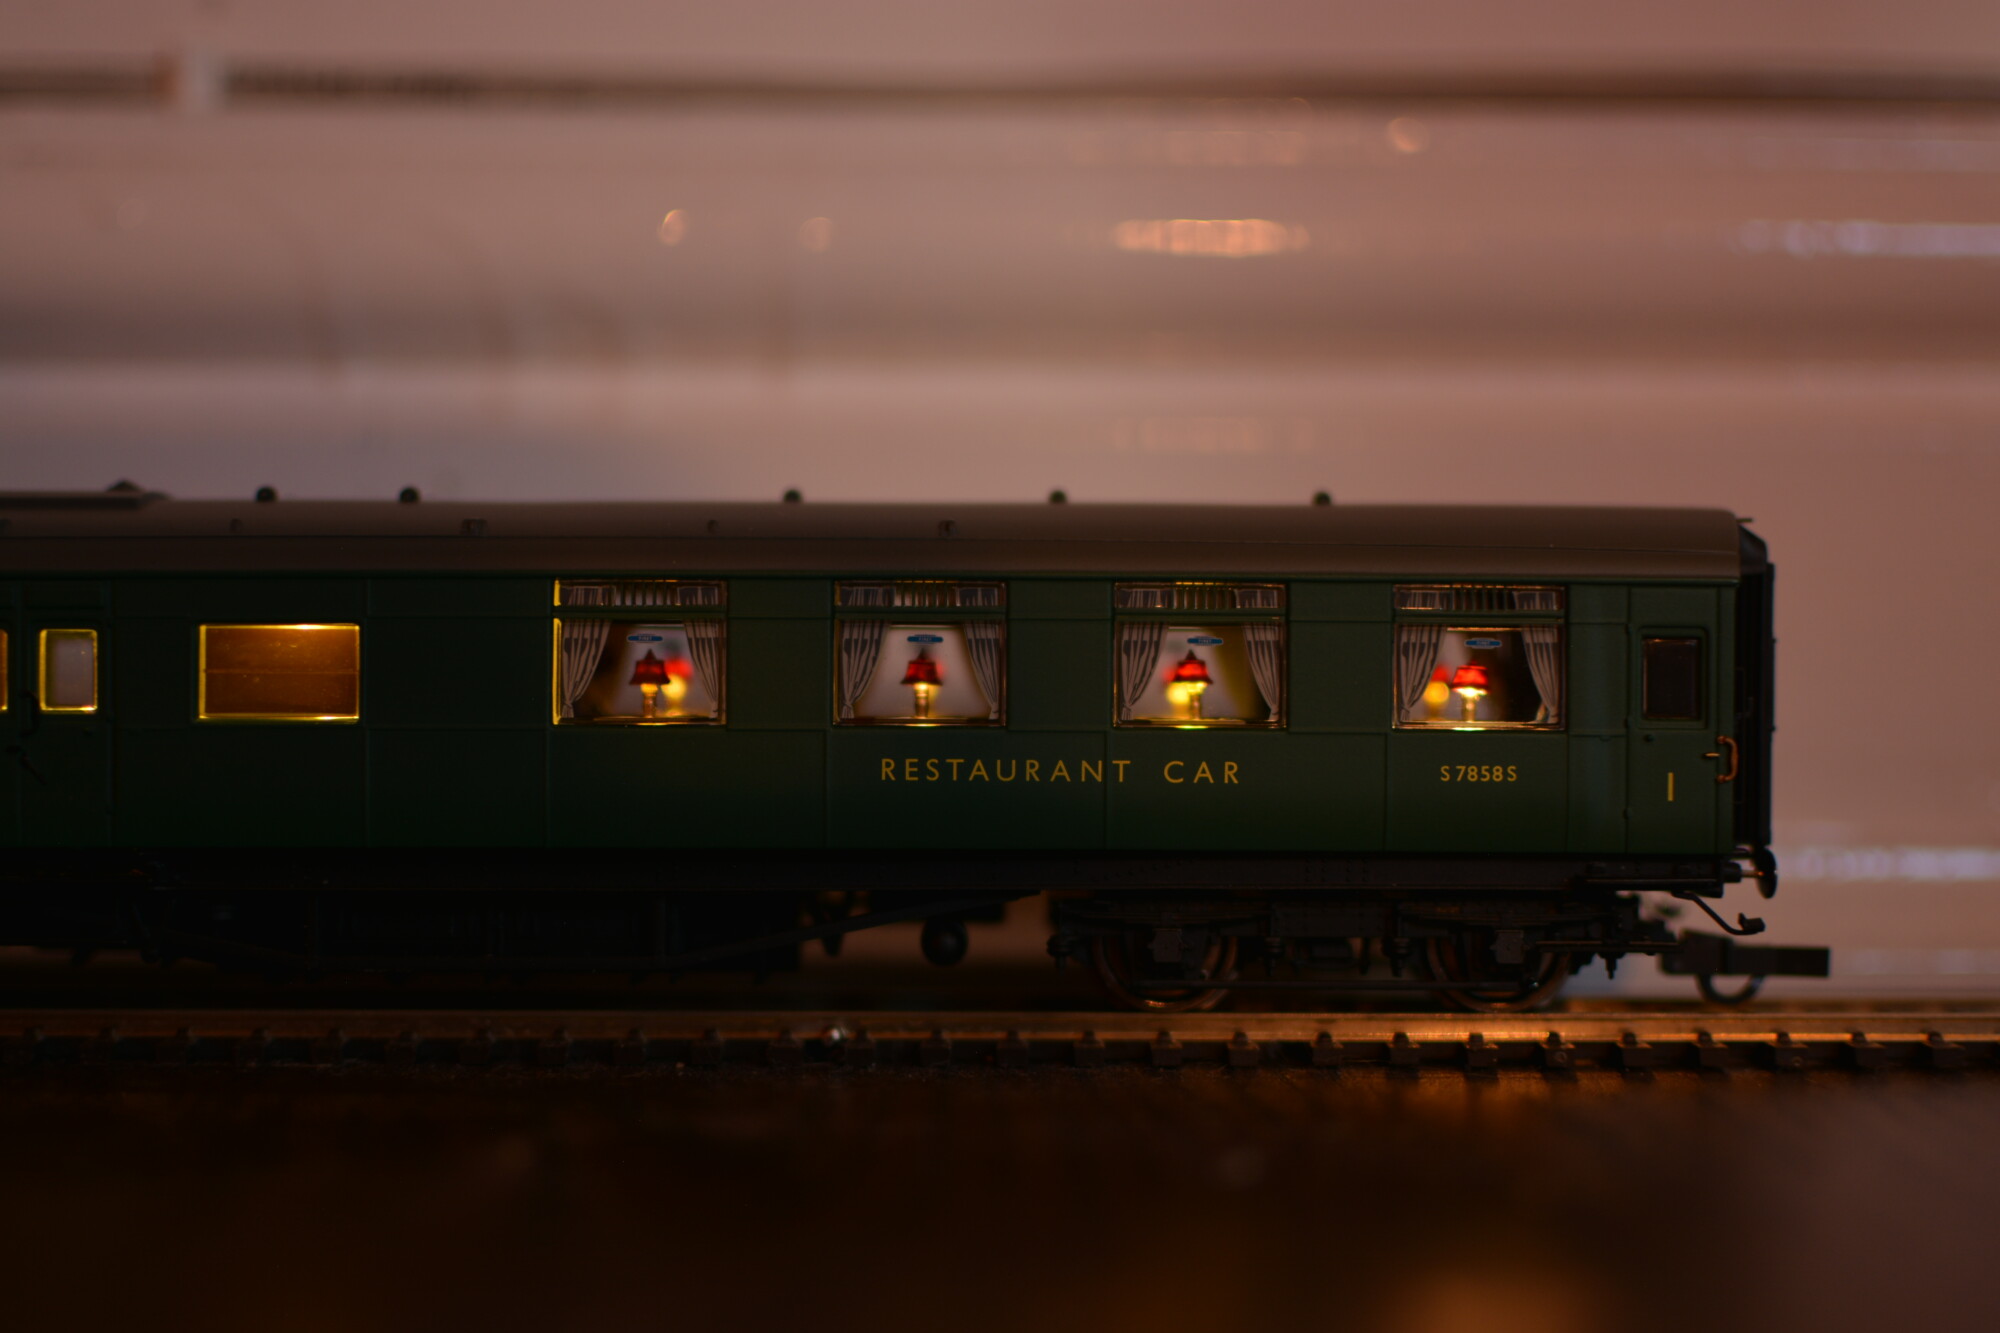
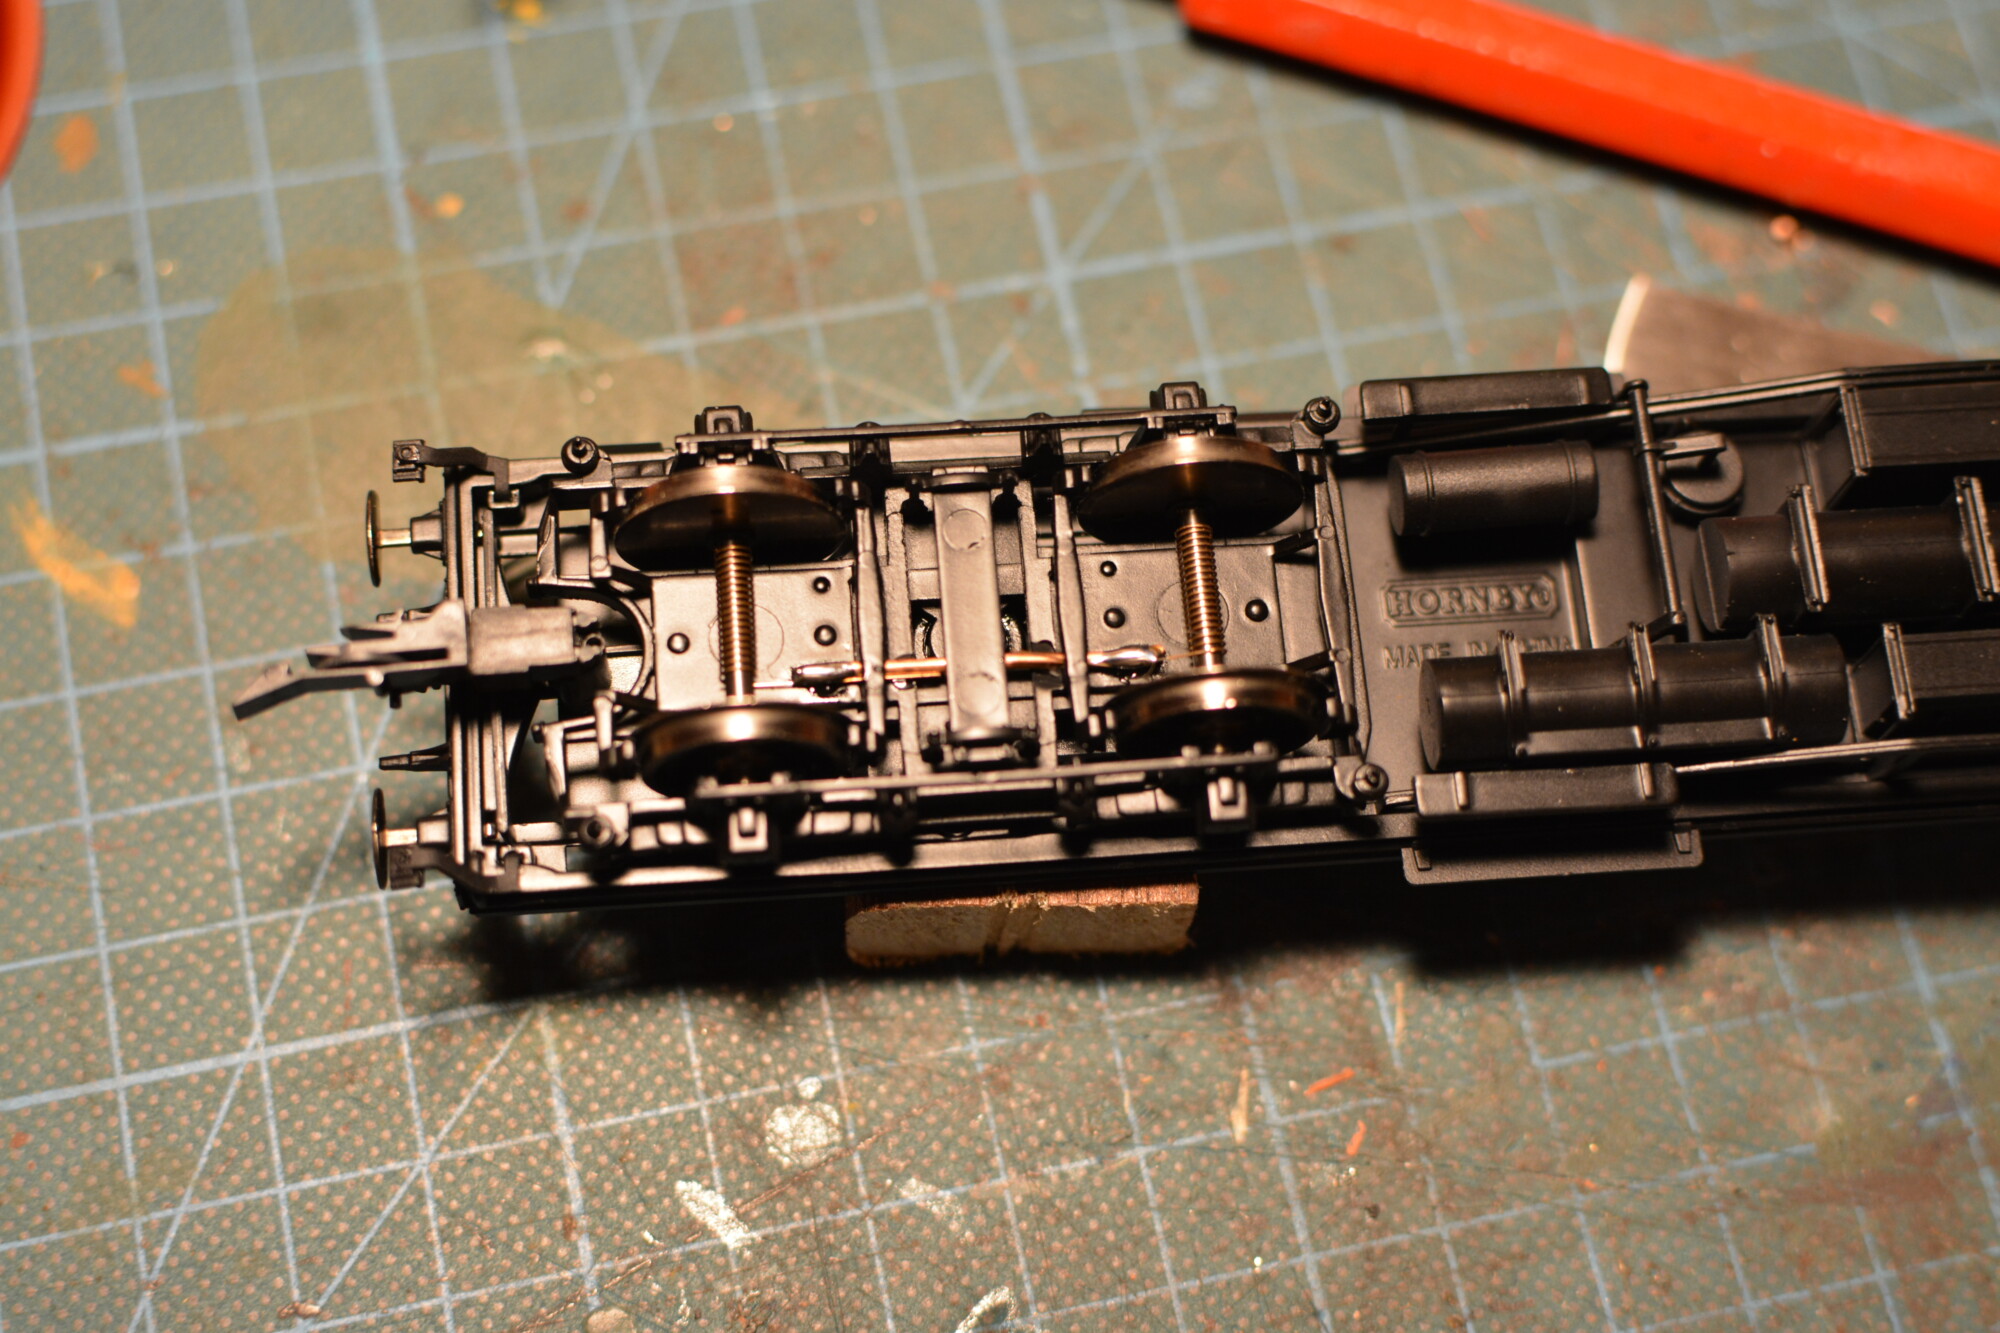
The coach into which I am going to be installing the lamps is a Hornby Maunsell restaurant car. This (like the rest of Hornby’s Maunsells) is an excellent model, but the non-lit tables have always seemed a bit plain and lifeless to me.
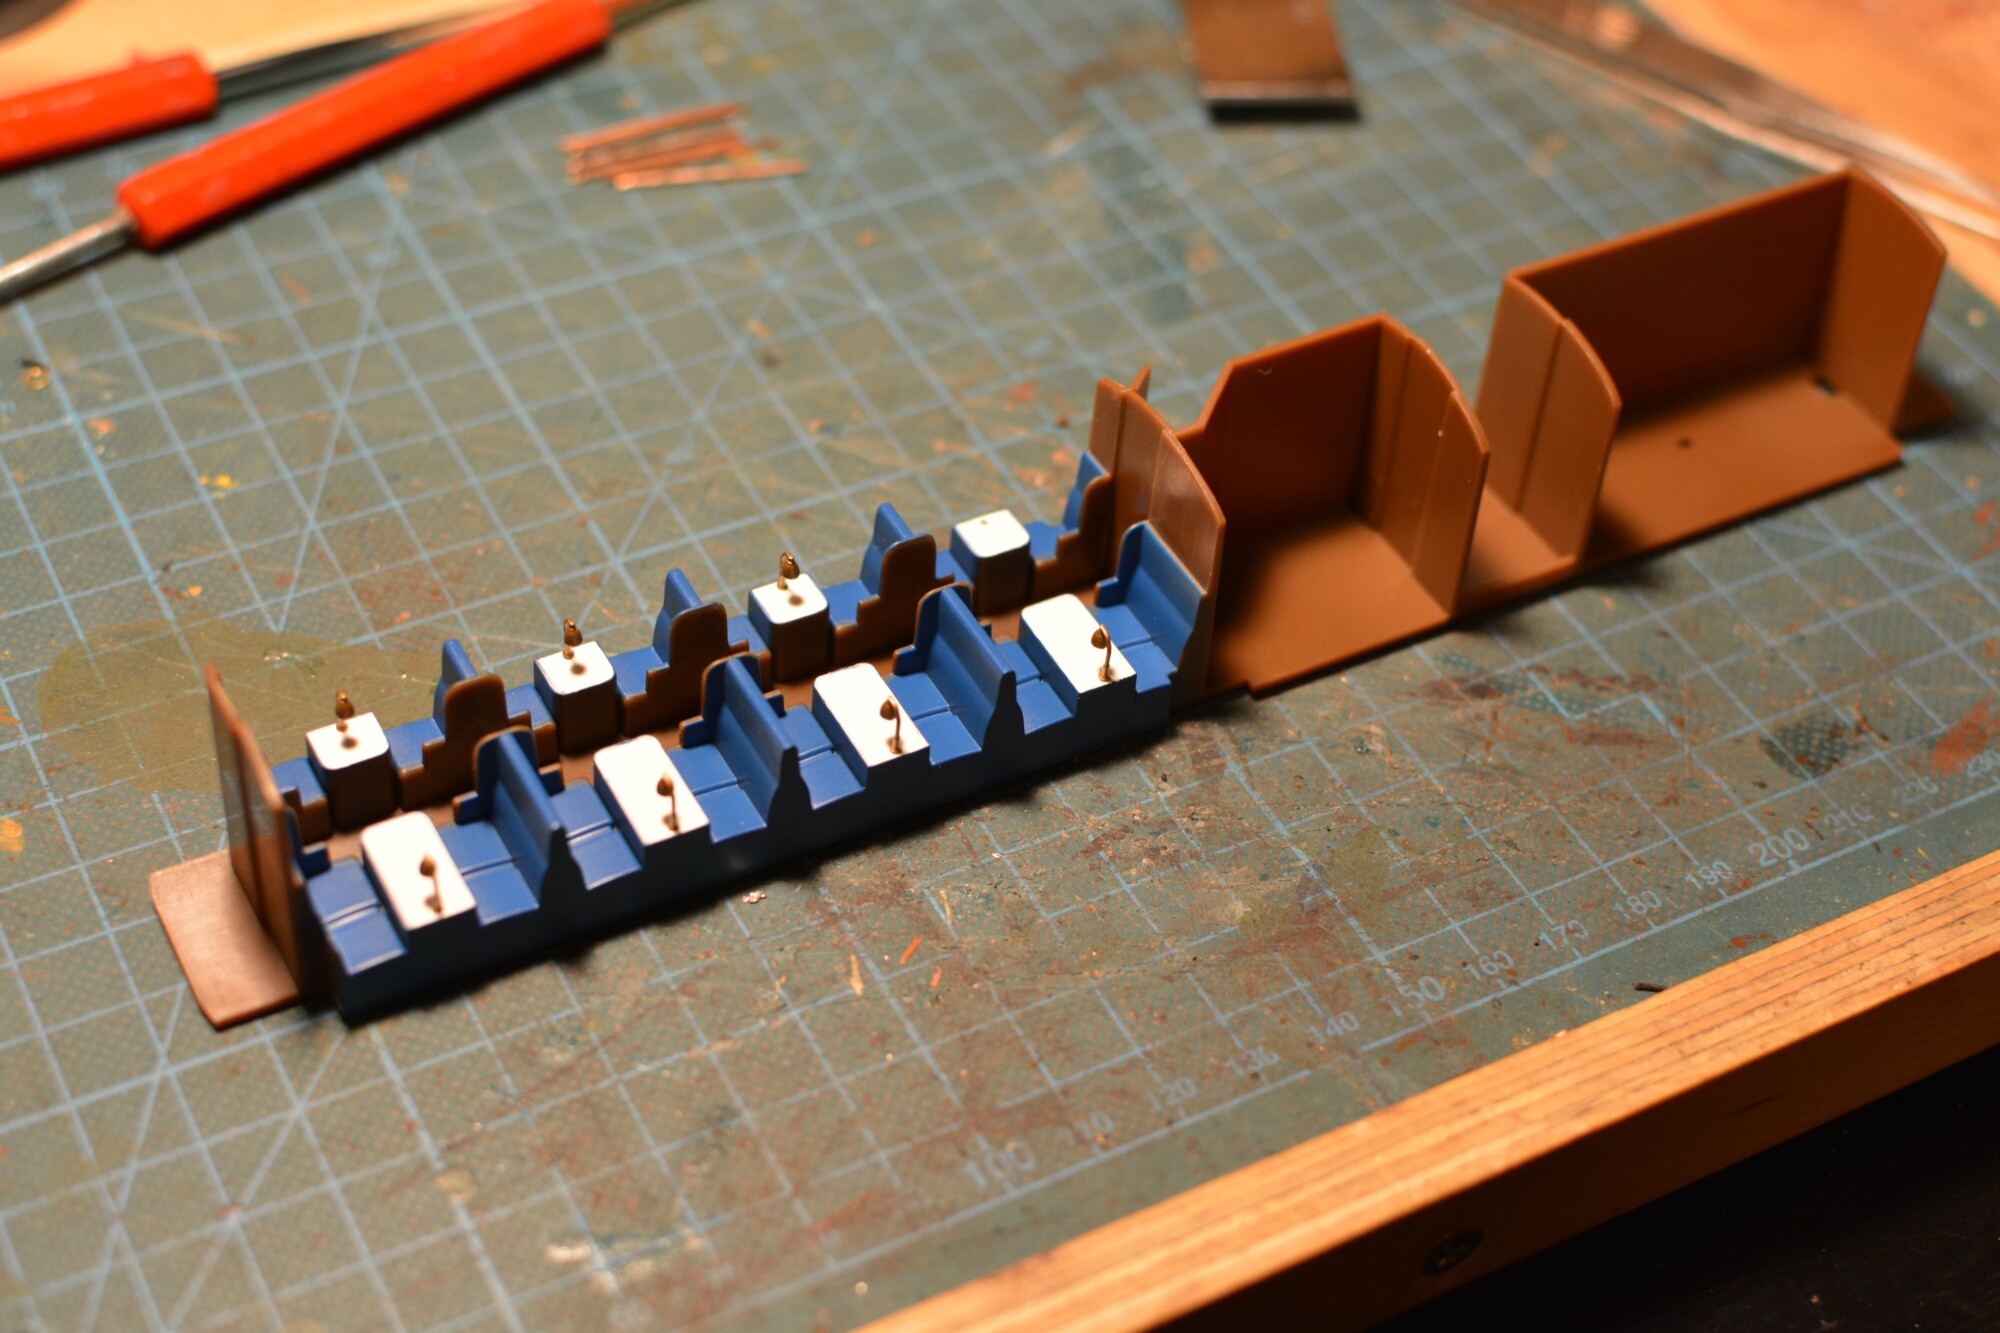
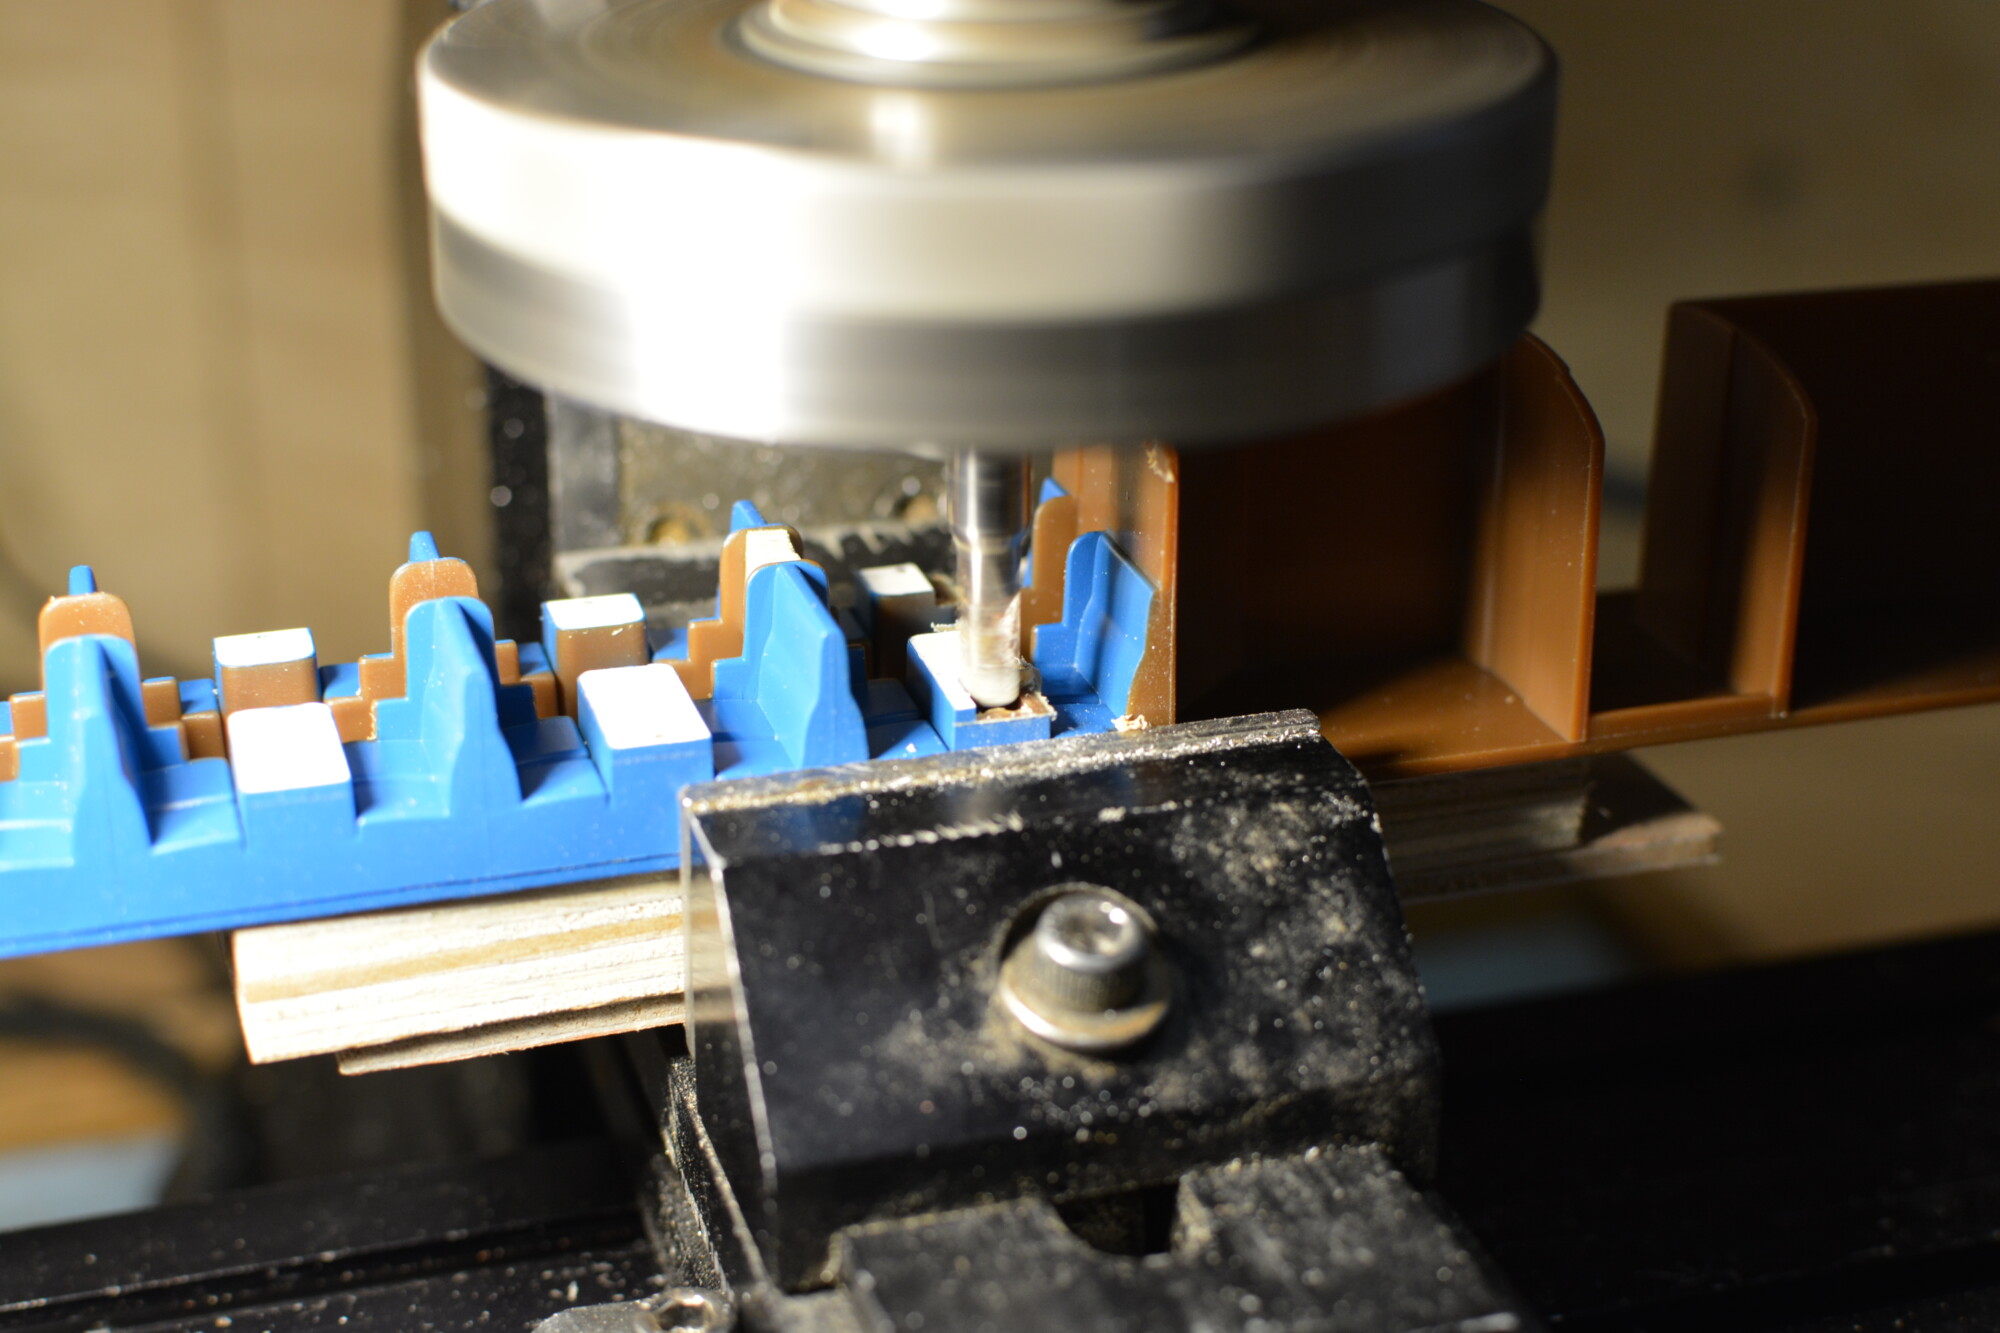
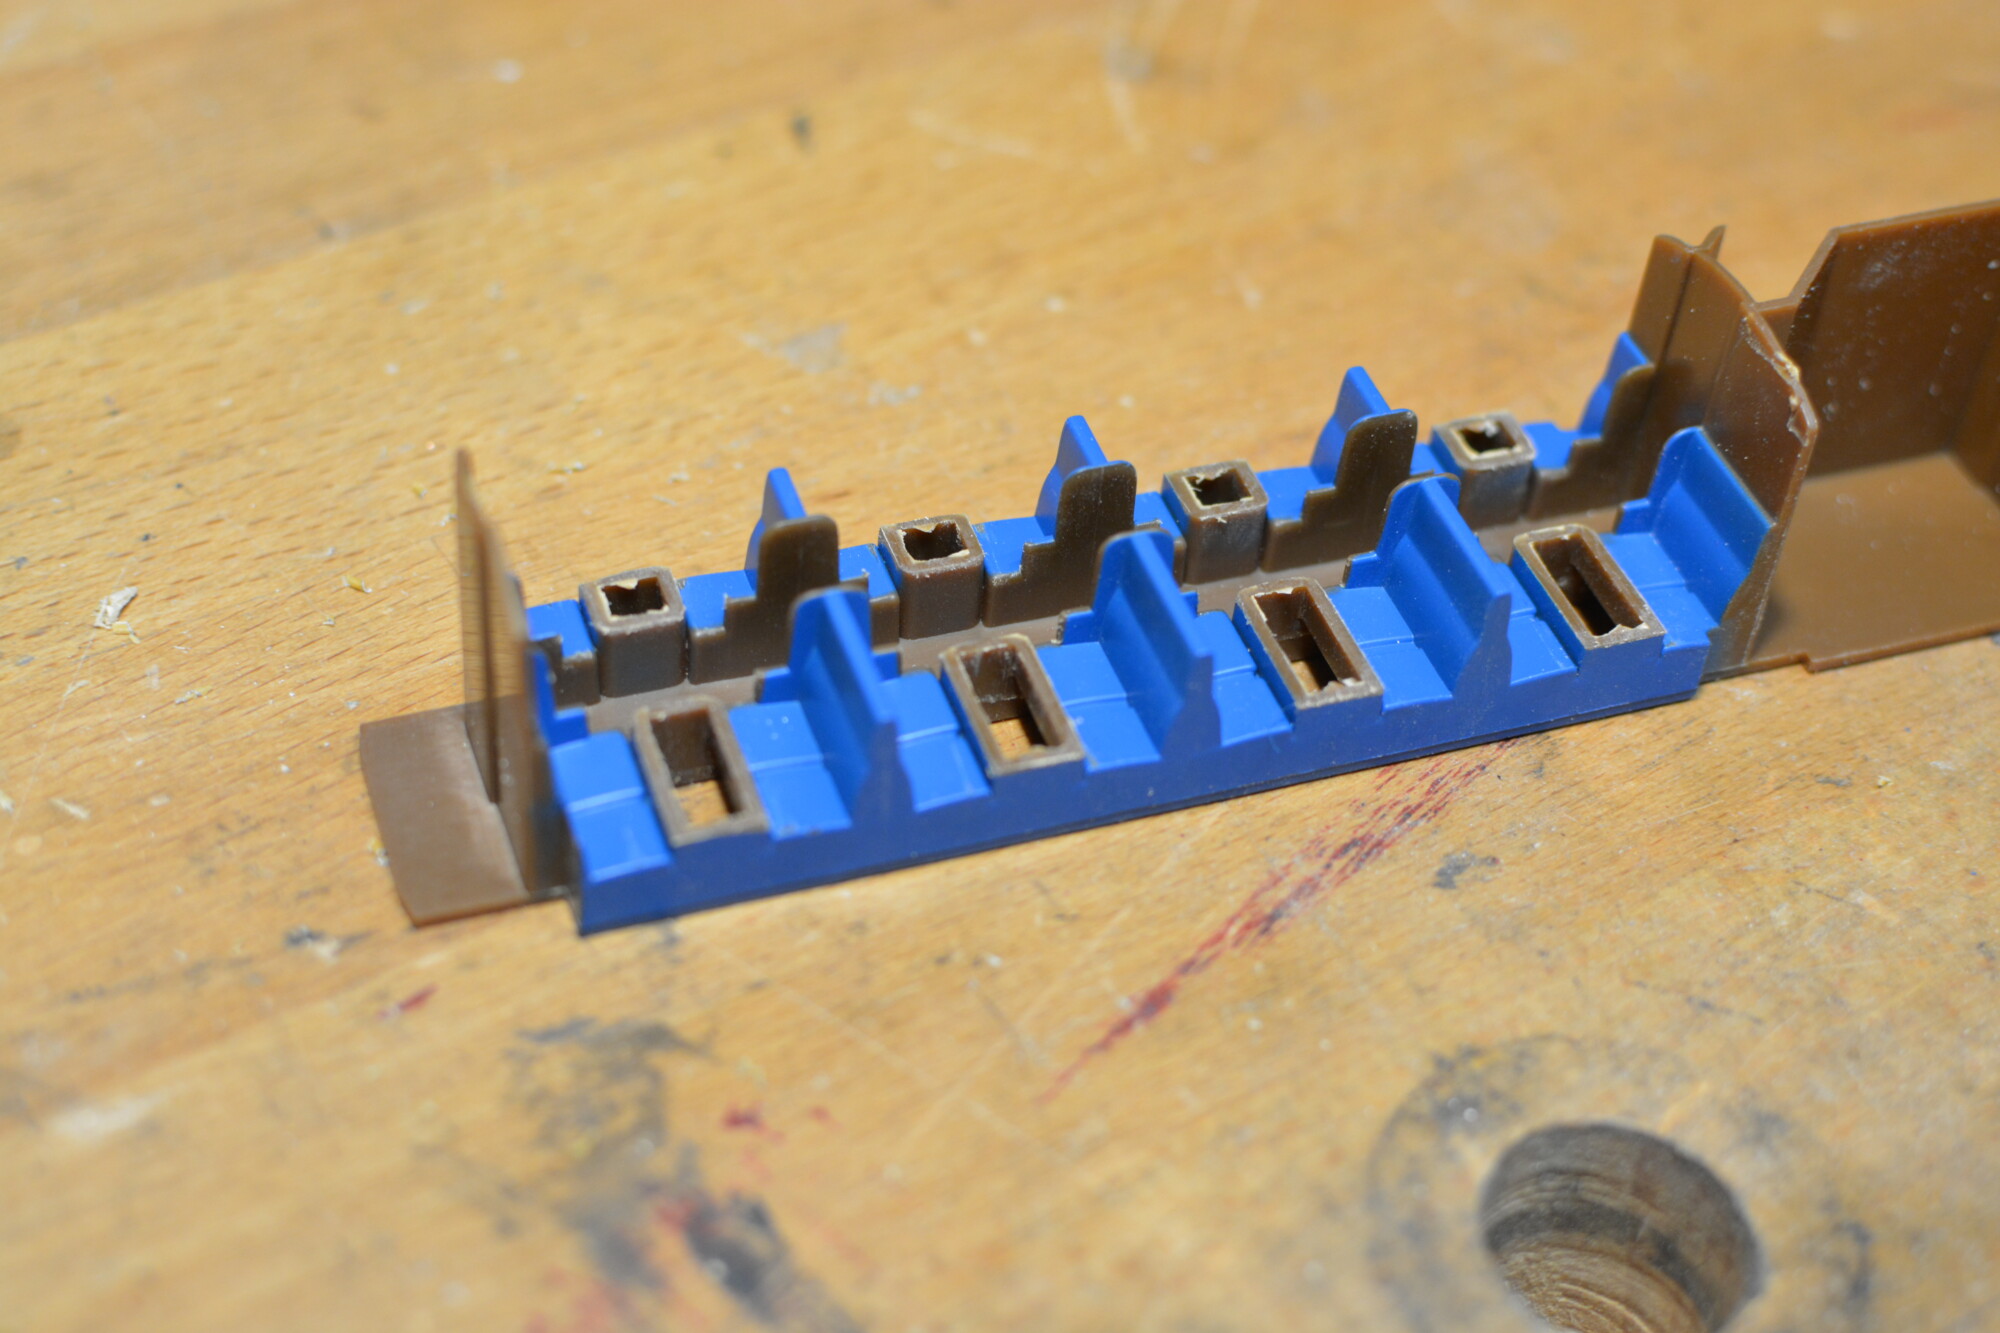
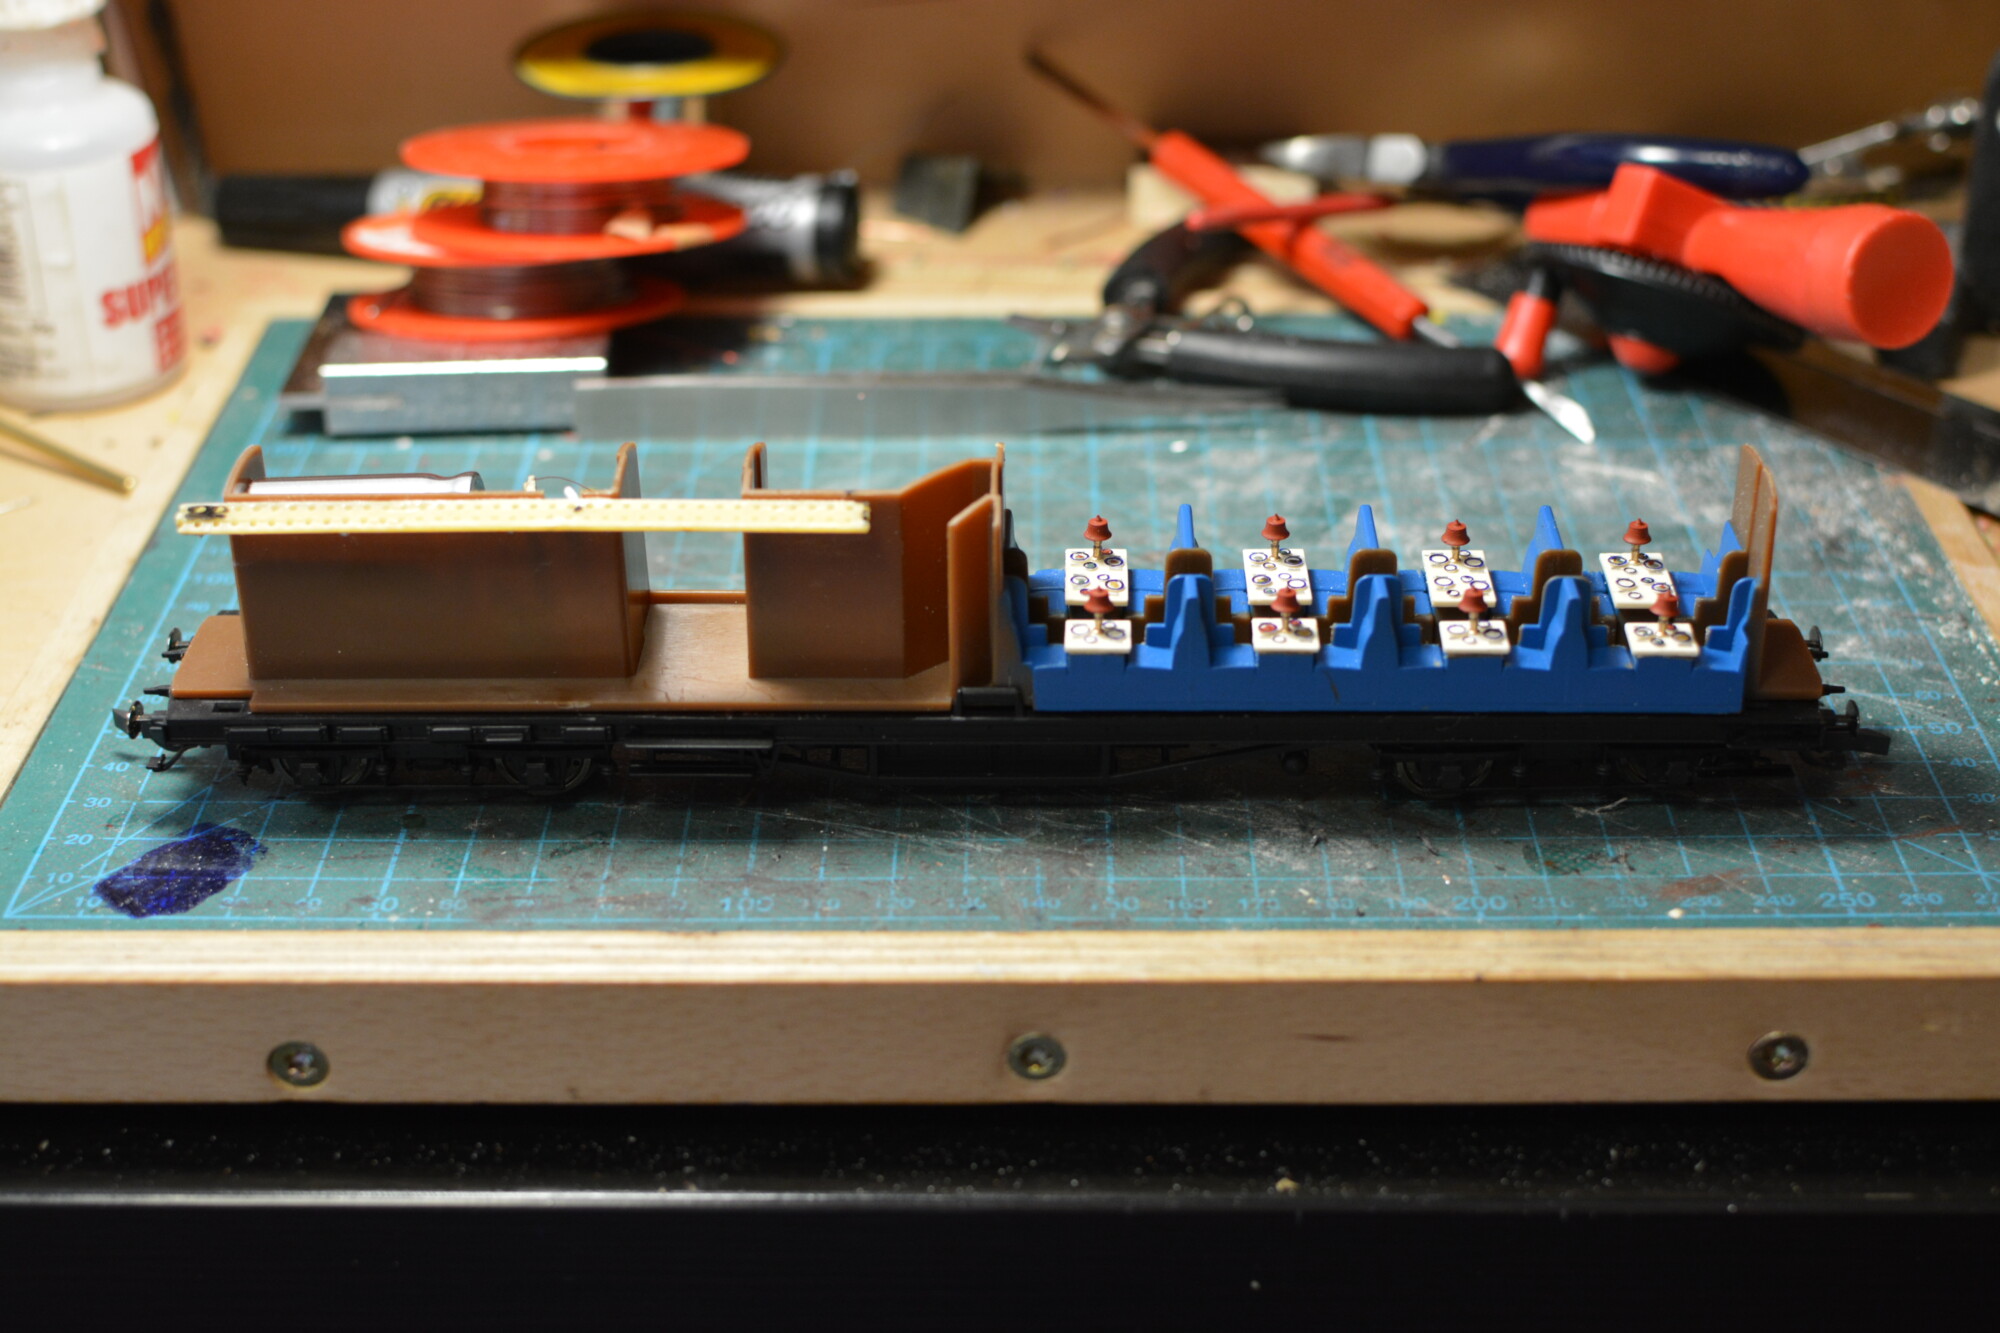
The first job was to remove the existing tabletops, as if I were to simply mount the new tables on top of them, they would be too high, and the edges would be visible in the windows. I considered filing these down, but this would have probably made a mess, as the chance of me slipping and nicking the seats is pretty high! I therefore decided to use the mill to do this, even if it was slightly tricky to setup to ensure the interior moulding was held at exactly 90° to the mill.
Installing the tabletops
Before they could be installed, the tabletops needed painting. I did look online for examples of what Maunsell restaurants looked like on the inside, and all I could find were a couple of black-and-white shots of a vehicle that the Bluebell Railway currently own. These show a typical restauarant car interior, but nothing really specific, except for white tablecloths, some napkins and some nice-looking china!
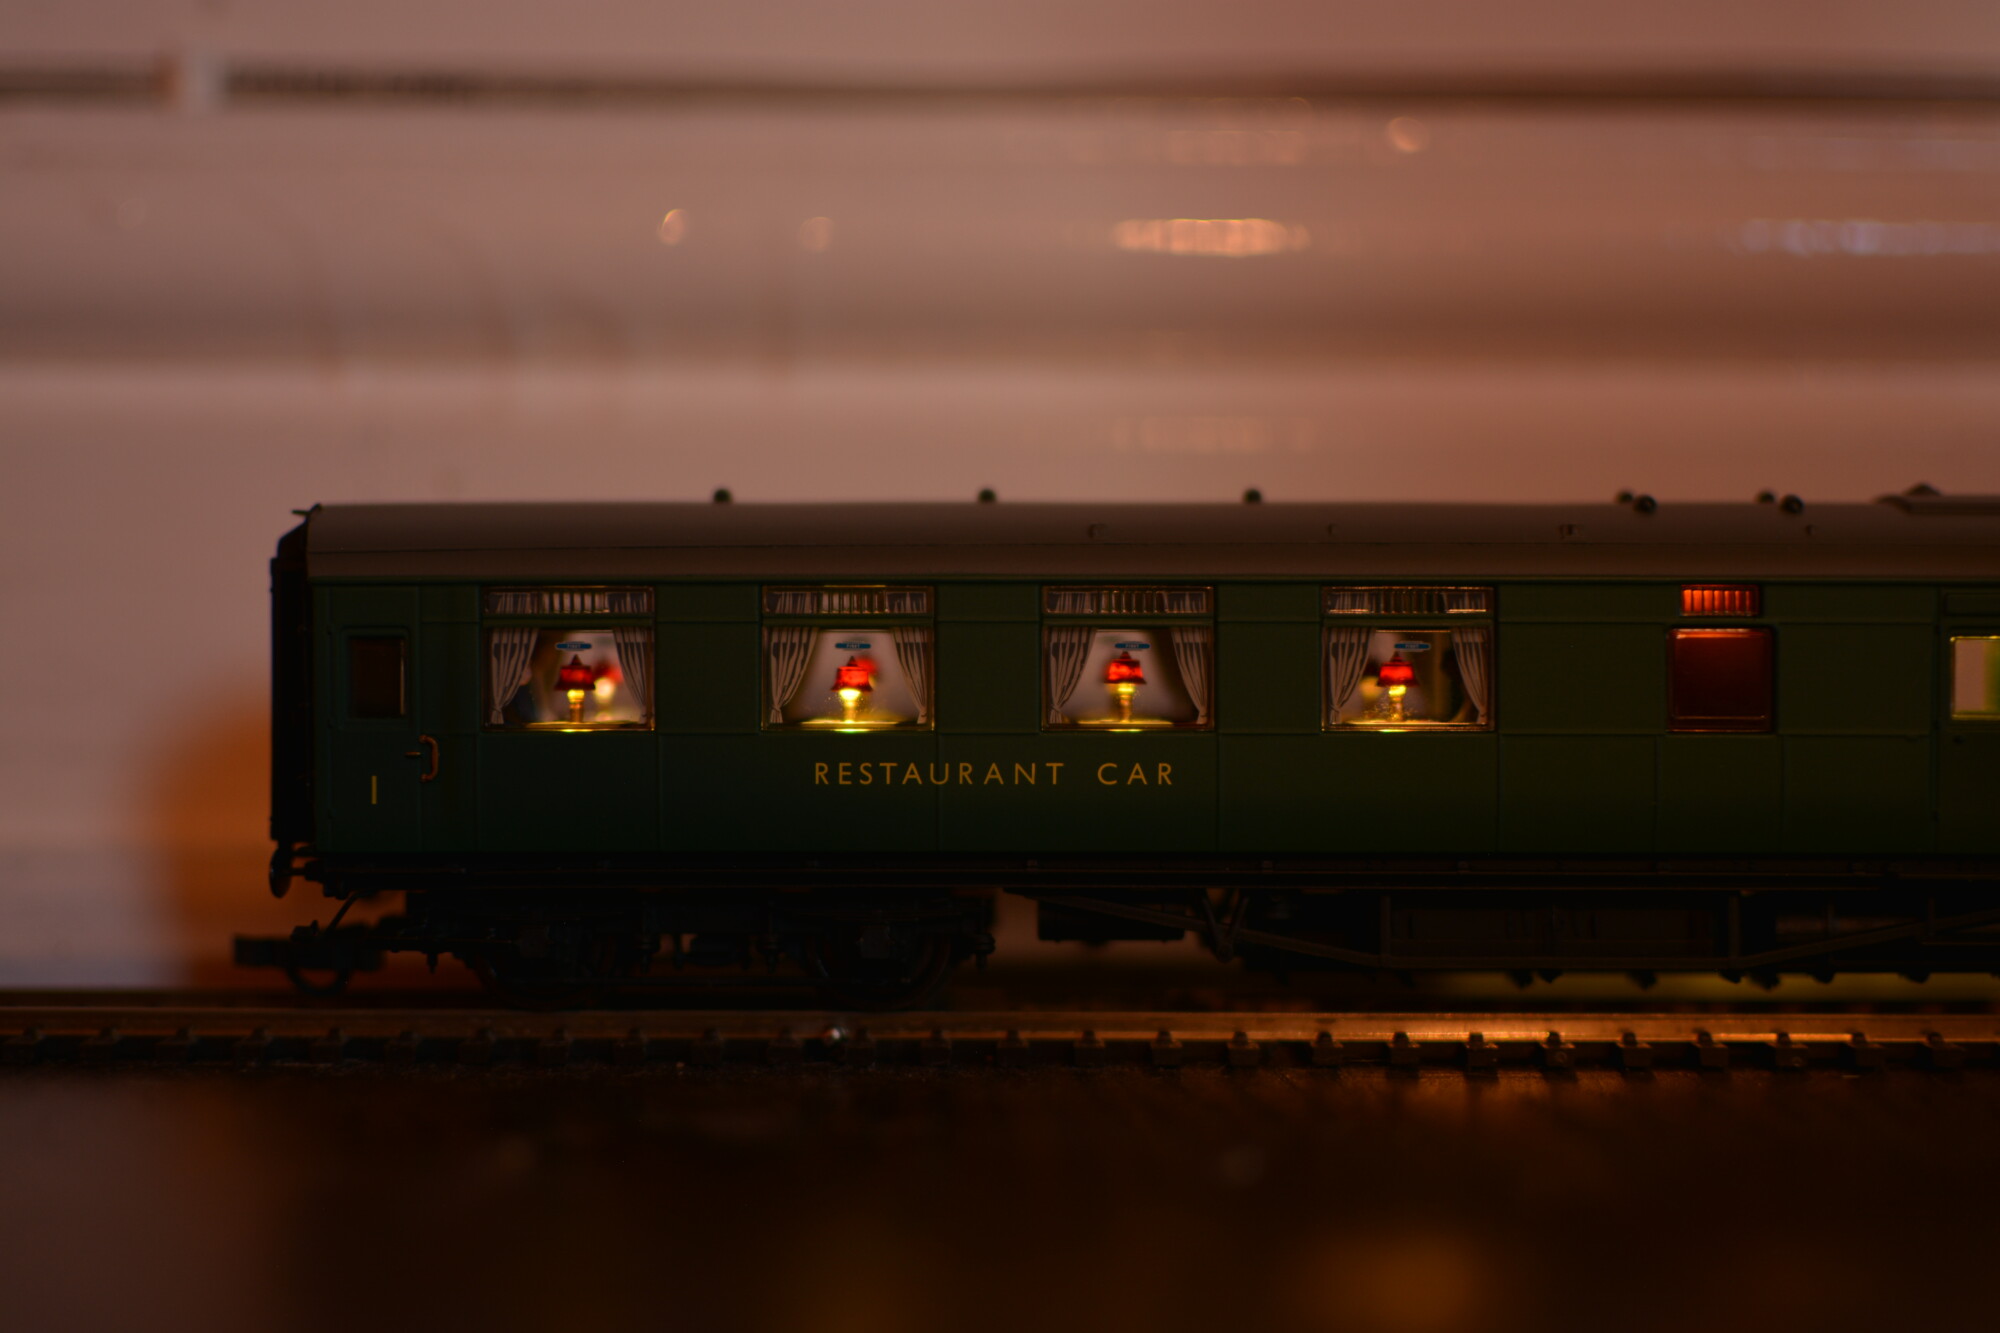
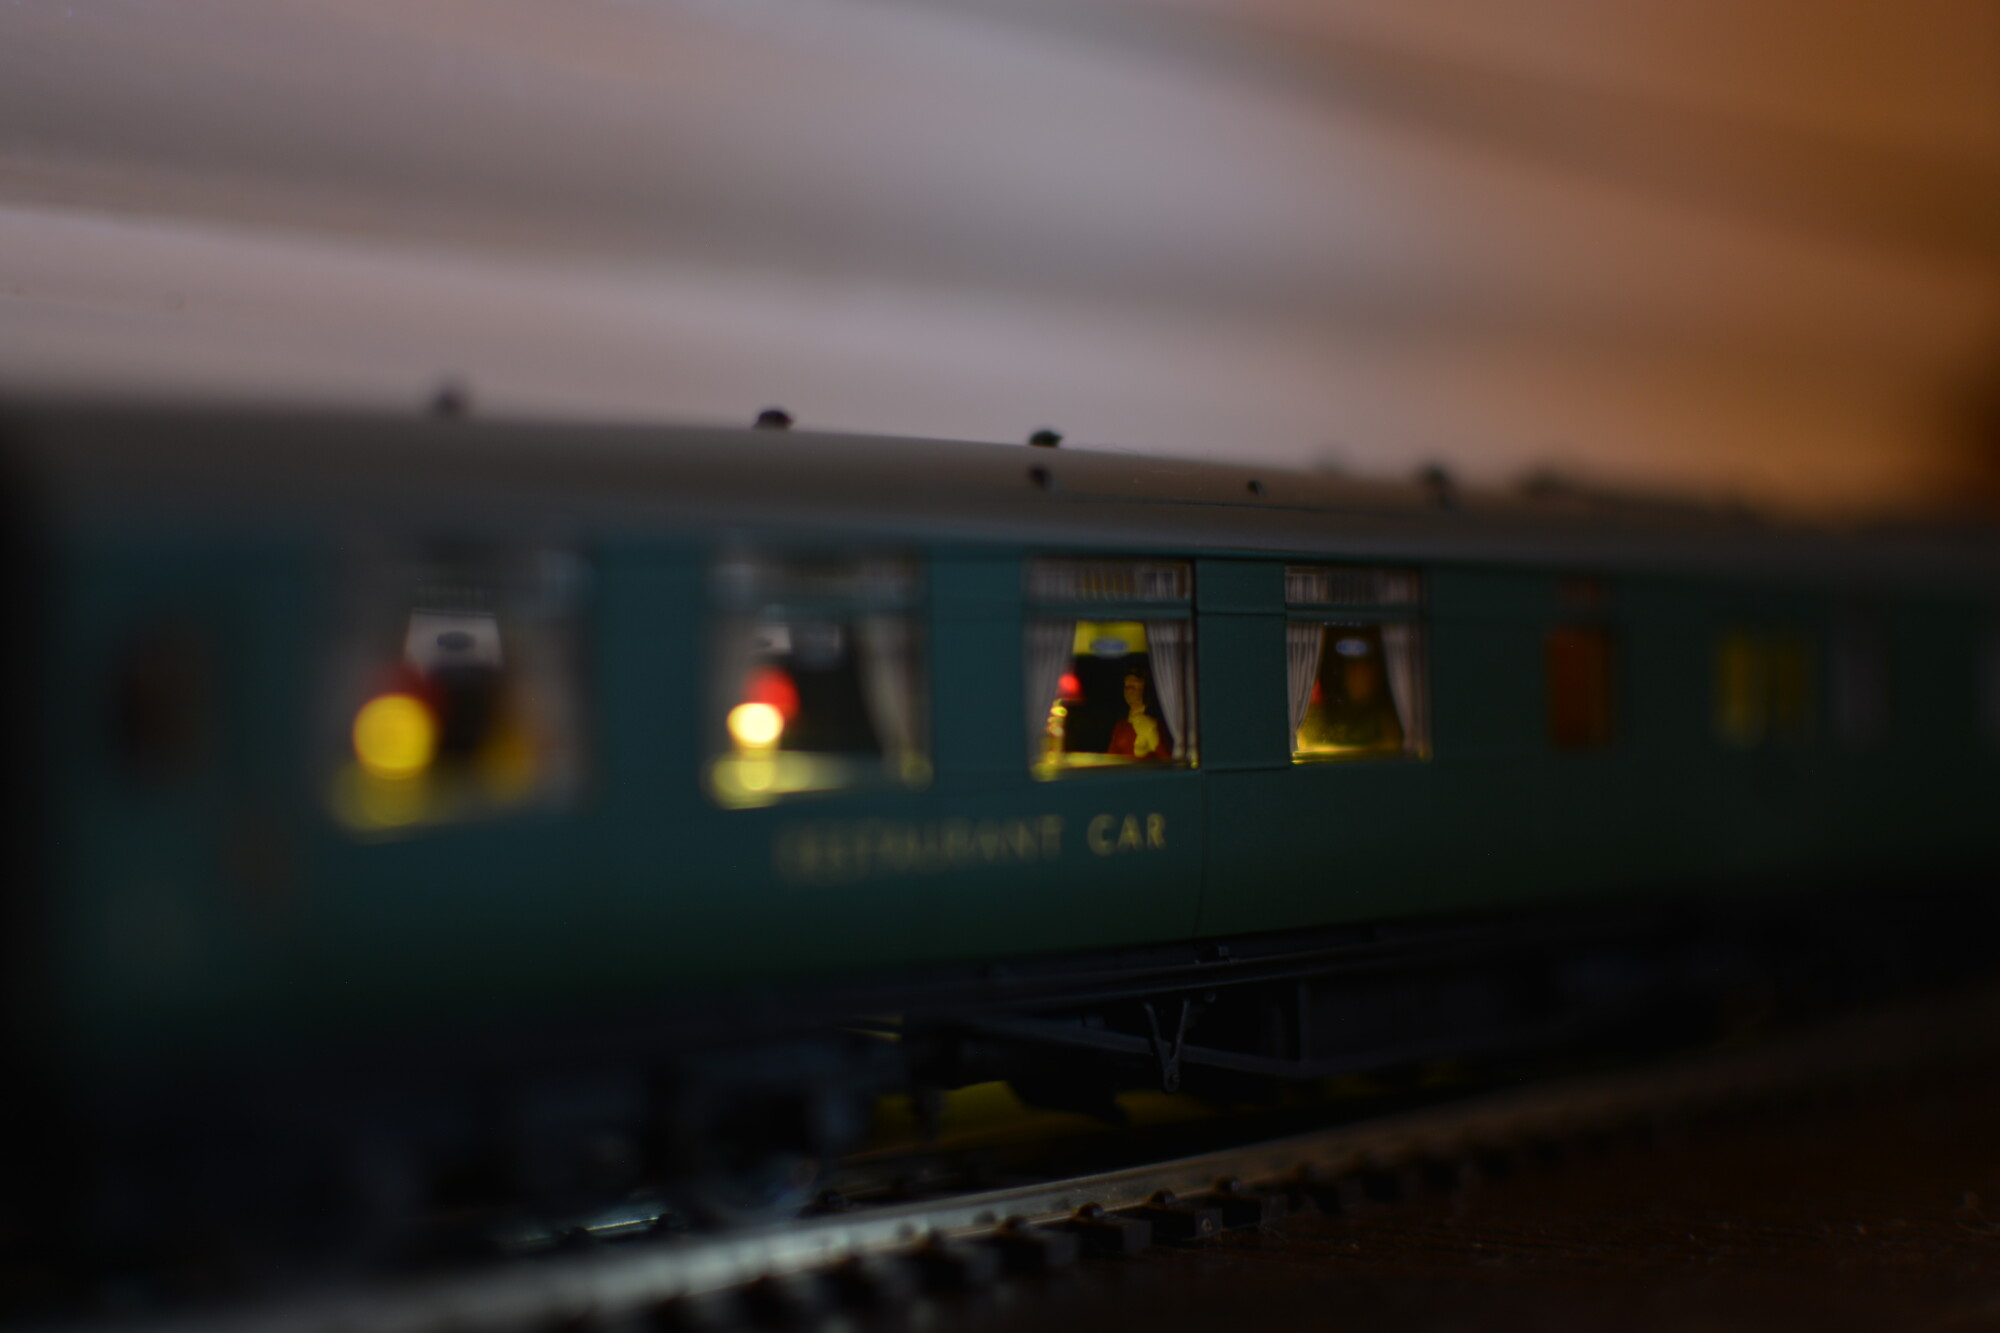
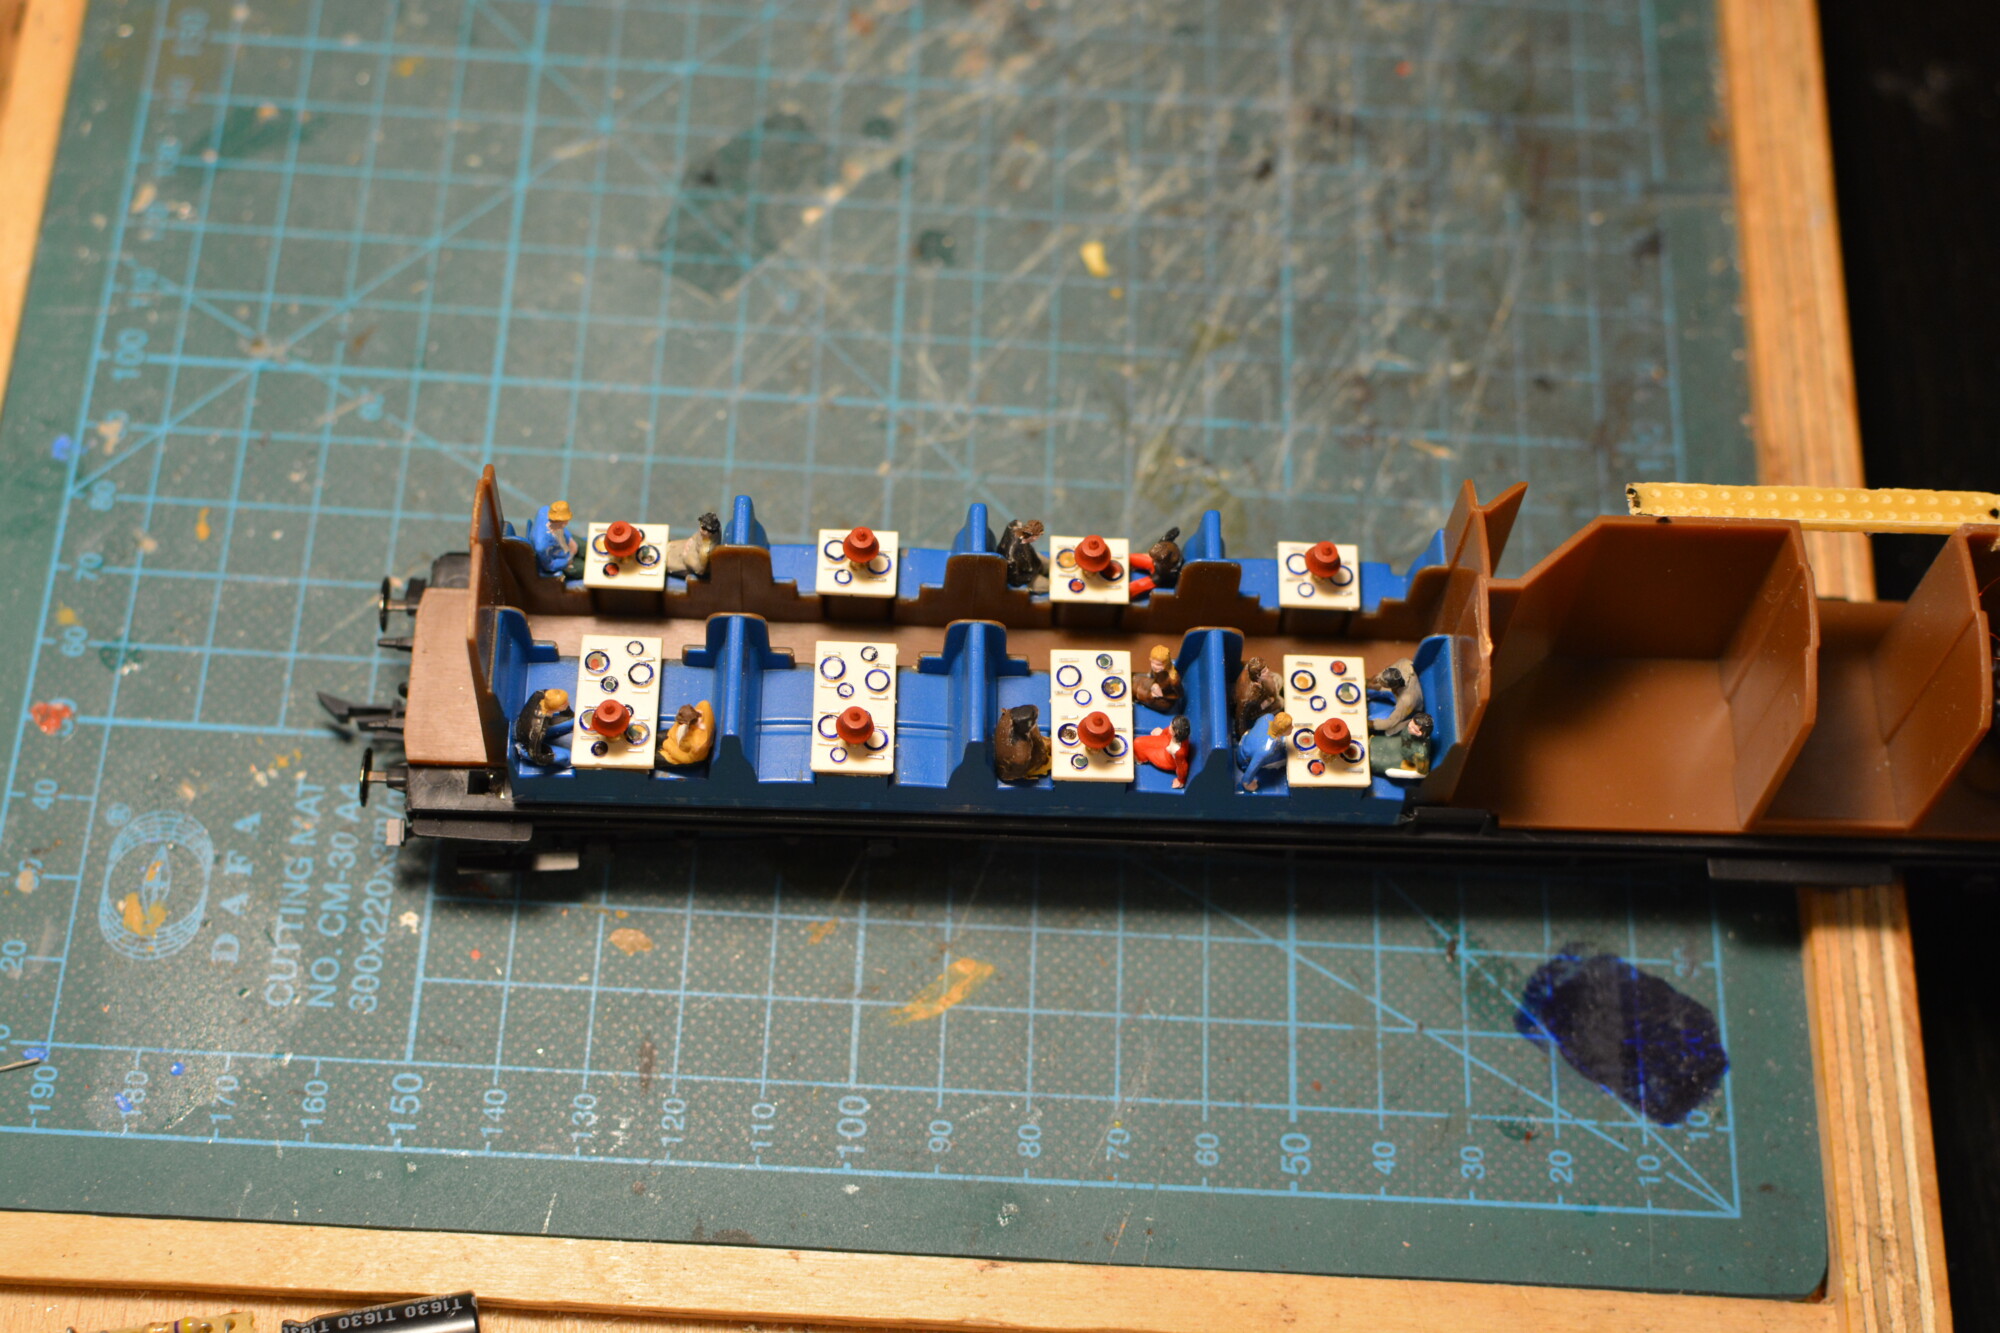
I therefore went for a very simple colour scheme – a red lampshade and a gold (to represent brass) stem, with a plain white tablecloth, and white plates with painted rims. This is a best guess of what the tables would have looked like on the real thing. In any case, the lamps I’m installing are technically meant for Pullmans, so it’ll never be 100% accurate.
I wanted the restaurant to look like it’s being used, so I painted a simple representation of food onto about two-thirds of the plates. This, combined with some painted figures, really helps to complete the look, as you can see in the end result.
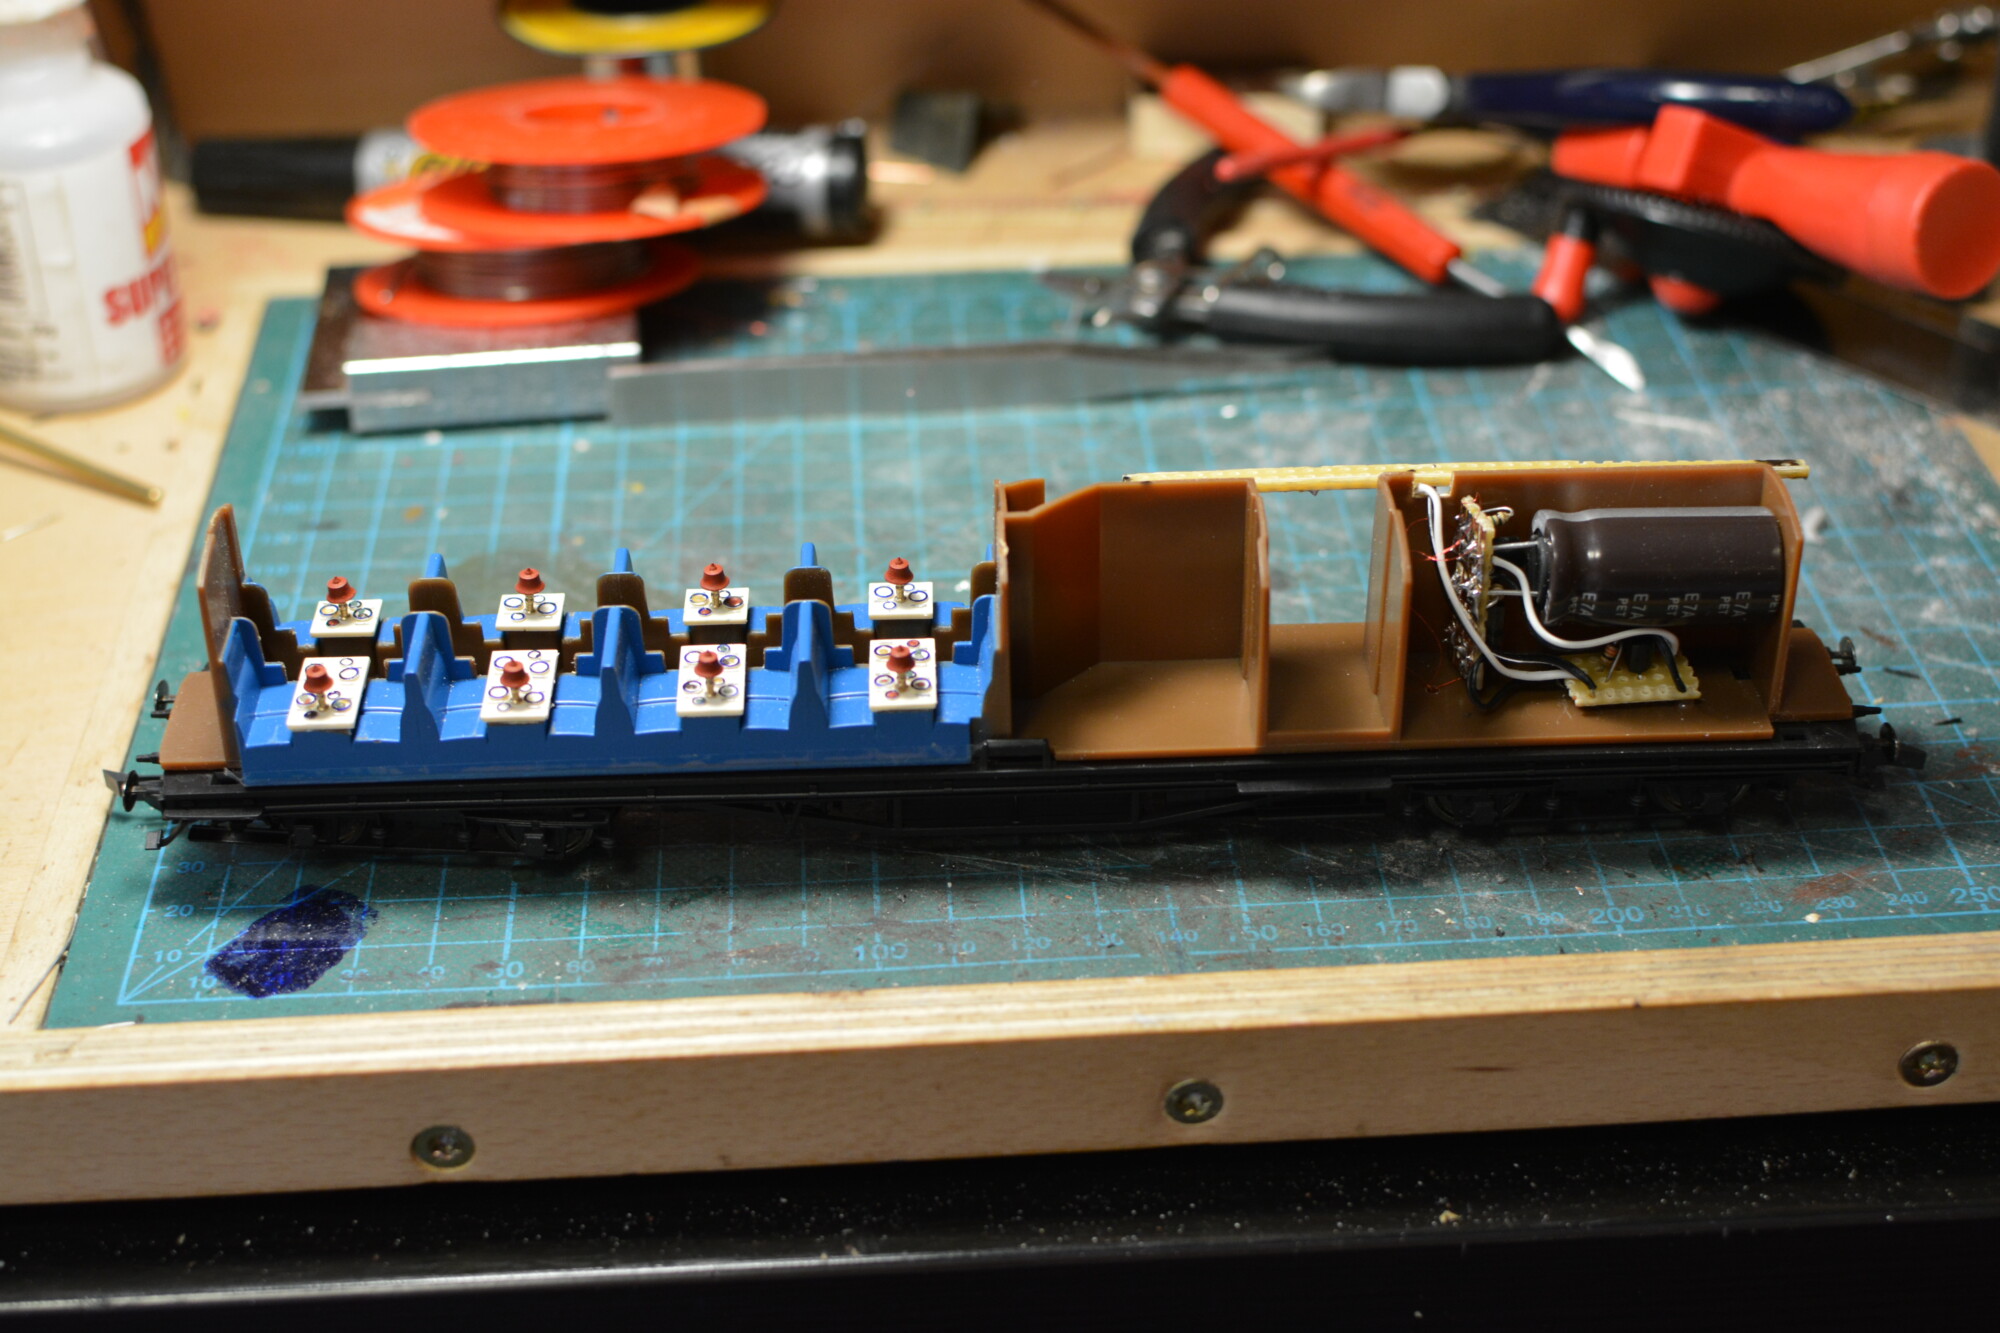
The wiring
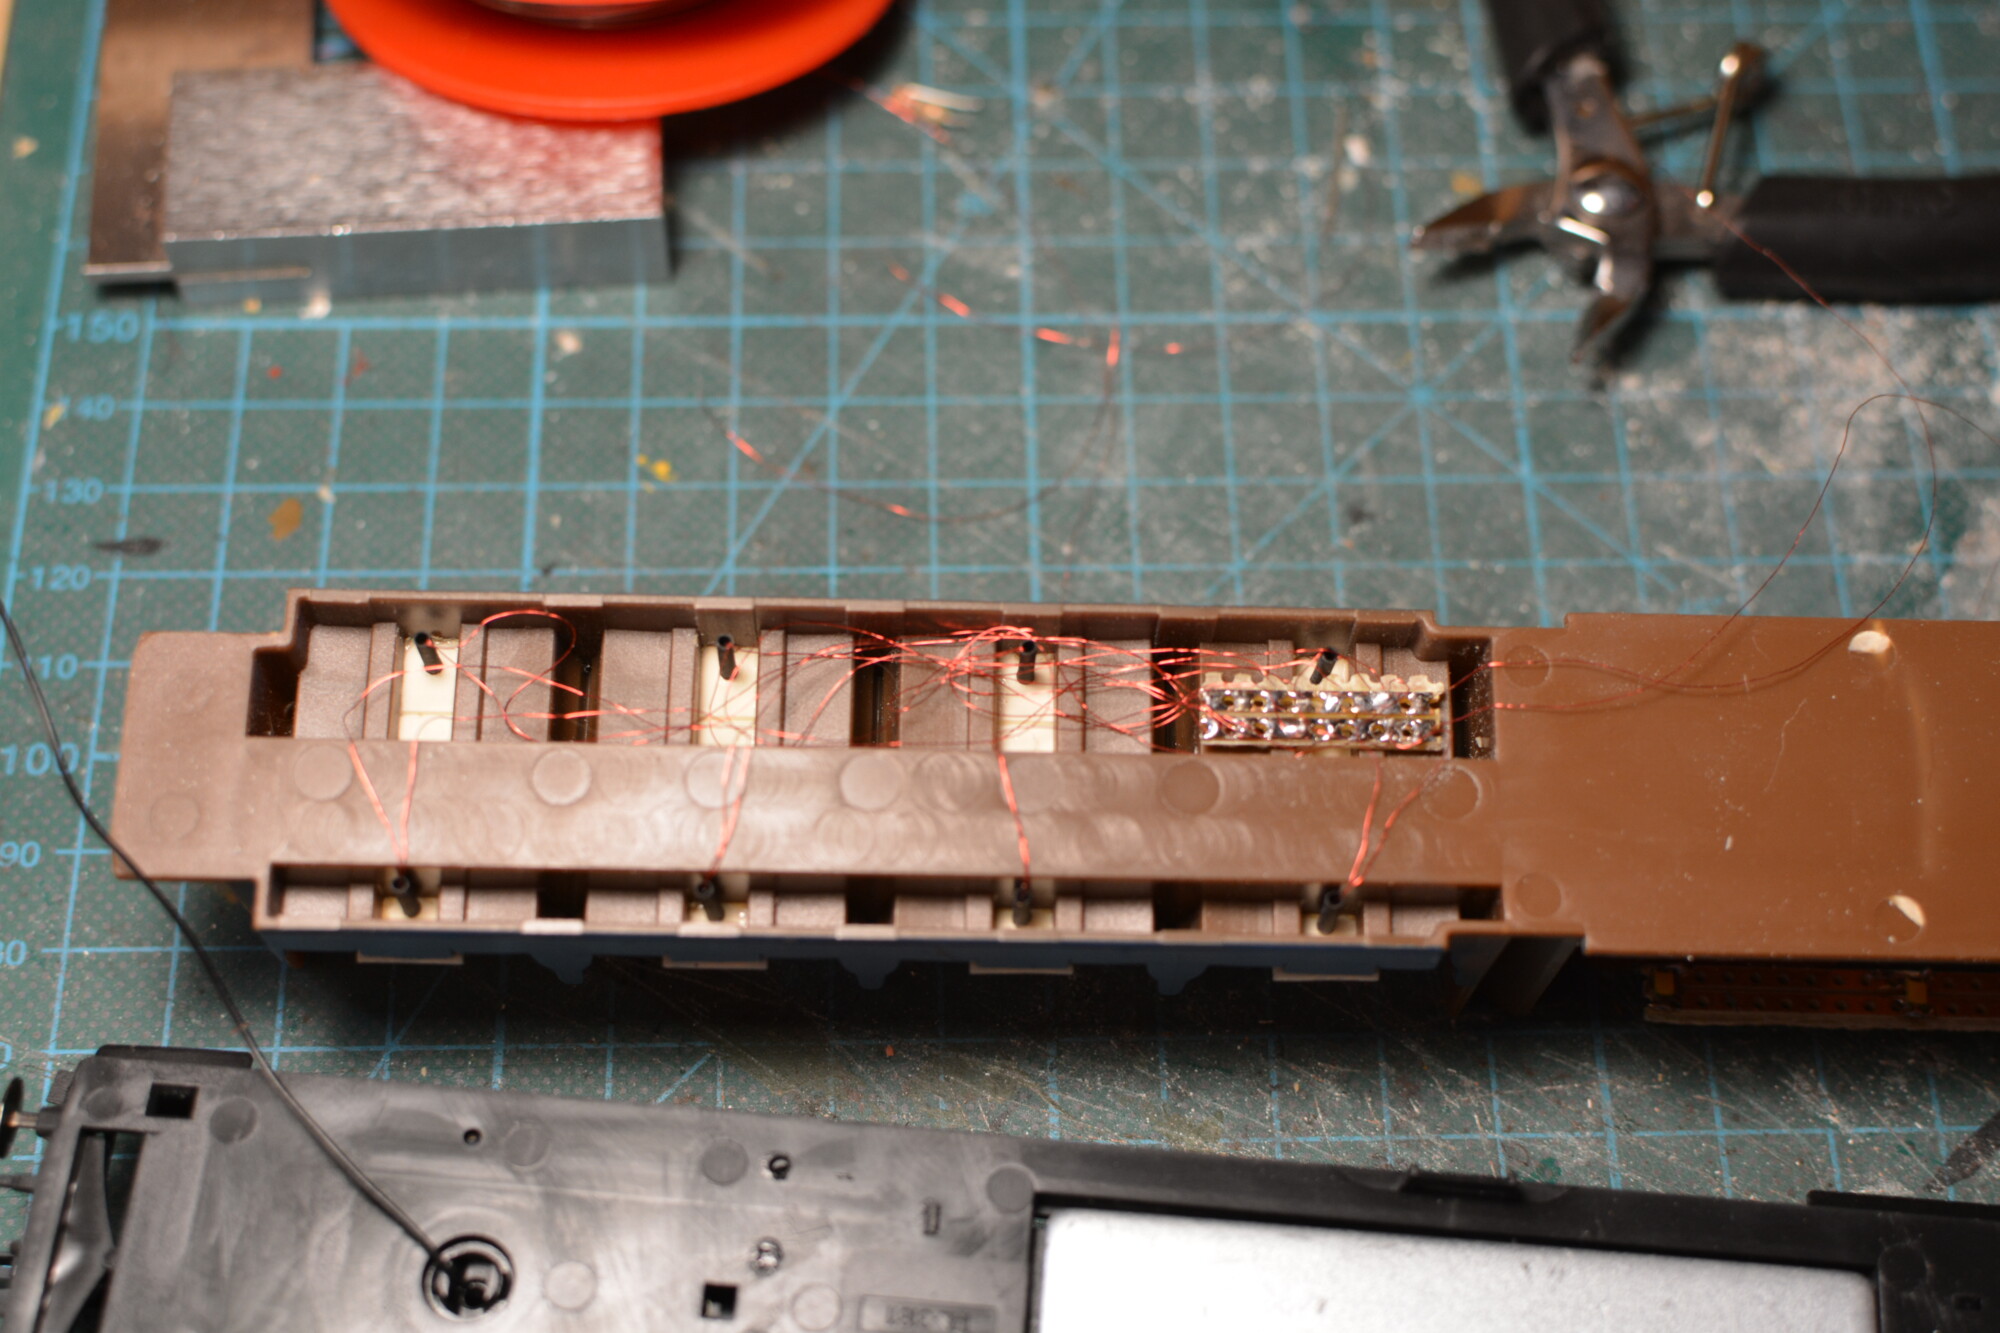
The coach will be wired in a similar way to my other recent carriage lighting projects, with current picked up from springs on the axles and fed to a capacitor to prevent flicker. The lamps will then draw power from this capacitor via a constant-current source. This arrangement has the benefit of keeping the lighting brightness constant, right until the capacitor is almost empty, whereas my earlier attempts using current-limiting resistors would result in the lights dimming as soon as track supply was lost, no matter how large the capacitor.
I’ll be covering coach lighting in detail in a future post, including the addition of a home-made DCC decoder to control the lights.
Each table has two enamel-coated 0.12 mm wires that need to be connected. These are very thin, meaning they can be run almost anywhere without having to take a file or dremel to the coach chassis or interior.
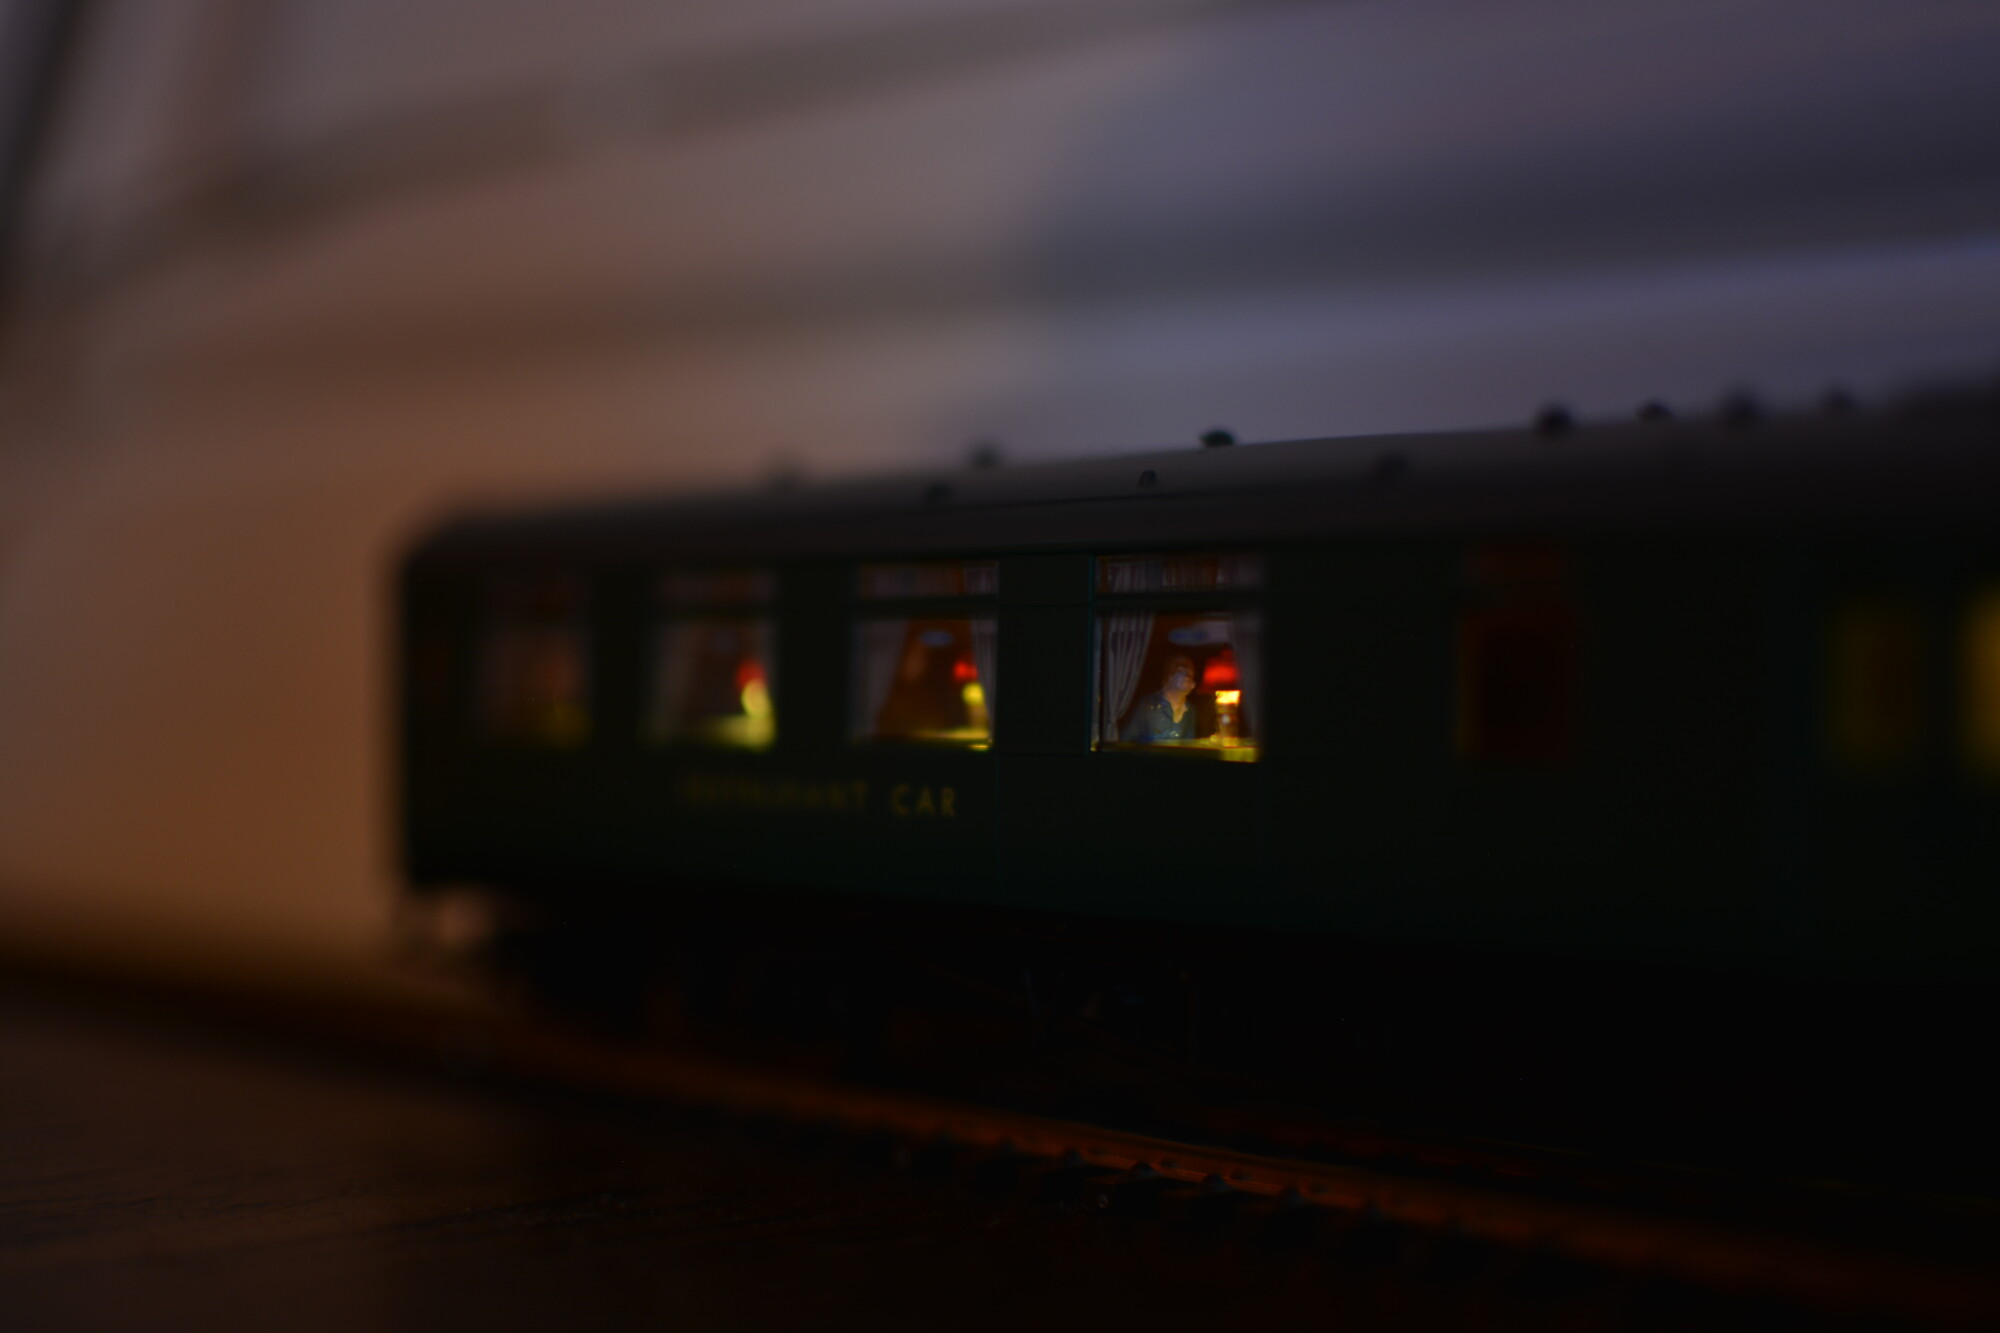
The diners
To finish off the interior, I added a selection of figures to some of the tables. These are the cheap unpainted HO-scale figures I bought a large pack of a few years ago, and they do the job just fine. They’re slightly under-sized for 4mm, but to be honest, it’s hard to notice, plus it makes them easier to squeeze in!
The end result
Below is a small selection of photos that show the finished coach. I’m really happy with how these table lamps turned out – they really do add something special and bring the carriage to life. The lamps are a lot more detailed than the working lamps in the Hornby Pullmans, and DCC Concepts should be commended on producing them in 4mm scale.