Introduction
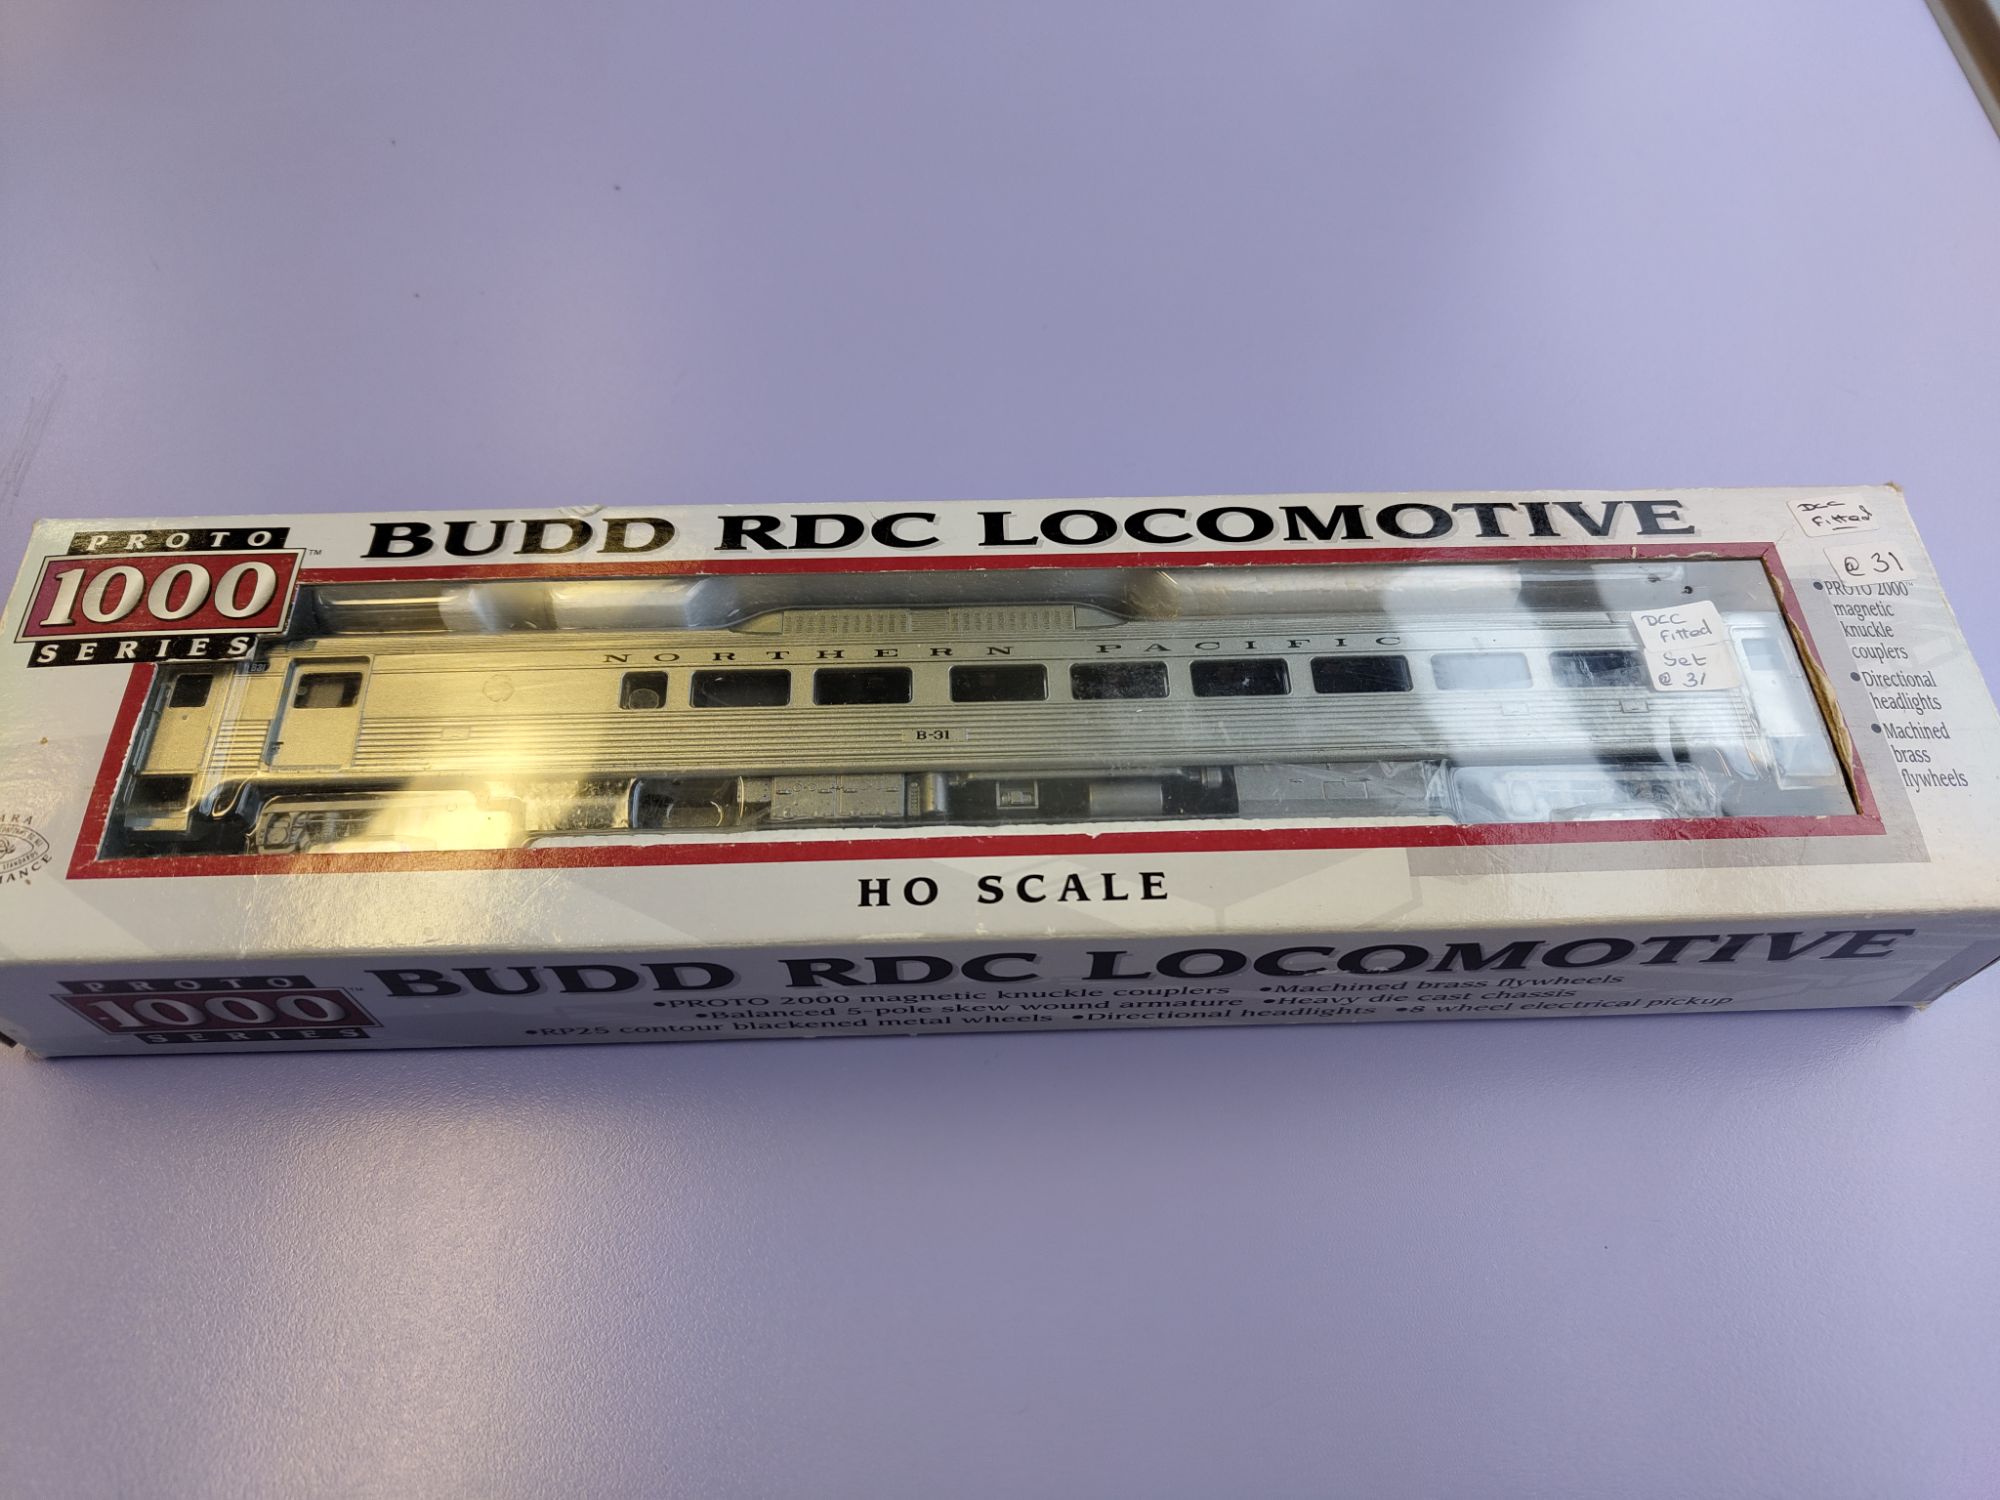
At a recent model show, Dad picked up a Budd Rail Diesel Car (RDC) on a whim. This is not the normal kind of model we’d normally look at, but for some reason it stood out as a fairly decent model, and the price of £64 DCC-fitted didn’t seem too bad.
The prototype
I knew absolutely nothing about these RDCs before seeing this model, but they have an interesting history. I won’t write all about that here – pages such as this one do a much better job than I could. In short, they were single-vehicle railcars that were built around the 1950s. They had great success on less-traficked lines, as they were reliable and cheap to run. Railroads also liked them because they could be coupled together to form multiple-units, so a fleet of one vehicle type could service several different use-cases, further reducing cost and increasing flexibility.
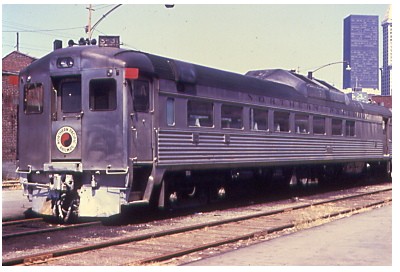
As far as I can tell, the Budd RDCs were mainly used in the northern US and parts of Canada. I believe some are still in use in on some Canadian lines – see this rather charming video from 2022. Some time on Youtube also revealed that Rapido Trains bought their own RDC back in 2016 to save it from the scrapheap.
Inside the model
Unfortunately, when we got it on the track, we found it wasn’t responsive on DCC, despite running fine on DC. A quick check with DCC Decoder revealed responses of 255 for all CV read requests, which essentially means a non-responsive decoder. That good value purchase maybe wasn’t quite as good as it first appeared! So it was time to open it up and fit another decoder.
Oh boy. Opening up the RDC revealed I had quite a bit more work to do that originally thought. The existing decoder (Hornby R8249 I think) was hard-wired in, and simply plonked in the cabin for all to see. Additionally, the headlights are incandescent bulbs – typical for models of its age, but unsuitable for a modern DCC model, as they will really reduce the amount of time the keep-alive will provide power for. I decided to strip out all the questionable wiring, install an eight-pin NEM 652 socket, a keep-alive, and paint and light the interior.
Preparation
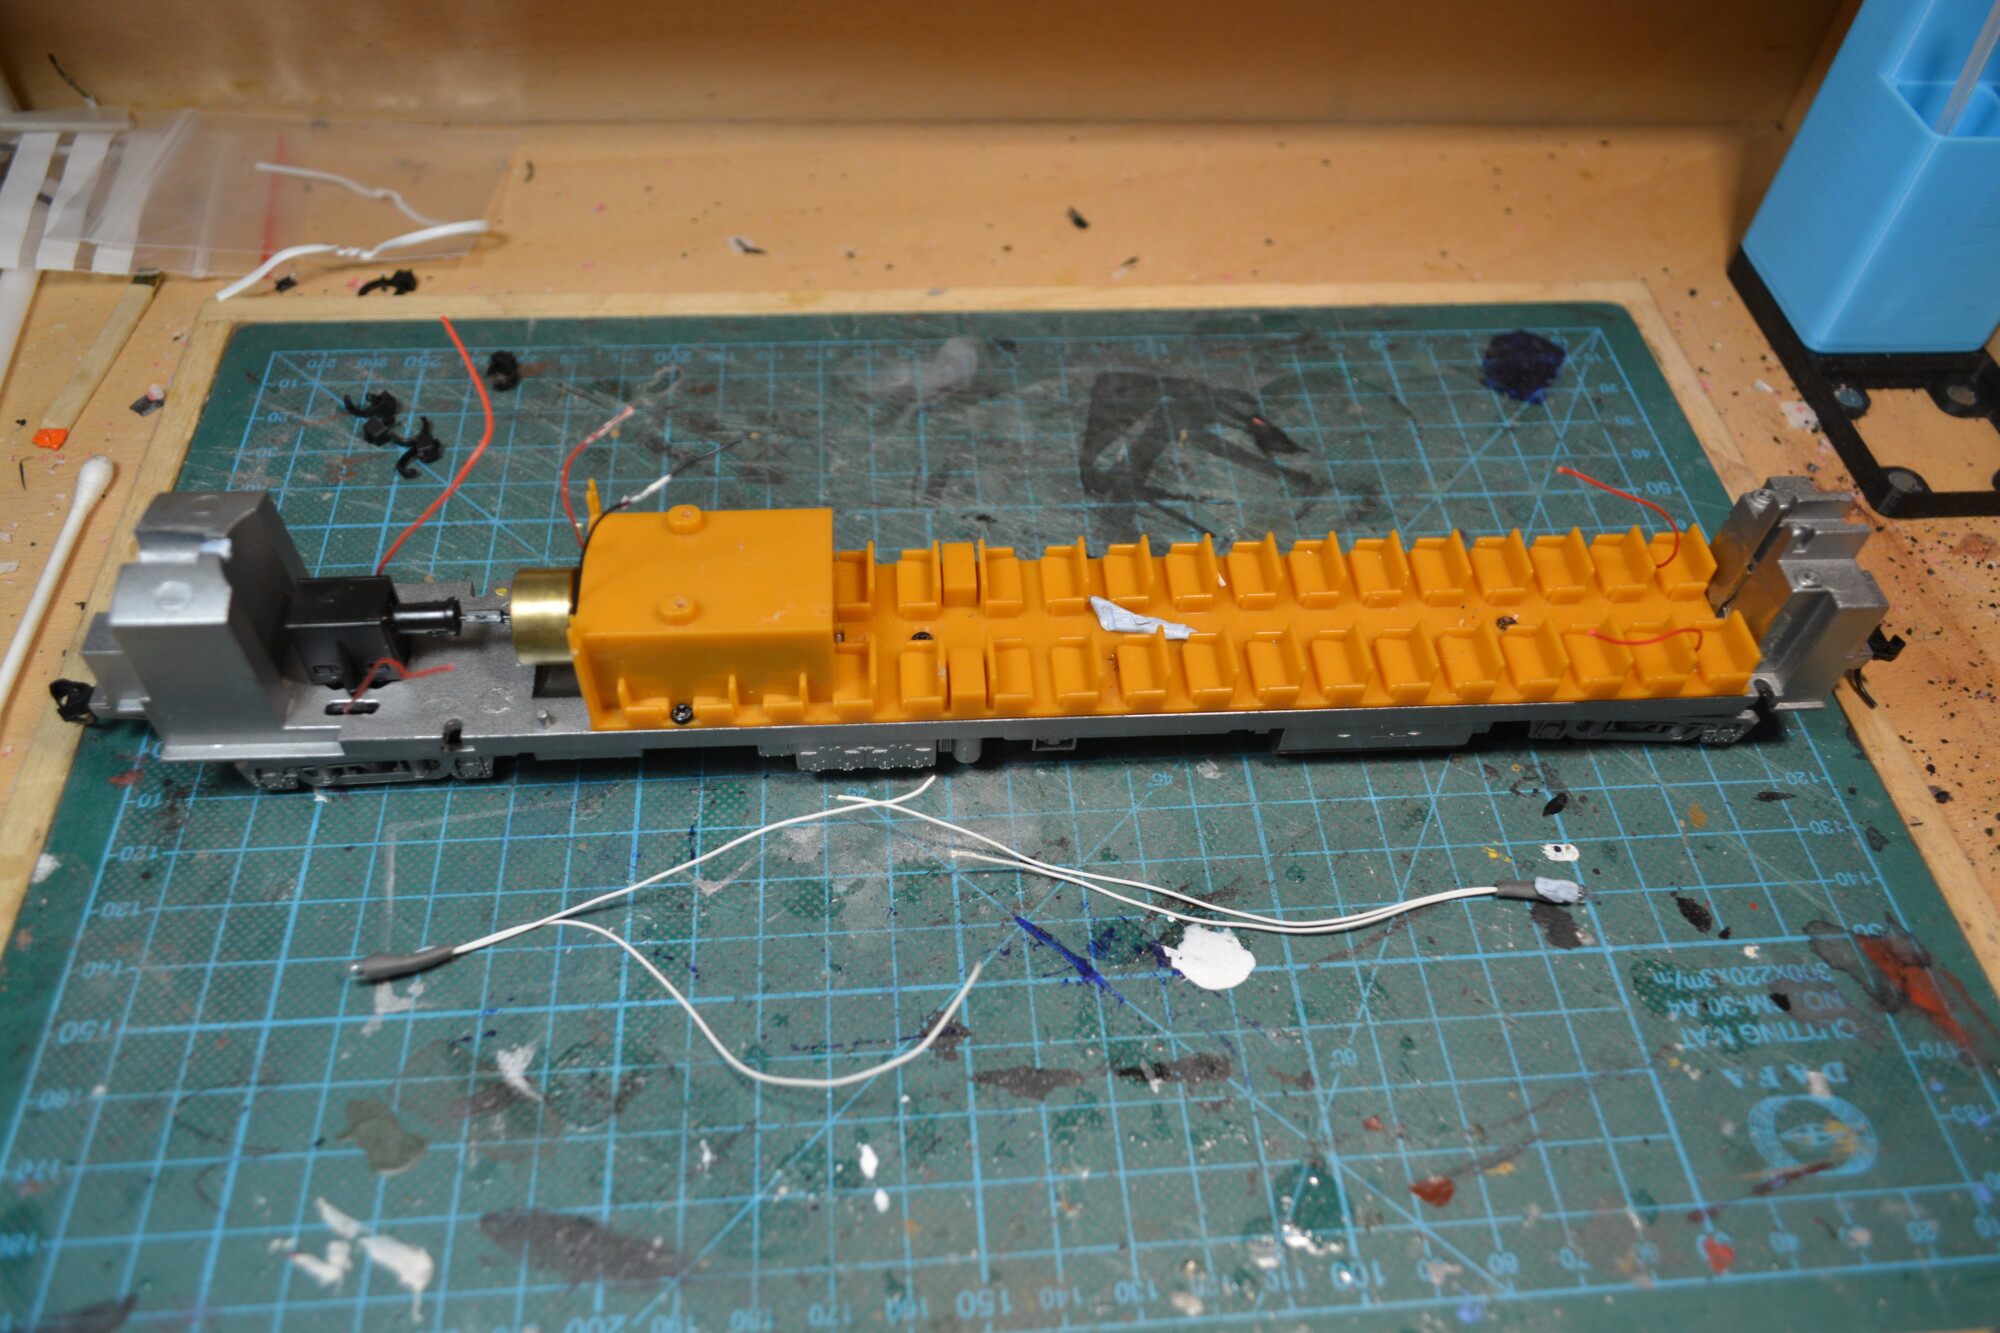
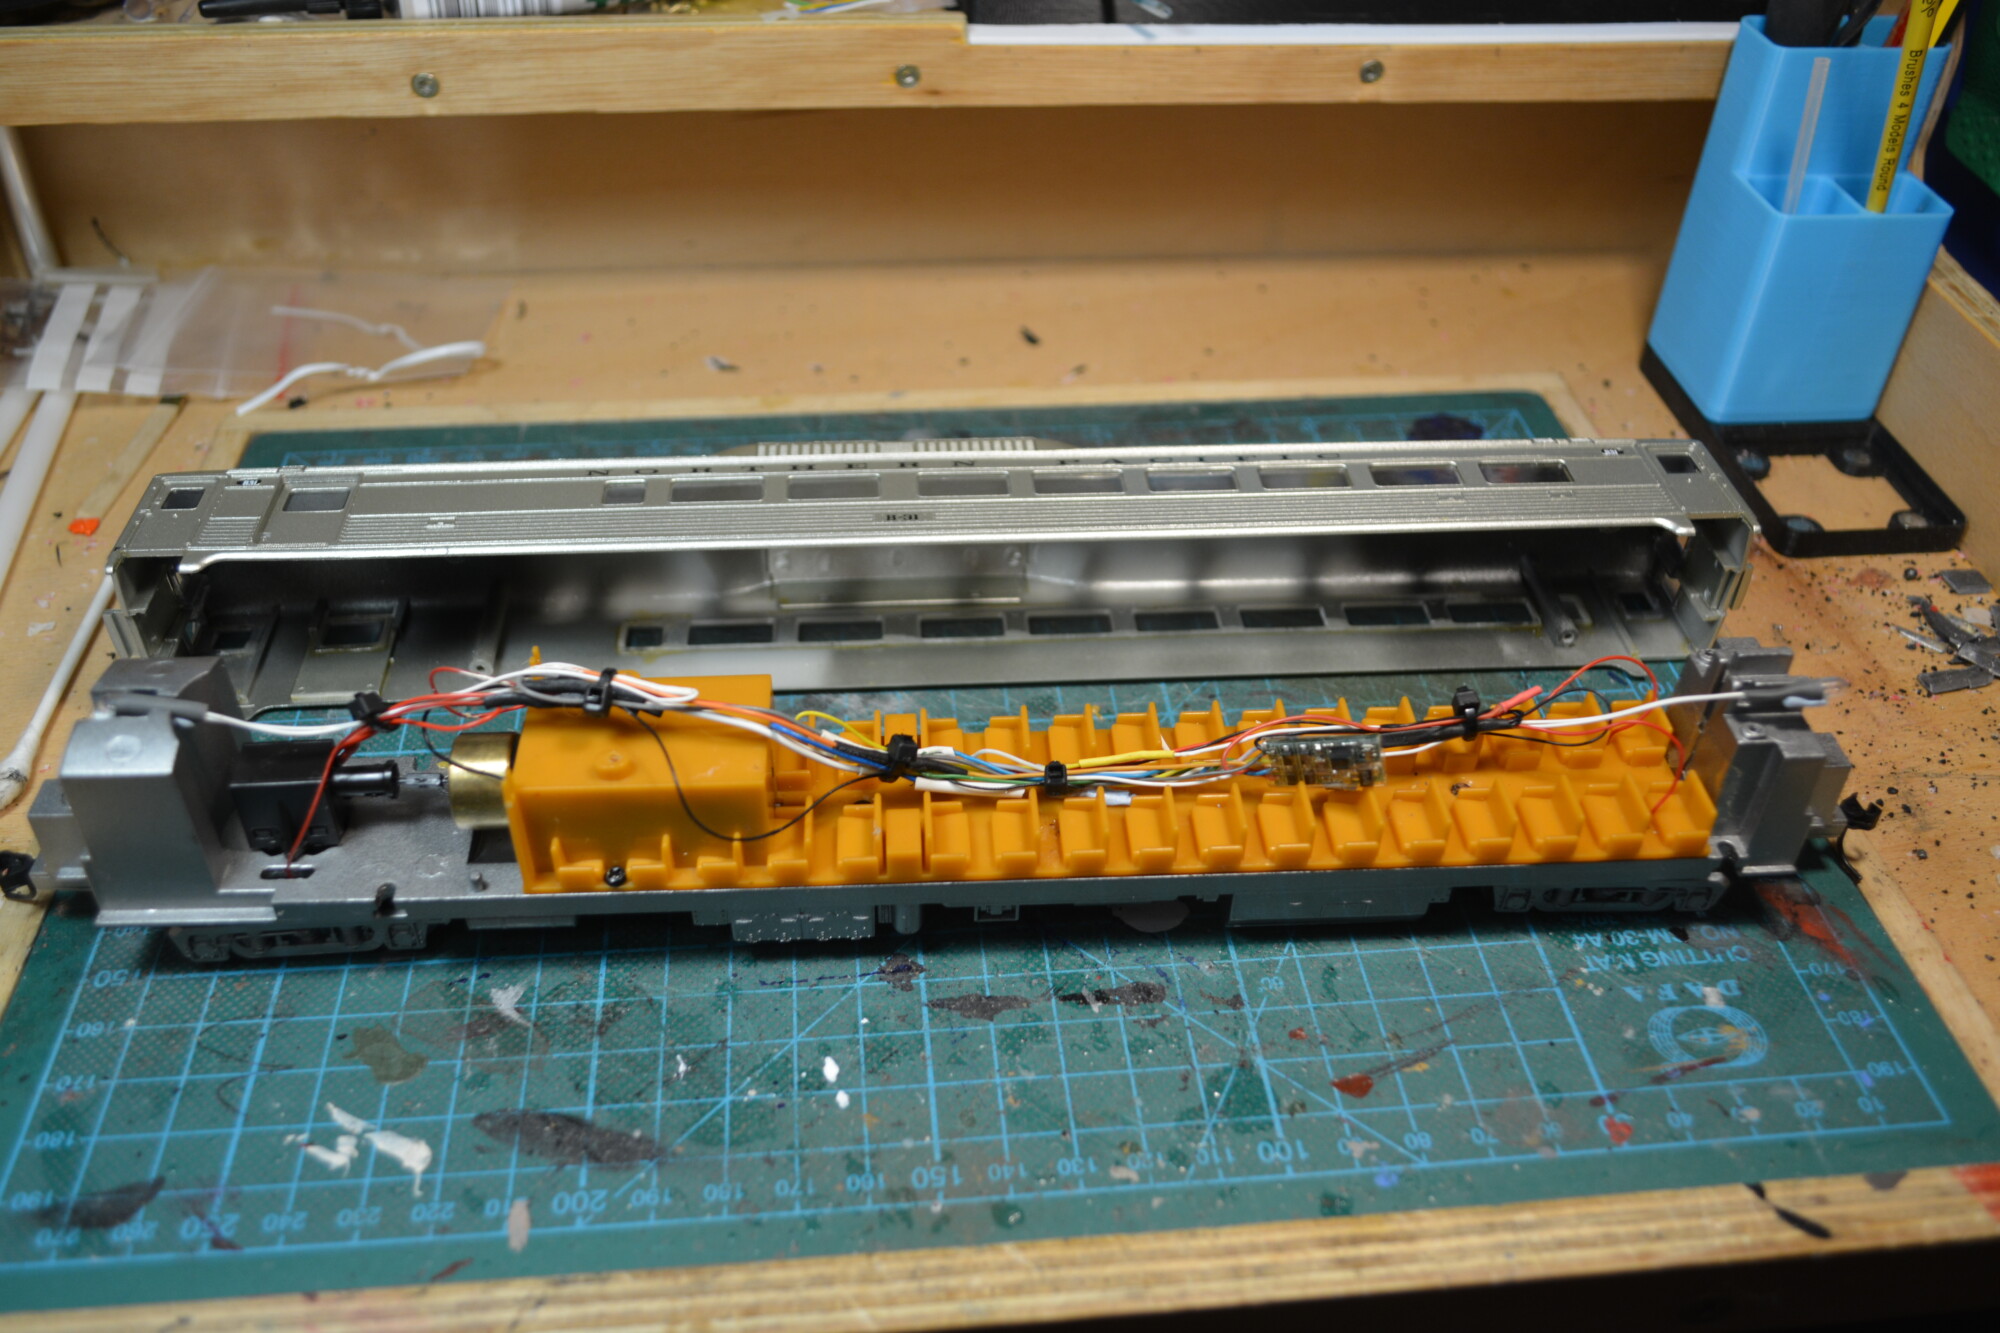
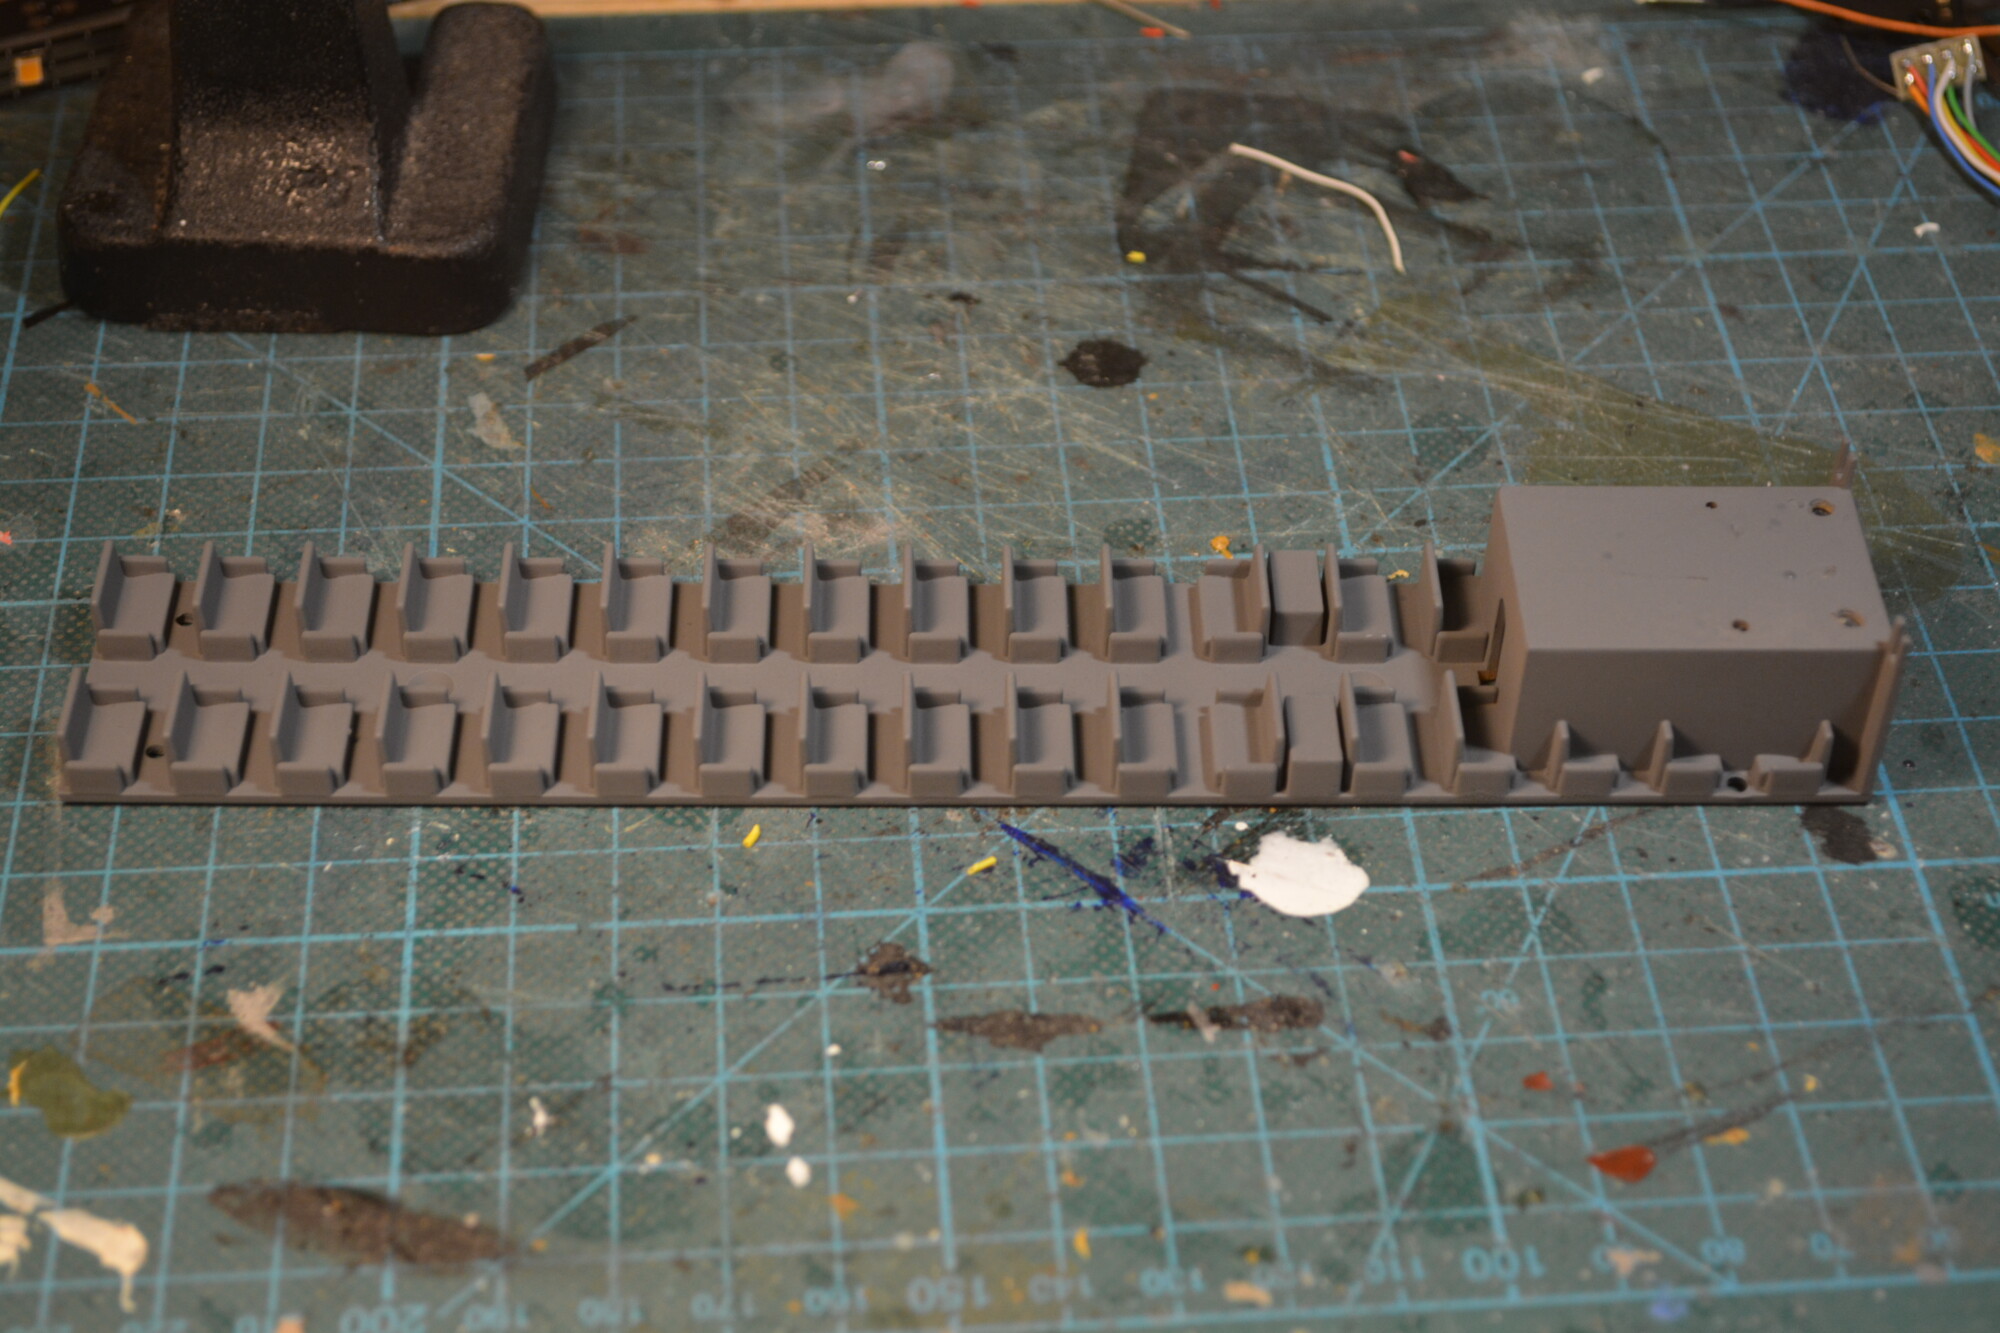
The DCC decoder and socket will be installed on top of the motor housing, so the lugs (I think these used to hold the factory-fitted PCB, but that PCB is long gone!) needed to be removed.
I planned to fit one of my lighting PCBs to light the cabin. In order for this to fit, two horns that are part of the casting at the other end needed to be removed.
As supplied, the pickups from the trailing bogie come up through holes in the “footwell” in the final seating row. This will be rather obvious when the cabin is lit up, so I drilled some holes in the rear face of the moulded seating piece. This allows the wires to run up the end wall, which will be harder to see.
Decoder installation
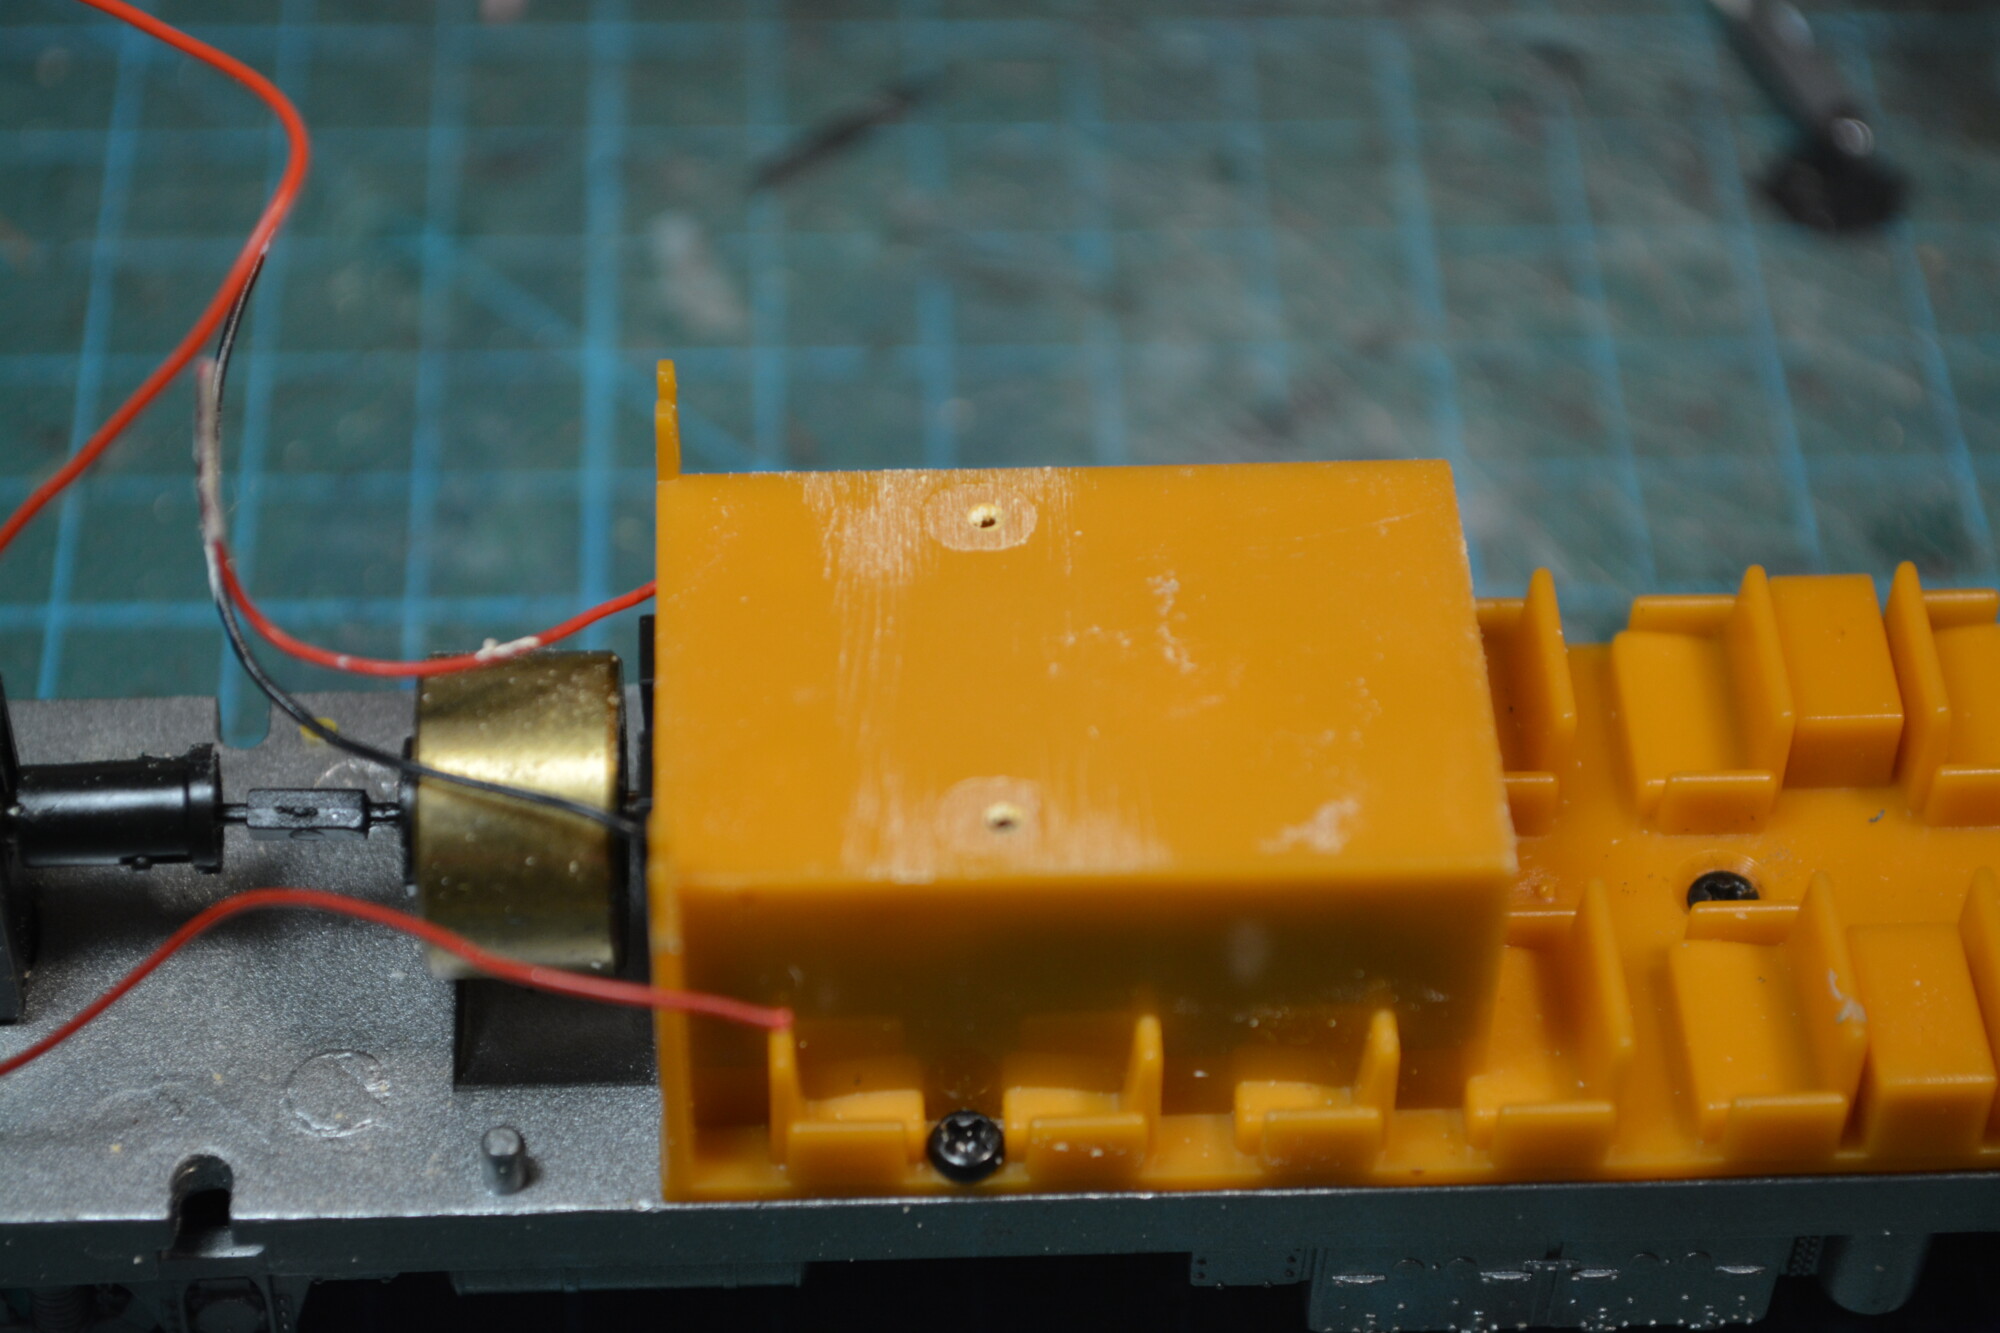
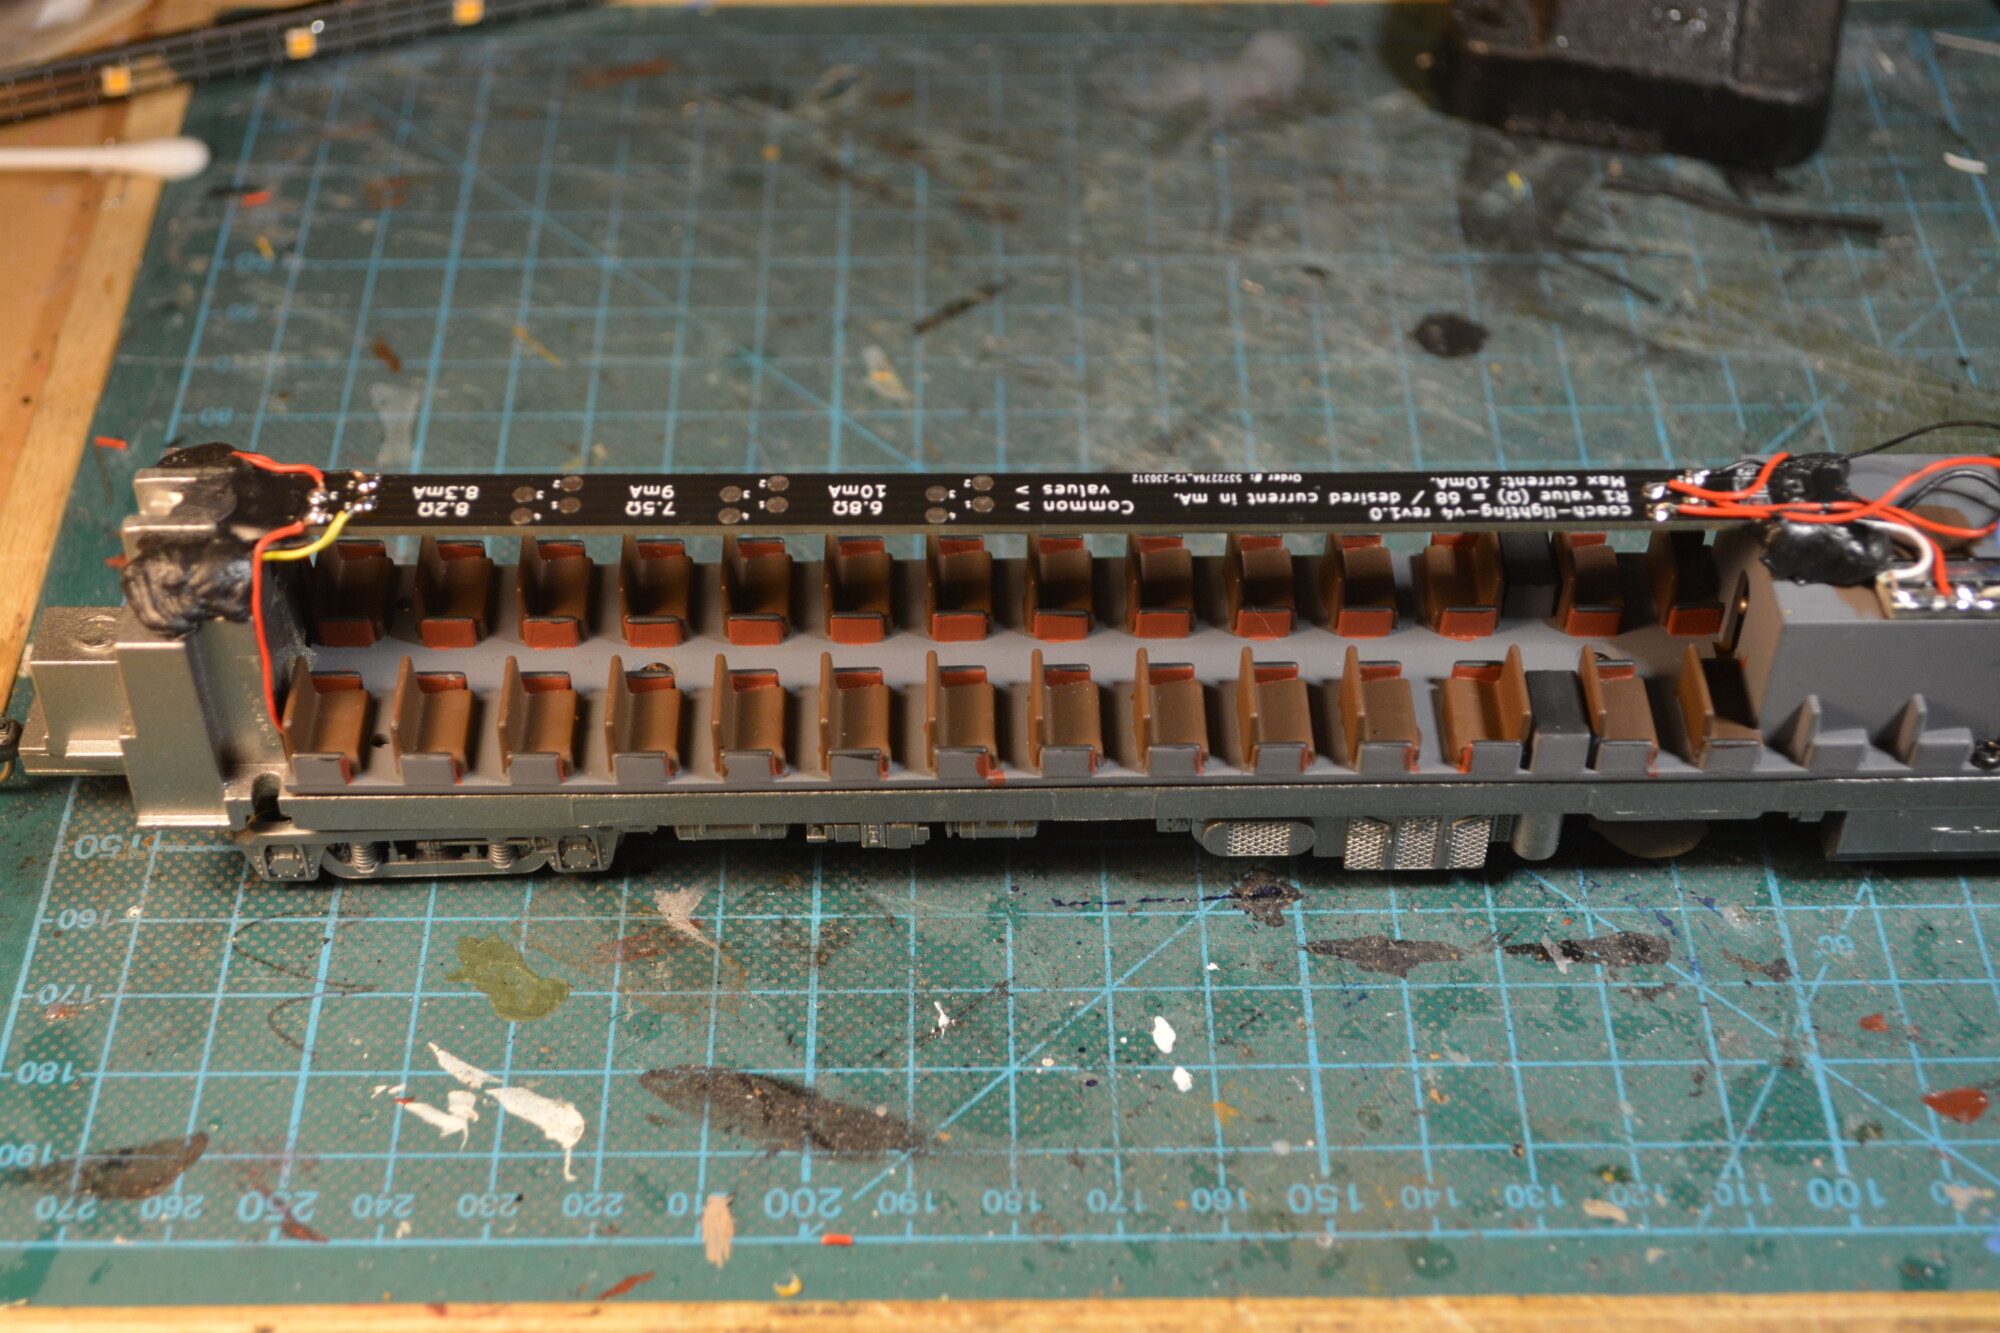
I had an old NEM 652 socket lying around (probably from my sound Bachmann 4MT mogul sound install), which I fitted using a pair of screws carefully self-tapped into the plastic housing. I also fitted an offcut of an old lighting PCB, for sharing out the common positive to all the lighting functions.
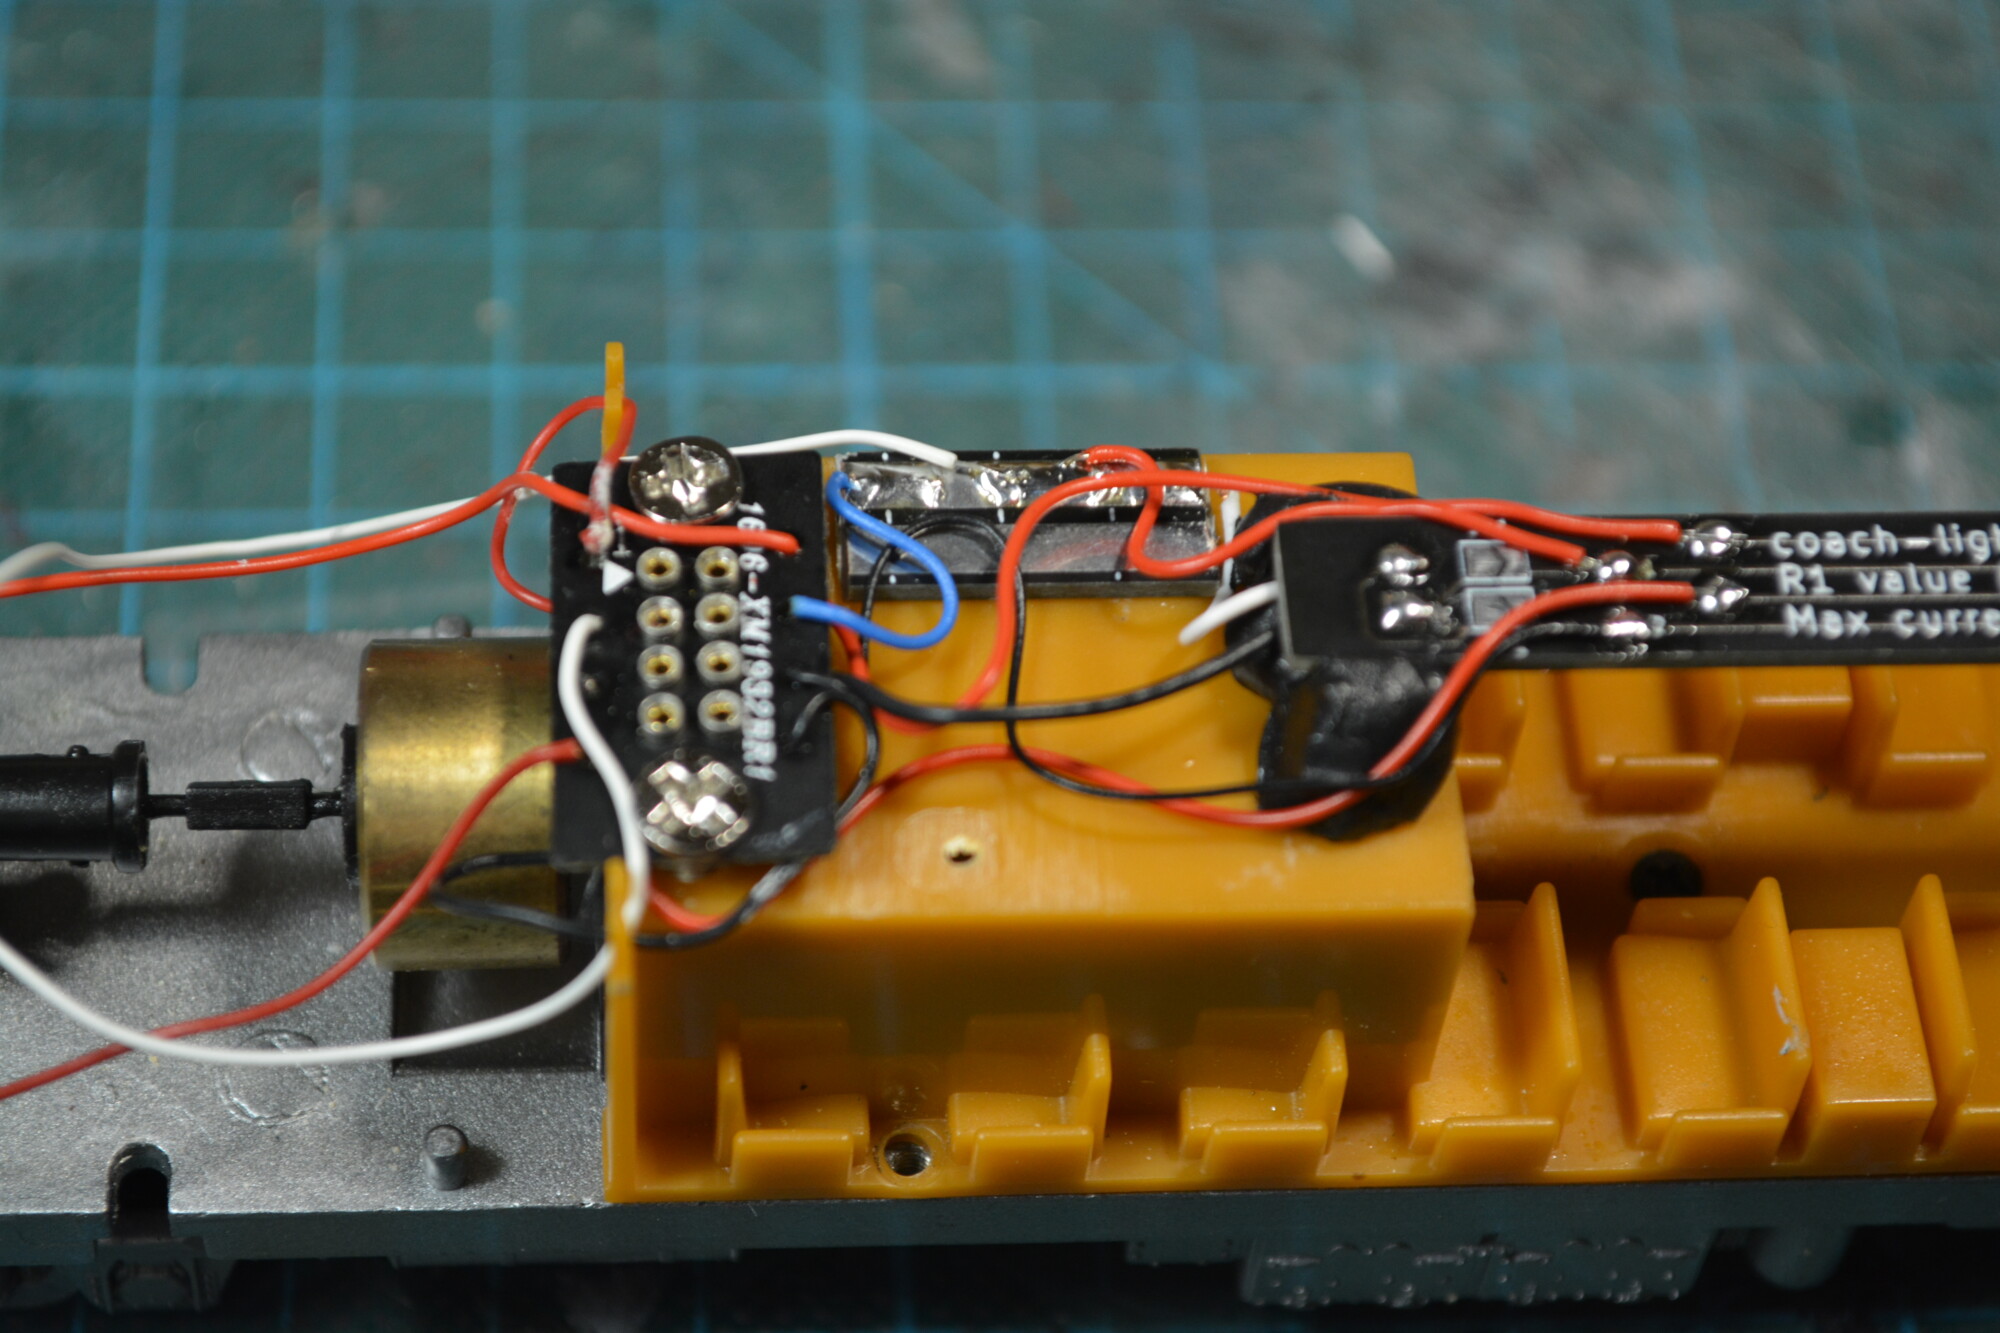
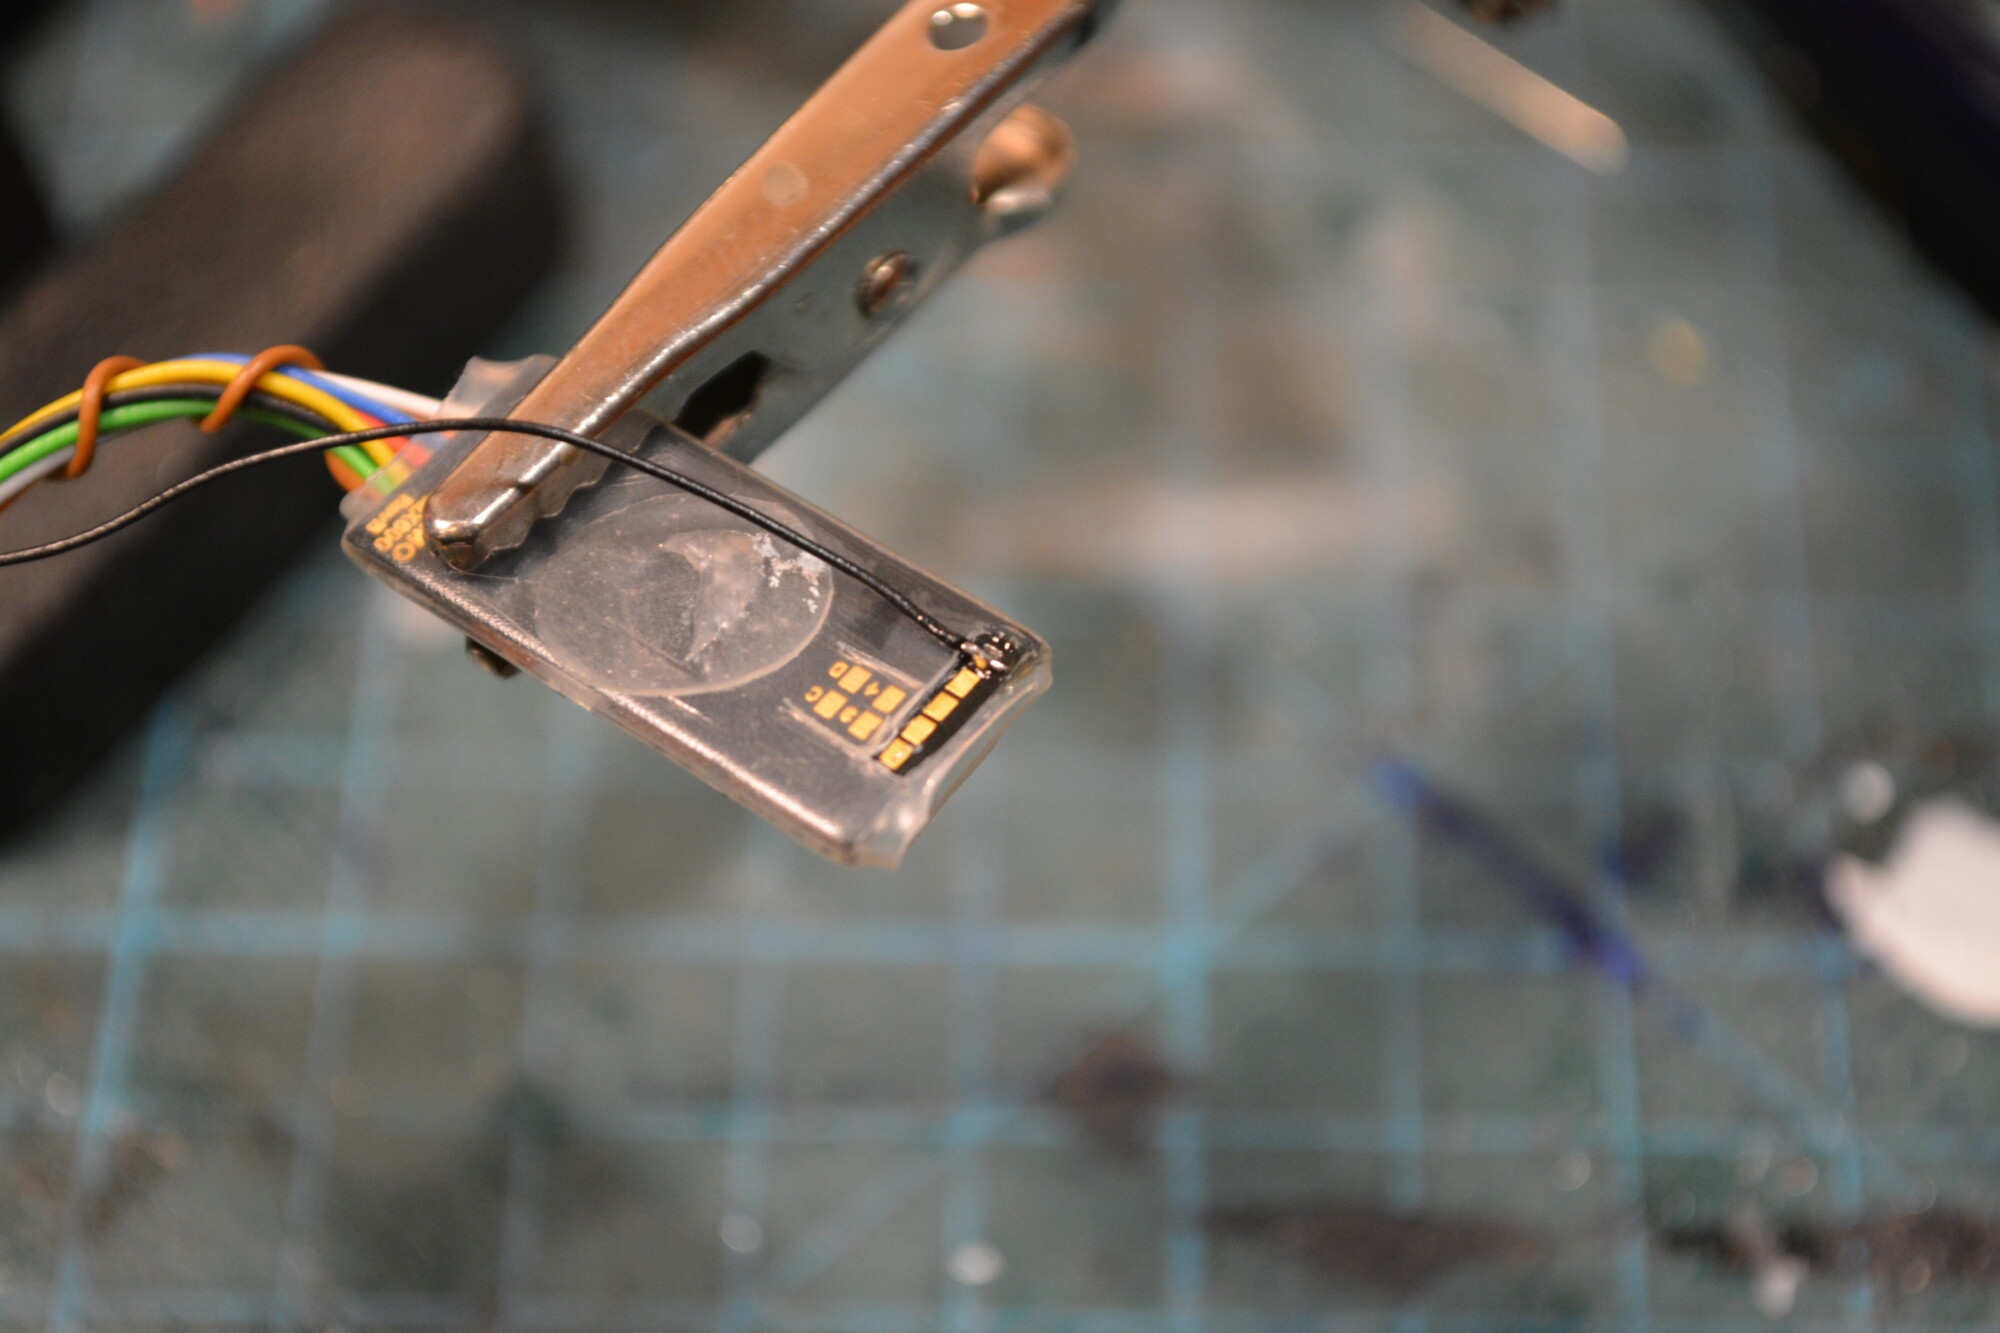
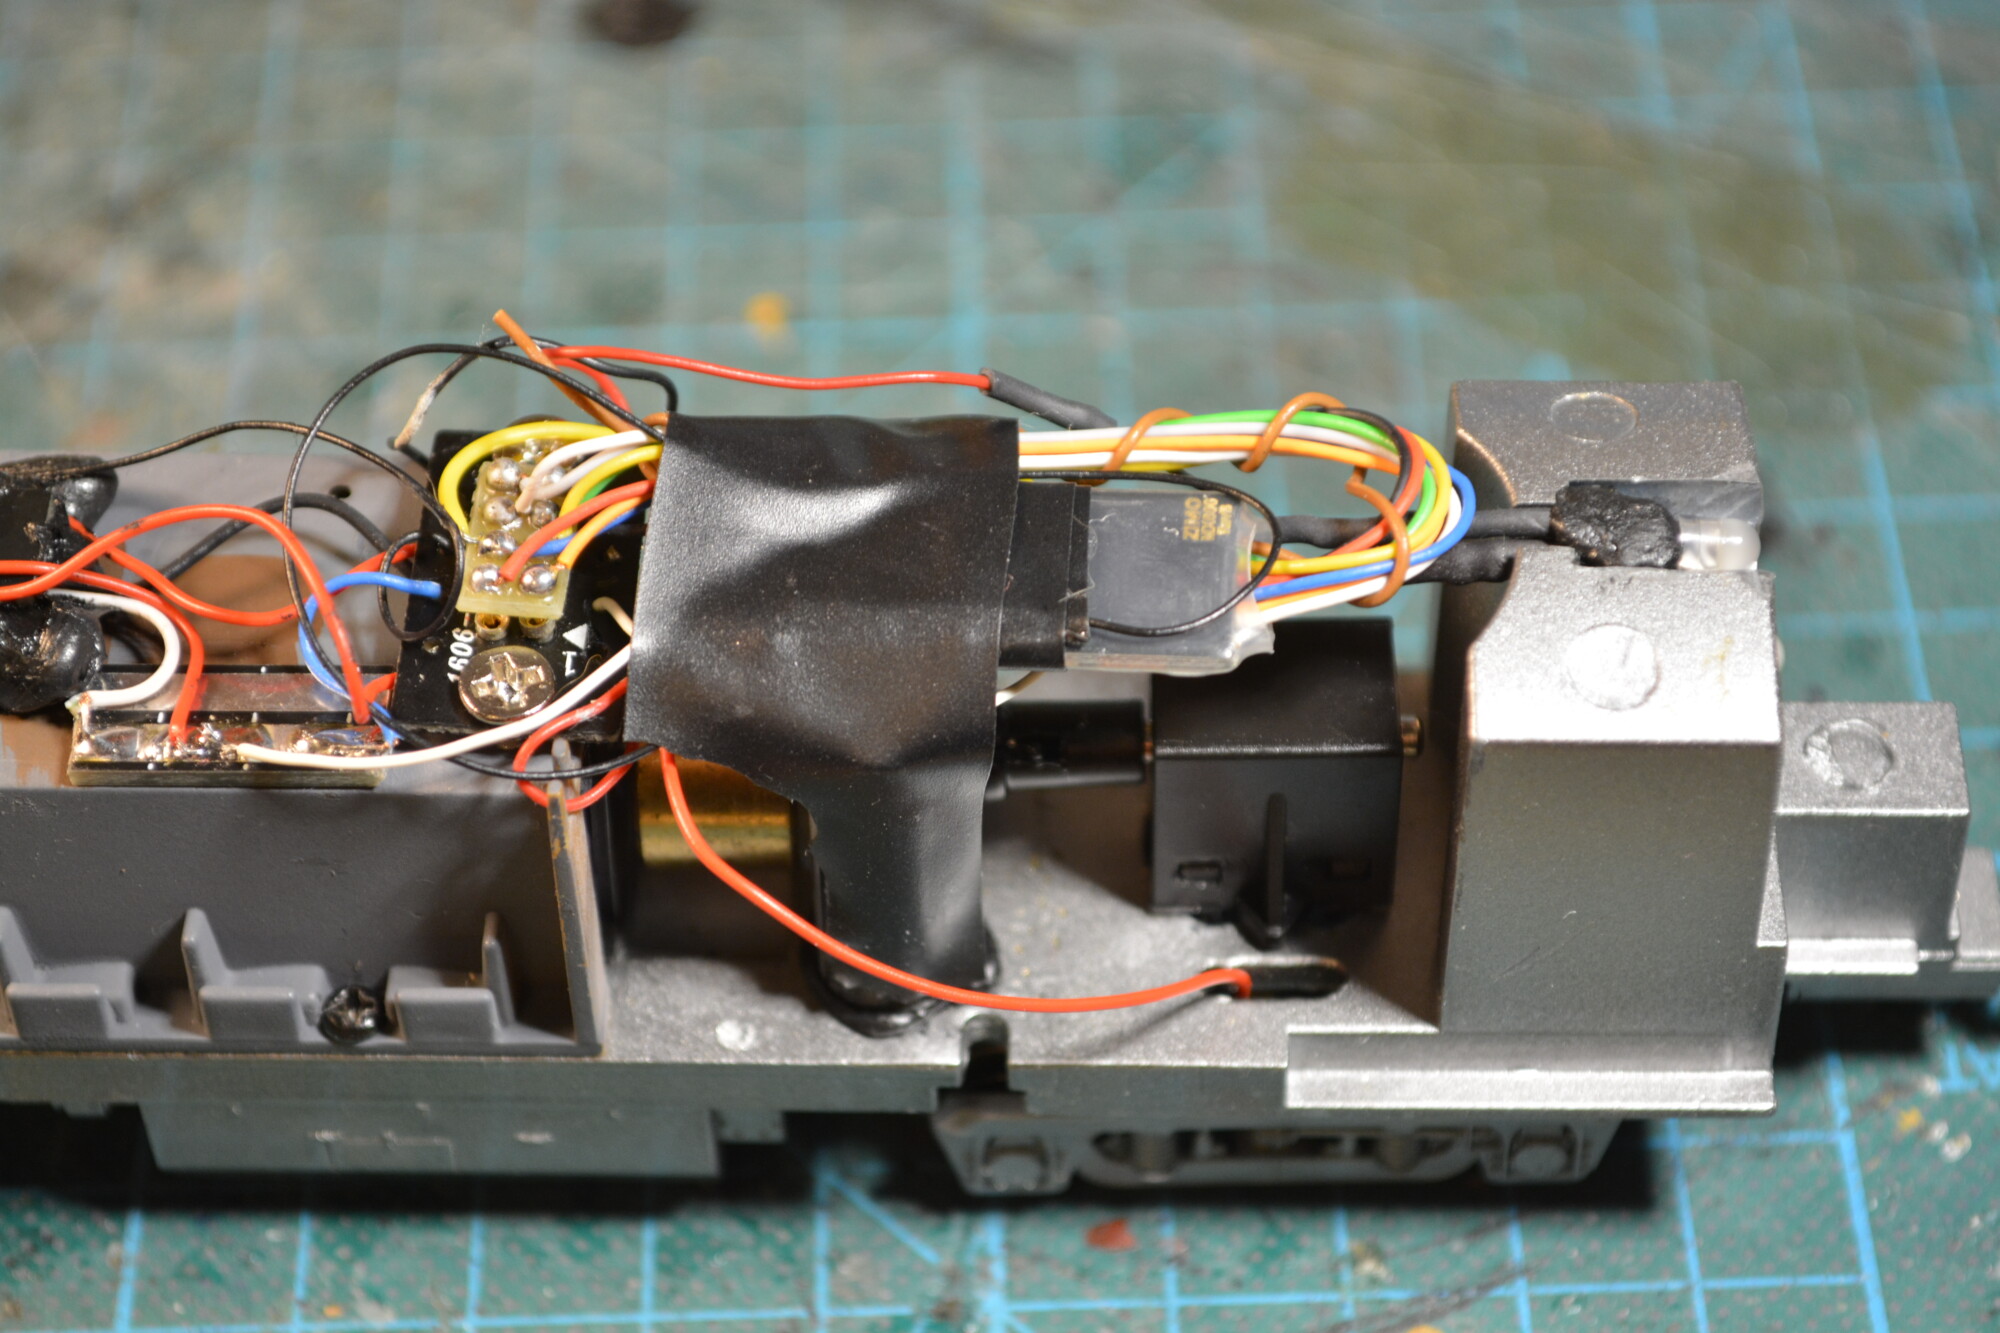
The decoder I installed was a trusty Zimo MX600 – in my opinion the best non-sound decoder you can buy. At £25 these are excellent value vs comparable offerings from Lenz and other manufacturers. As usual, I’m fitting a keep-alive, so I needed to find ground on the decoder. The new 2023 revision of the MX600 has moved the ground pad to the end of the row of five pads on the back, as shown in the photo below. This was my first time fitting a keep-alive to this new revision, so finding this took a little bit of probing around the PCB.
Painting
At this point, I realised I would need to remove the electronics I had just fitted in order to paint the interior moulding. My fault for not thinking ahead and just jumping into the wiring!
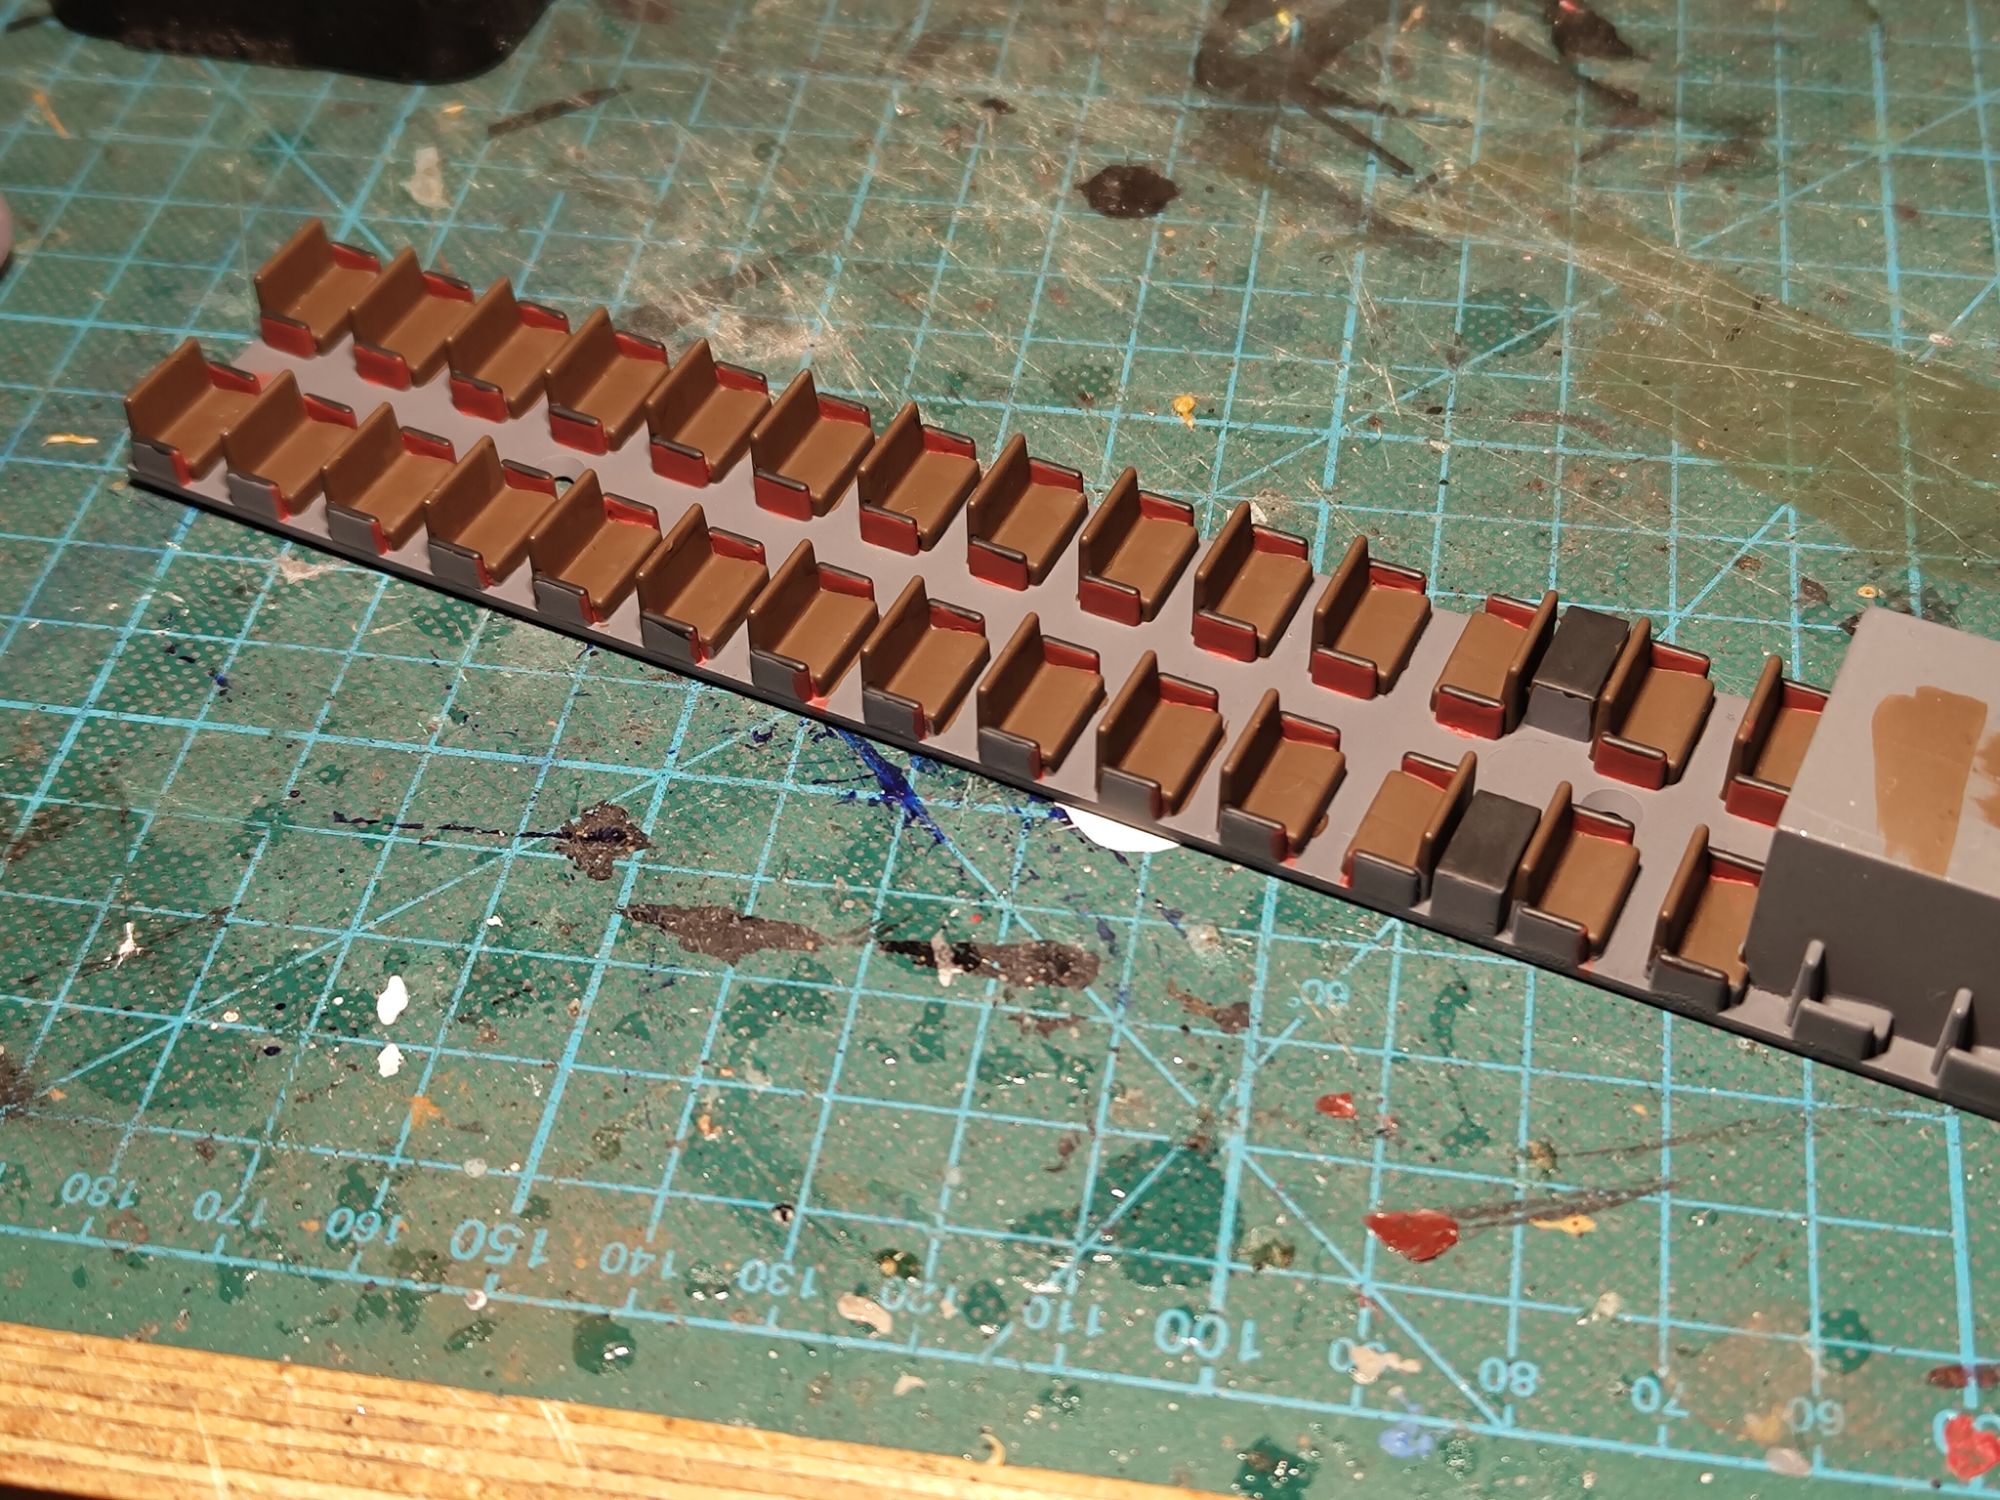
I started by giving the entire thing a cost of Expo light grey primer. This gives a nice matt finish that helps tone down the effect of coach lighting, and will also serve as the colour for the floor.
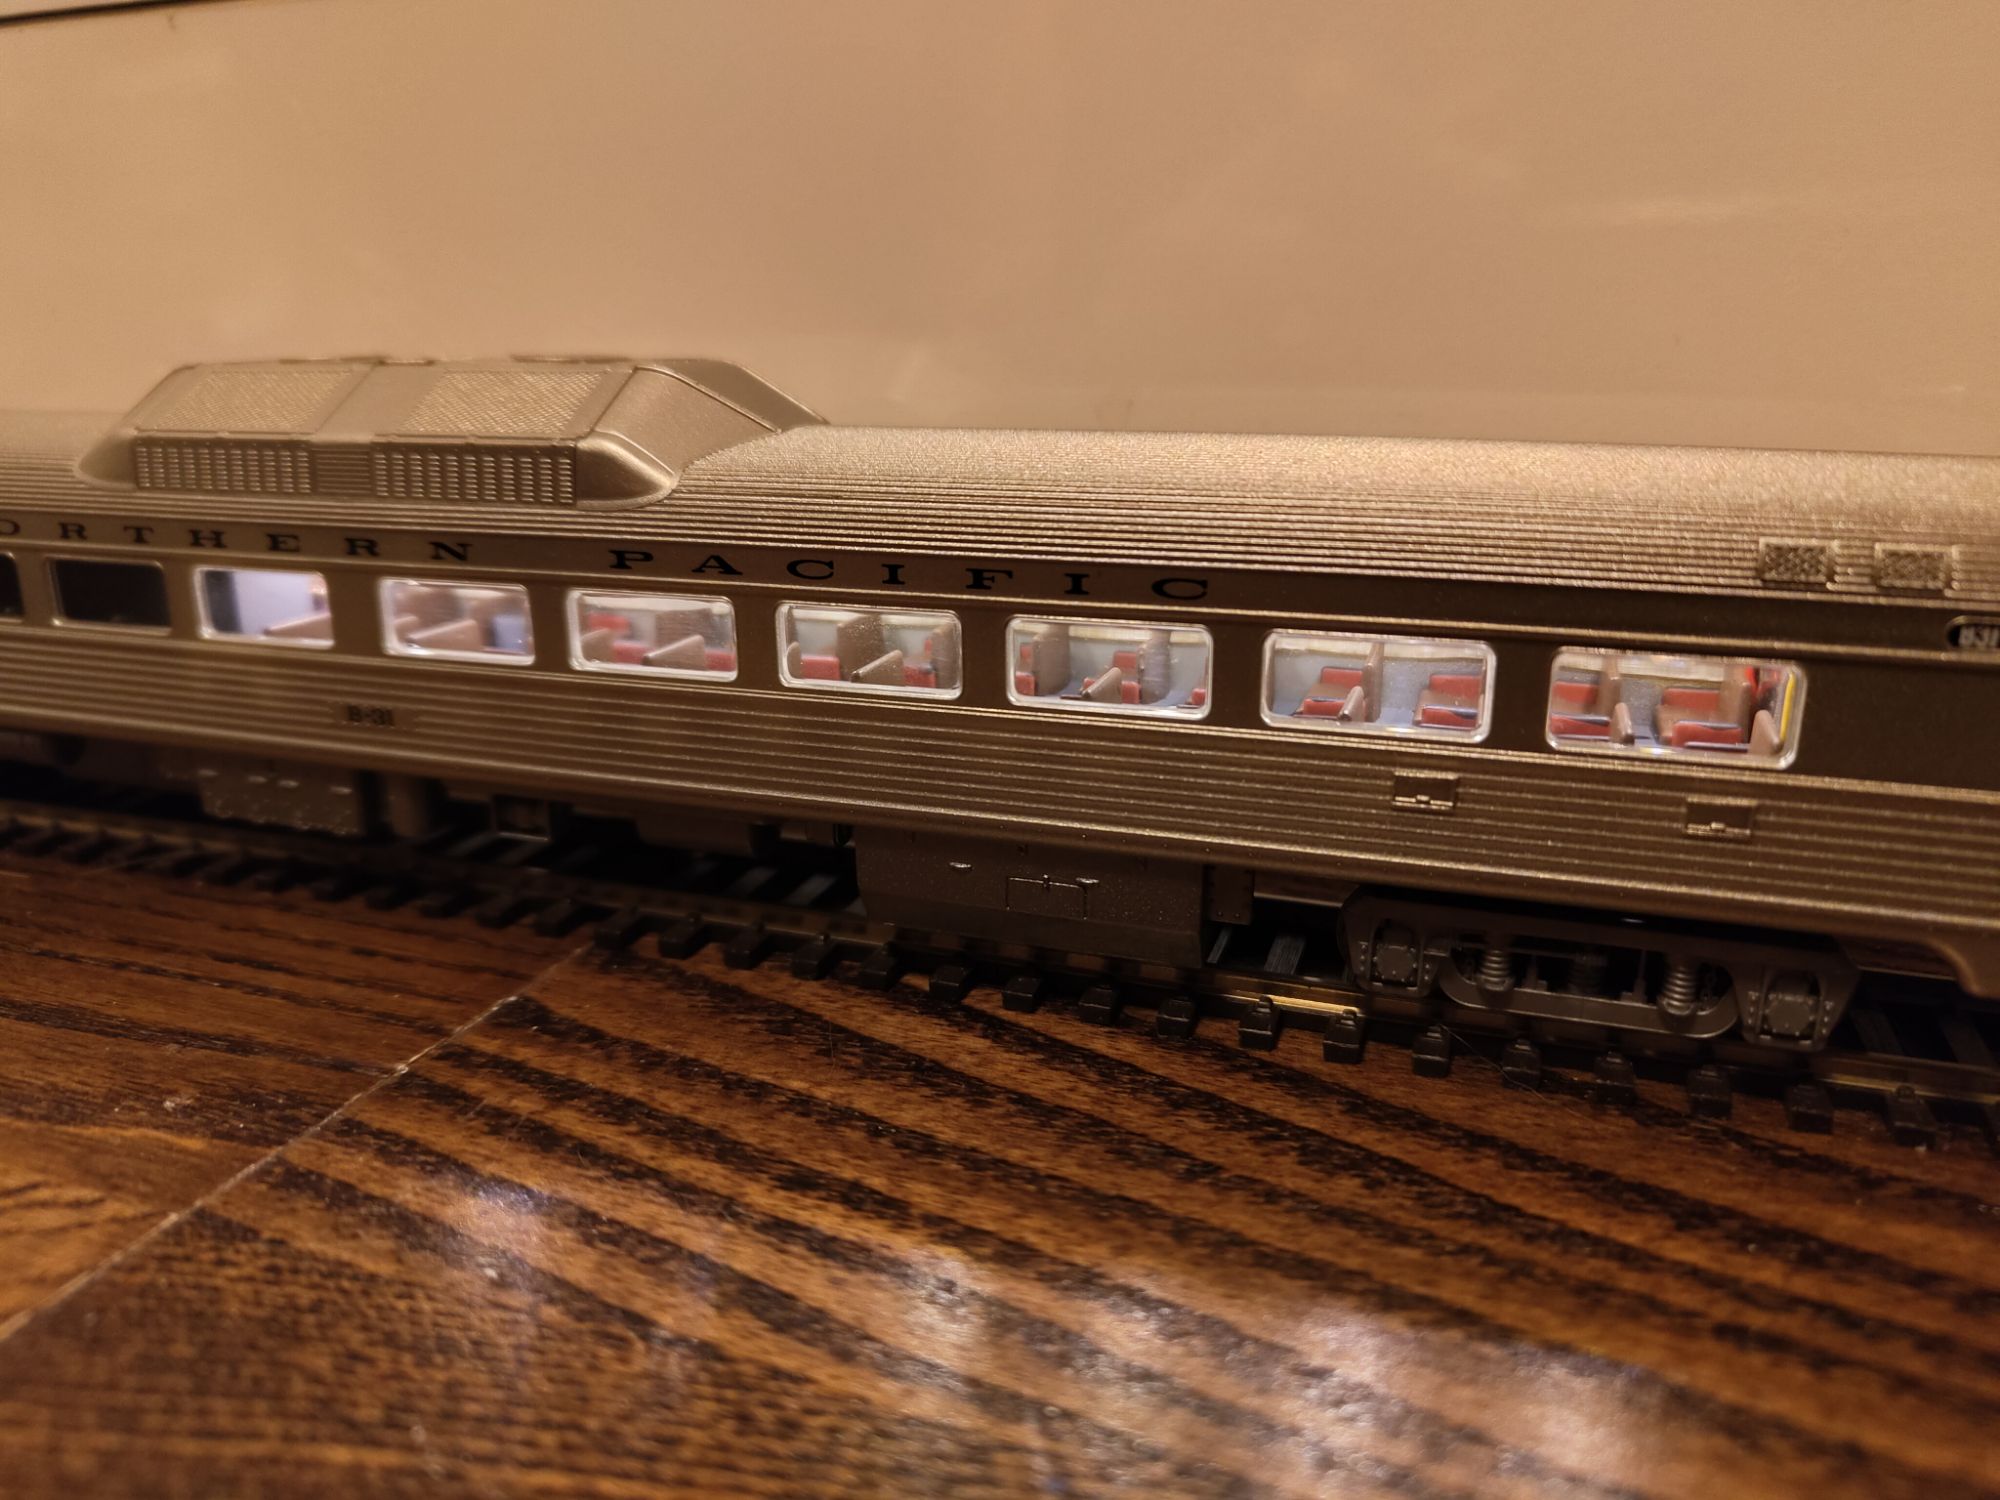
Next up was painting the details inside the cabin. I did find a few photos of the interiors of Budd RDCs, but none of them were from the Northern Pacific, and the interior colour scheme varied wildly between operators. I decided therefore to copy the interior of a Northern Pacific passenger car, as I thought this would be more likely to be closer what I needed. In the end I opted for brown leather seats with rich red metal sides, and black armrests and luggage tables. This is all essentially guesswork, but the main aim is to calm the interior down from seizure-inducing orange to something more bearable.
Lighting
As mentioned earlier, I needed to replace the headlight bulbs with LEDs. I chose some fairly neutral-warm white 3mm through-hole LEDs (actually leftovers from an old version of my coach lighting back in the day). These were each given a 10k current-limiting resistor and dropped into the recess where the original bulbs were fitted, awaiting connection in the next step.
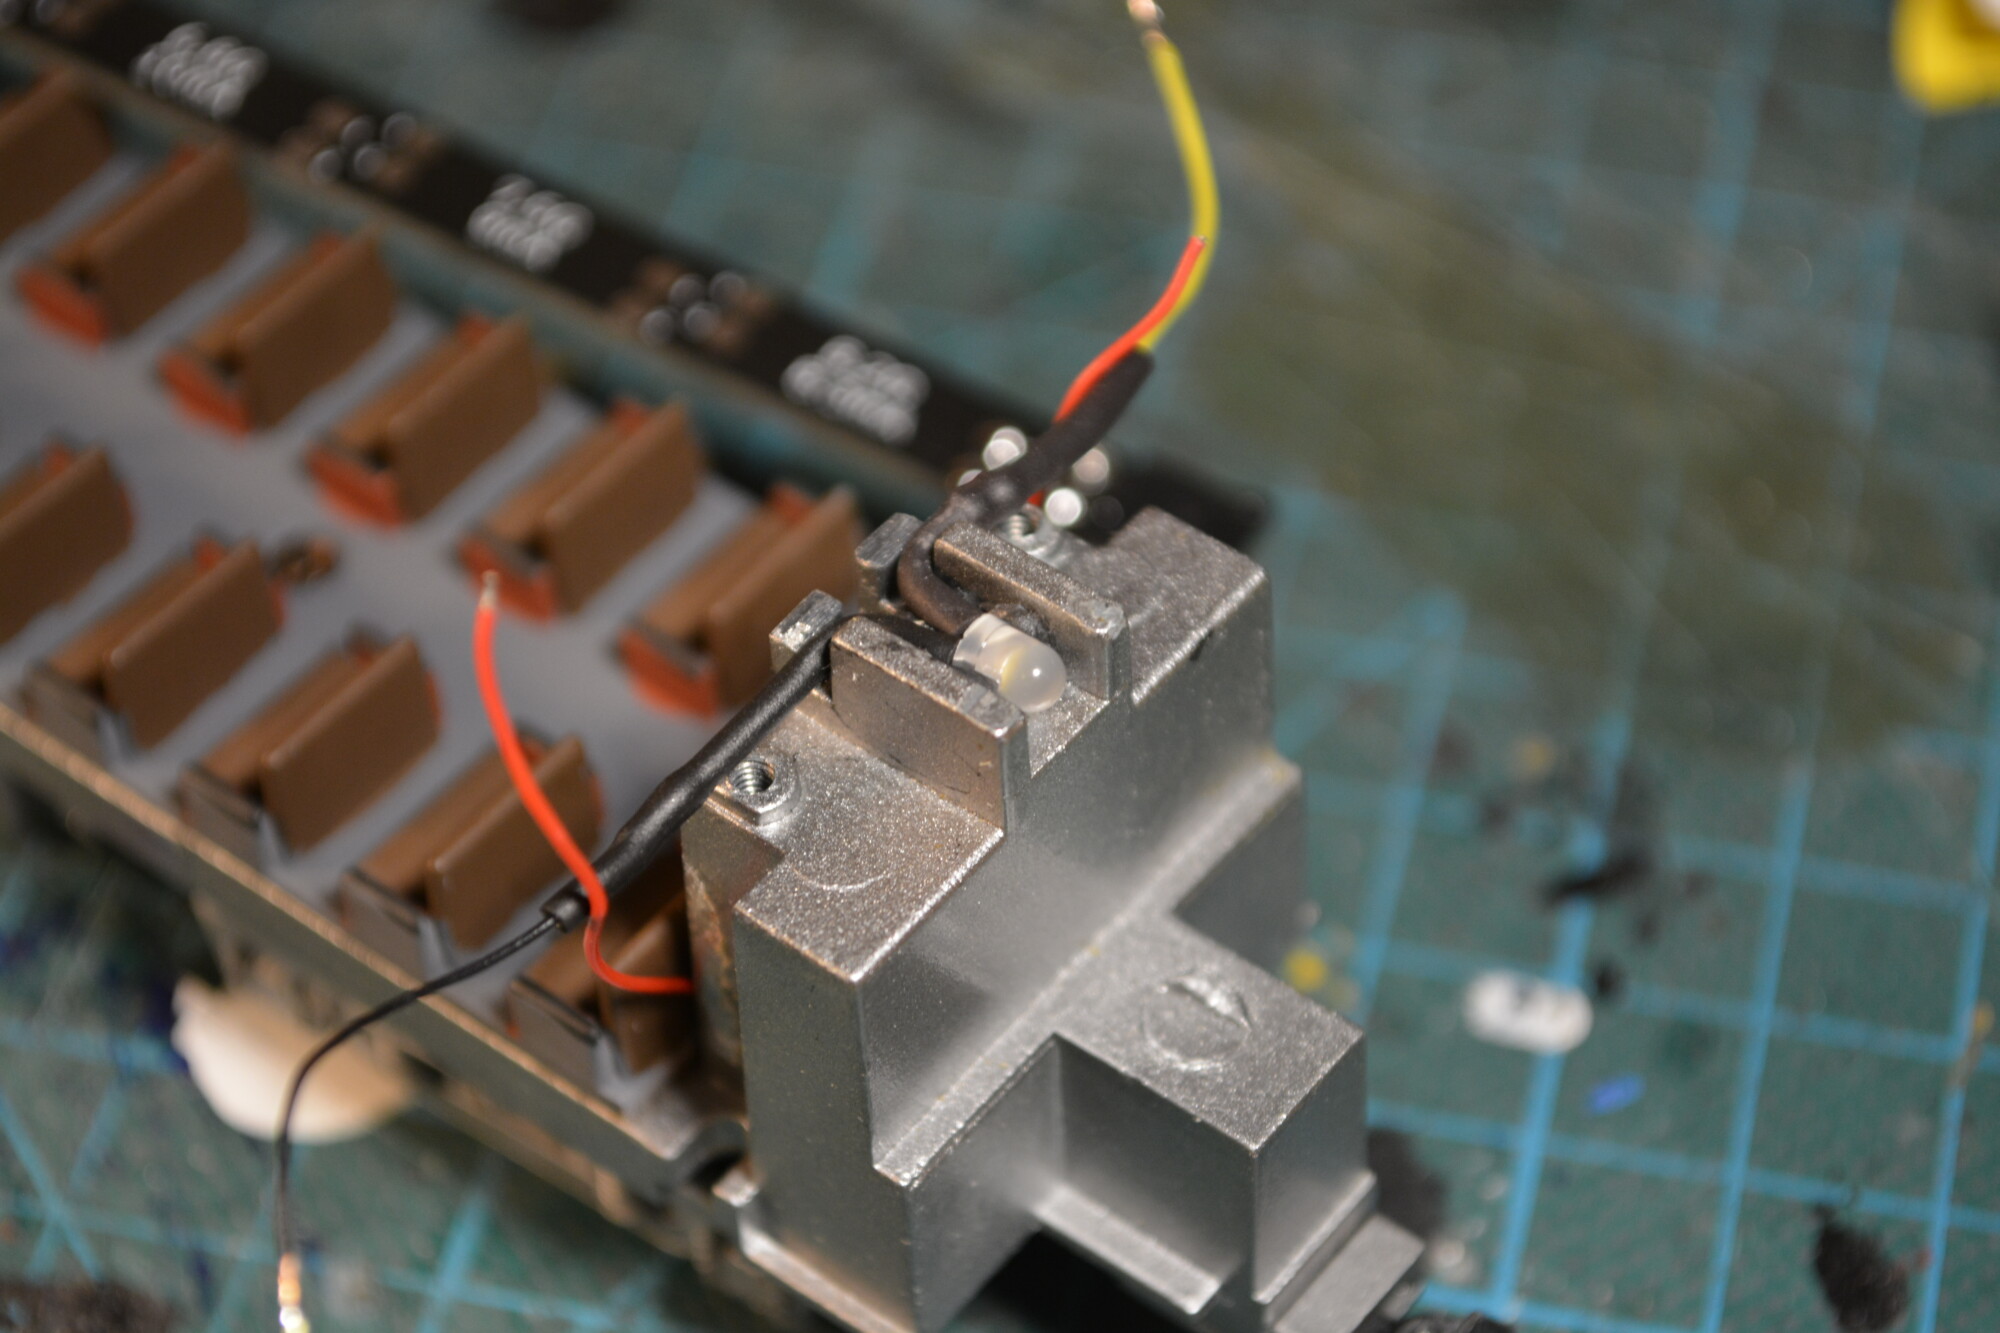
I chose to light the cabin with one of my new-ish LED lighting strips, fitted with neutral-white LEDs to match the time period these RDC ran in. This not only provides lighting in the cabin area, but the four extra traces on the top of the PCB are used to connect the pickups on the trailing bogie to the rest of the wiring, and also provide power and ground for the headlight in the trailing cab. This is the first time I’ve used these traces for this (intended) purpose, and it eliminated the headache of running wires wither underneath the interior moulding, or above in the roof. Once everything was soldered up, the wires were fixed in place using Black Tack.
Decoder and keep-alive
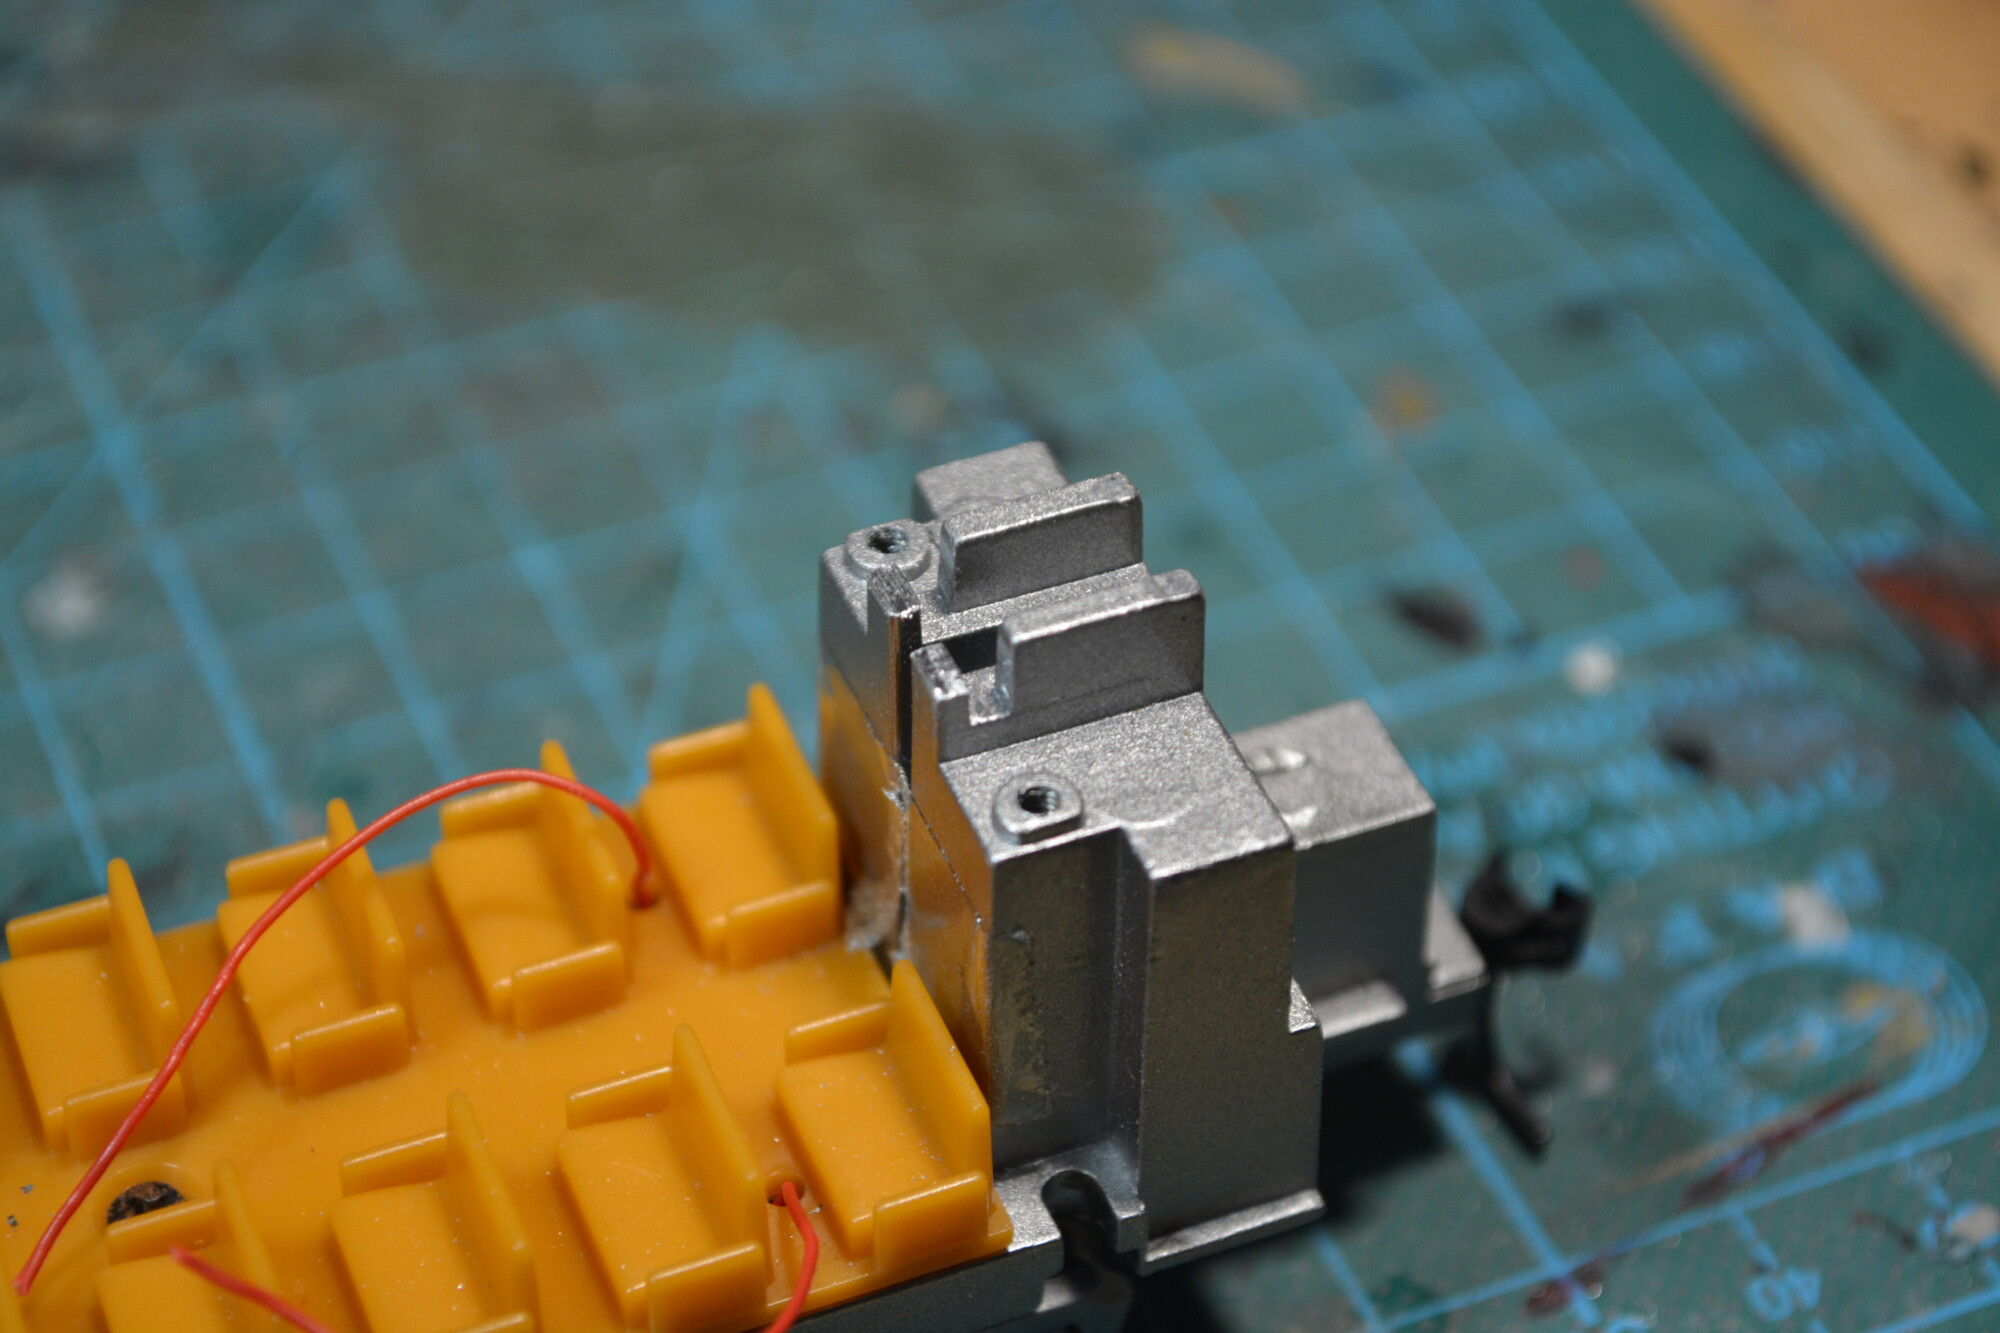
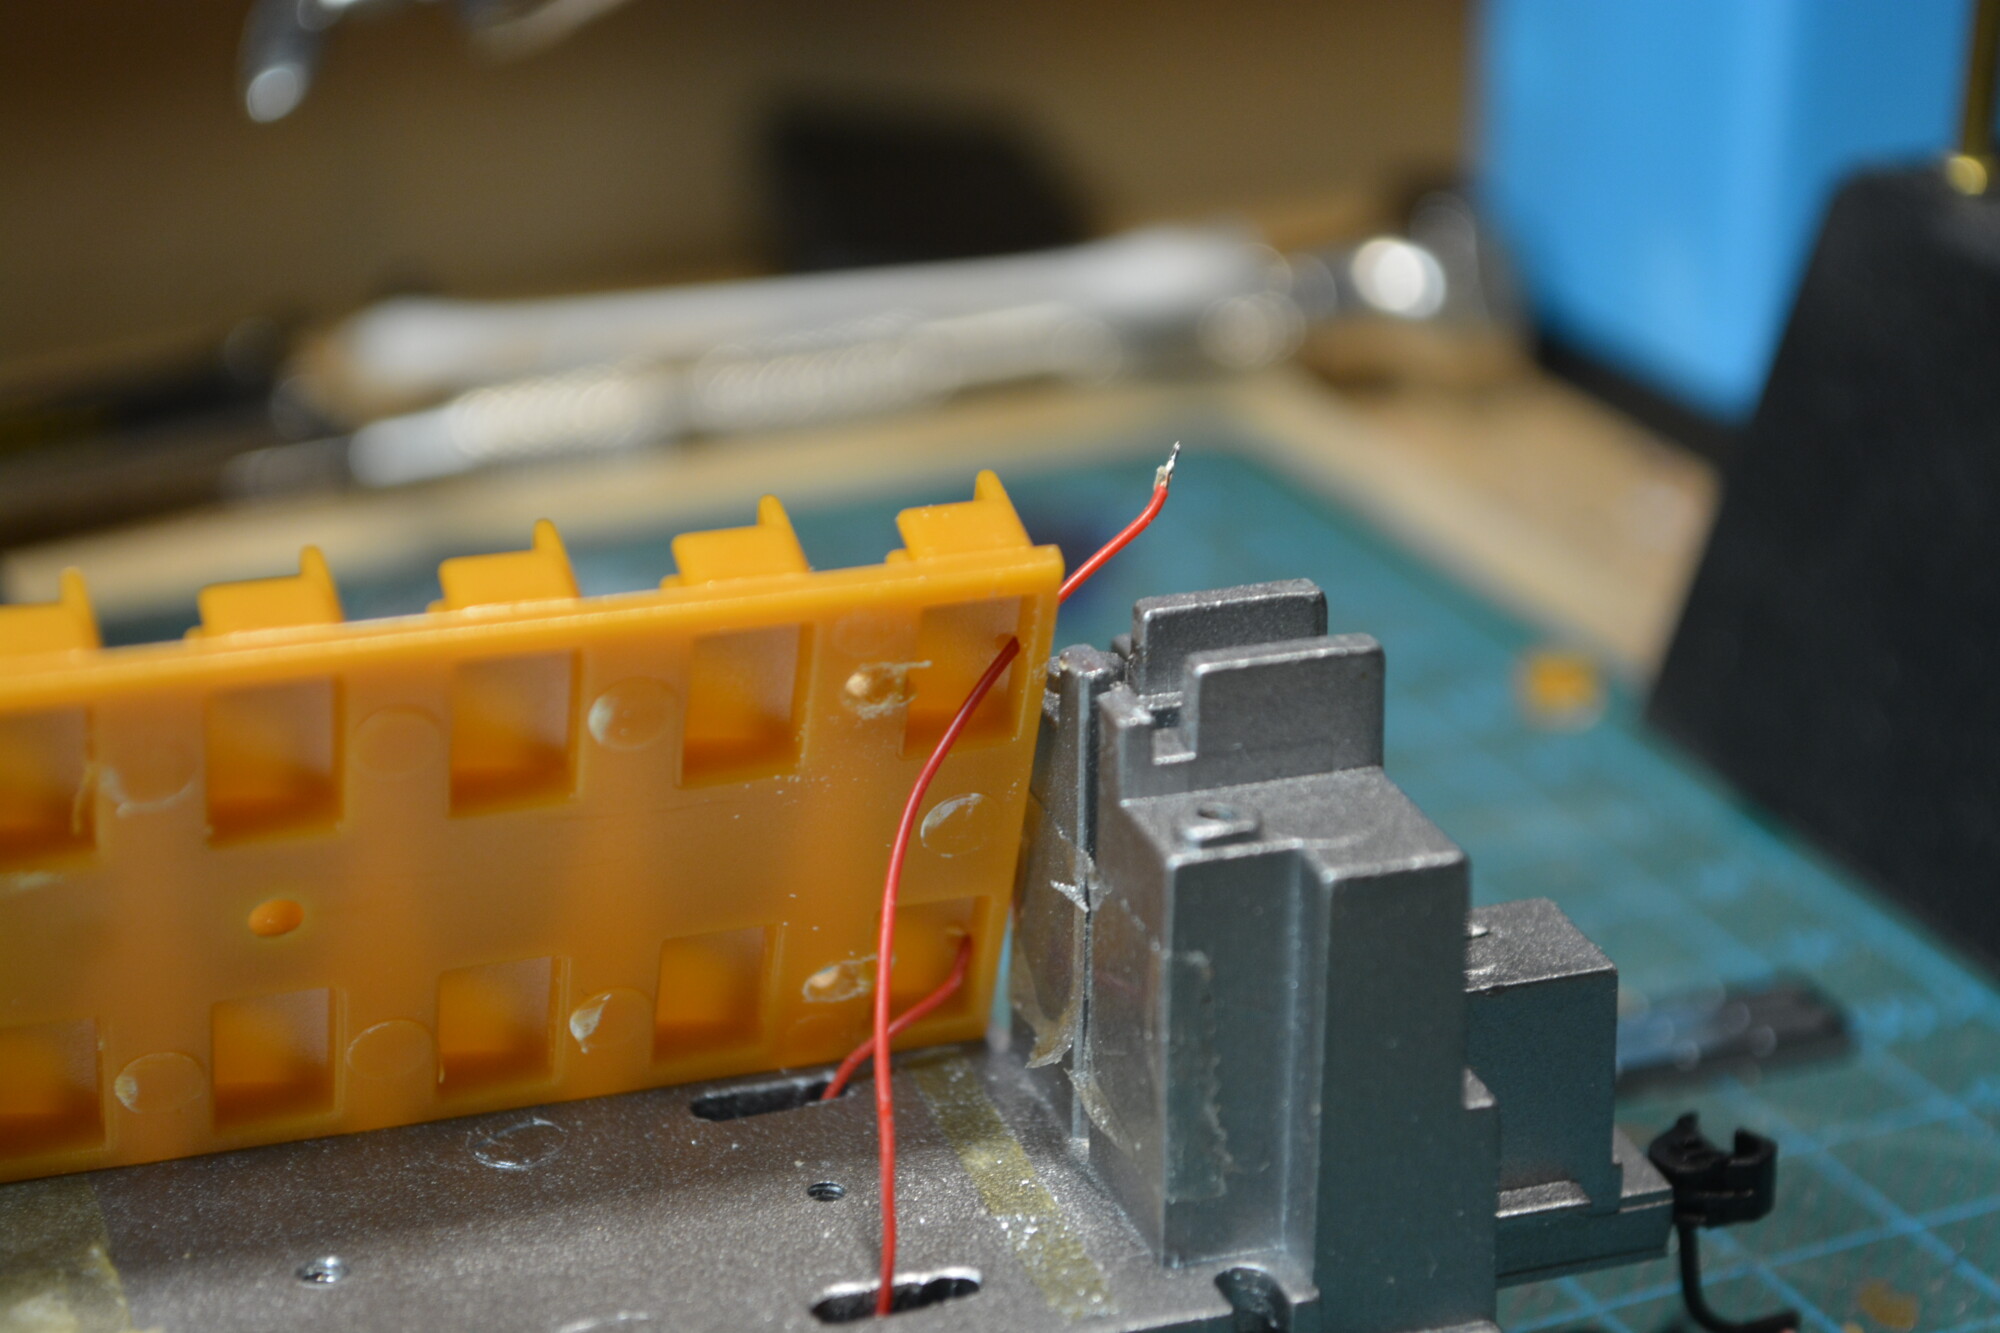
The final step was to install the decoder in the socket and find a place for the keep-alive capacitors. Whilst there’s a fair bit of space in the motor area, a good portion of it is taken up by the driveshaft. In the end I elected to fit a pair of 1000uF capacitors, one either side of the drive-shaft, just to the right of the brass flywheel in the photo below. Combined with the all-wheel pickup on this model, this should give excellent running at even the lowest speeds.
General service
The final job was to give the RDC’s mechanism a thorough service. The model is around 20-25 years old, and parts of the drivetrain were sounding a bit harsh after the first test run! I gave it a service, comprising:
- Disassembly of both bogies.
- Washing all wheels and gears in warm soapy water.
- Applying a drop of graphite powder / isopropyl alcohol mix to each wheel bearing (the model collects current through these bearings so graphite was used so as to not affect performance). I find a drop or two of alcohol mixed into the graphite powder makes it easy to apply using a small pointy object (rather than squeezing the bottle and have silver dust fly absolutely everywhere!).
- Applying grease to all gears.
All done