
Out of the box, my new Realtrack FLA container wagons are rather stiff runners. This is because the axles are held in the bogie frames without any bearings, and some of the holes in which they sit are rather tight. So much so in fact, that one or two wheelsets barely rotate when the wagons are moving and not loaded. On their own, each pair of vehicles still run OK, but placing three pairs near the back of a longer rake of container wagons causes derailments, especially when negotiating curves.

To be fair to these wagons, the open bogie design on the prototype does mean that pinpoint bearings are out of the question, so there was bound to be more friction than most other wagons, which tend to have bogies with side-frames and pinpoints. And whilst brass bearings could be fitted at the factory, this would of course increase the cost of the model, so I’d say it’s an understandable choice.
I think my problem stems from the fact that the moulding in and around the holes varies a tiny amount from bogie to bogie, meaning that some axles stick a bit too much, whilst some rotate fairly freely.
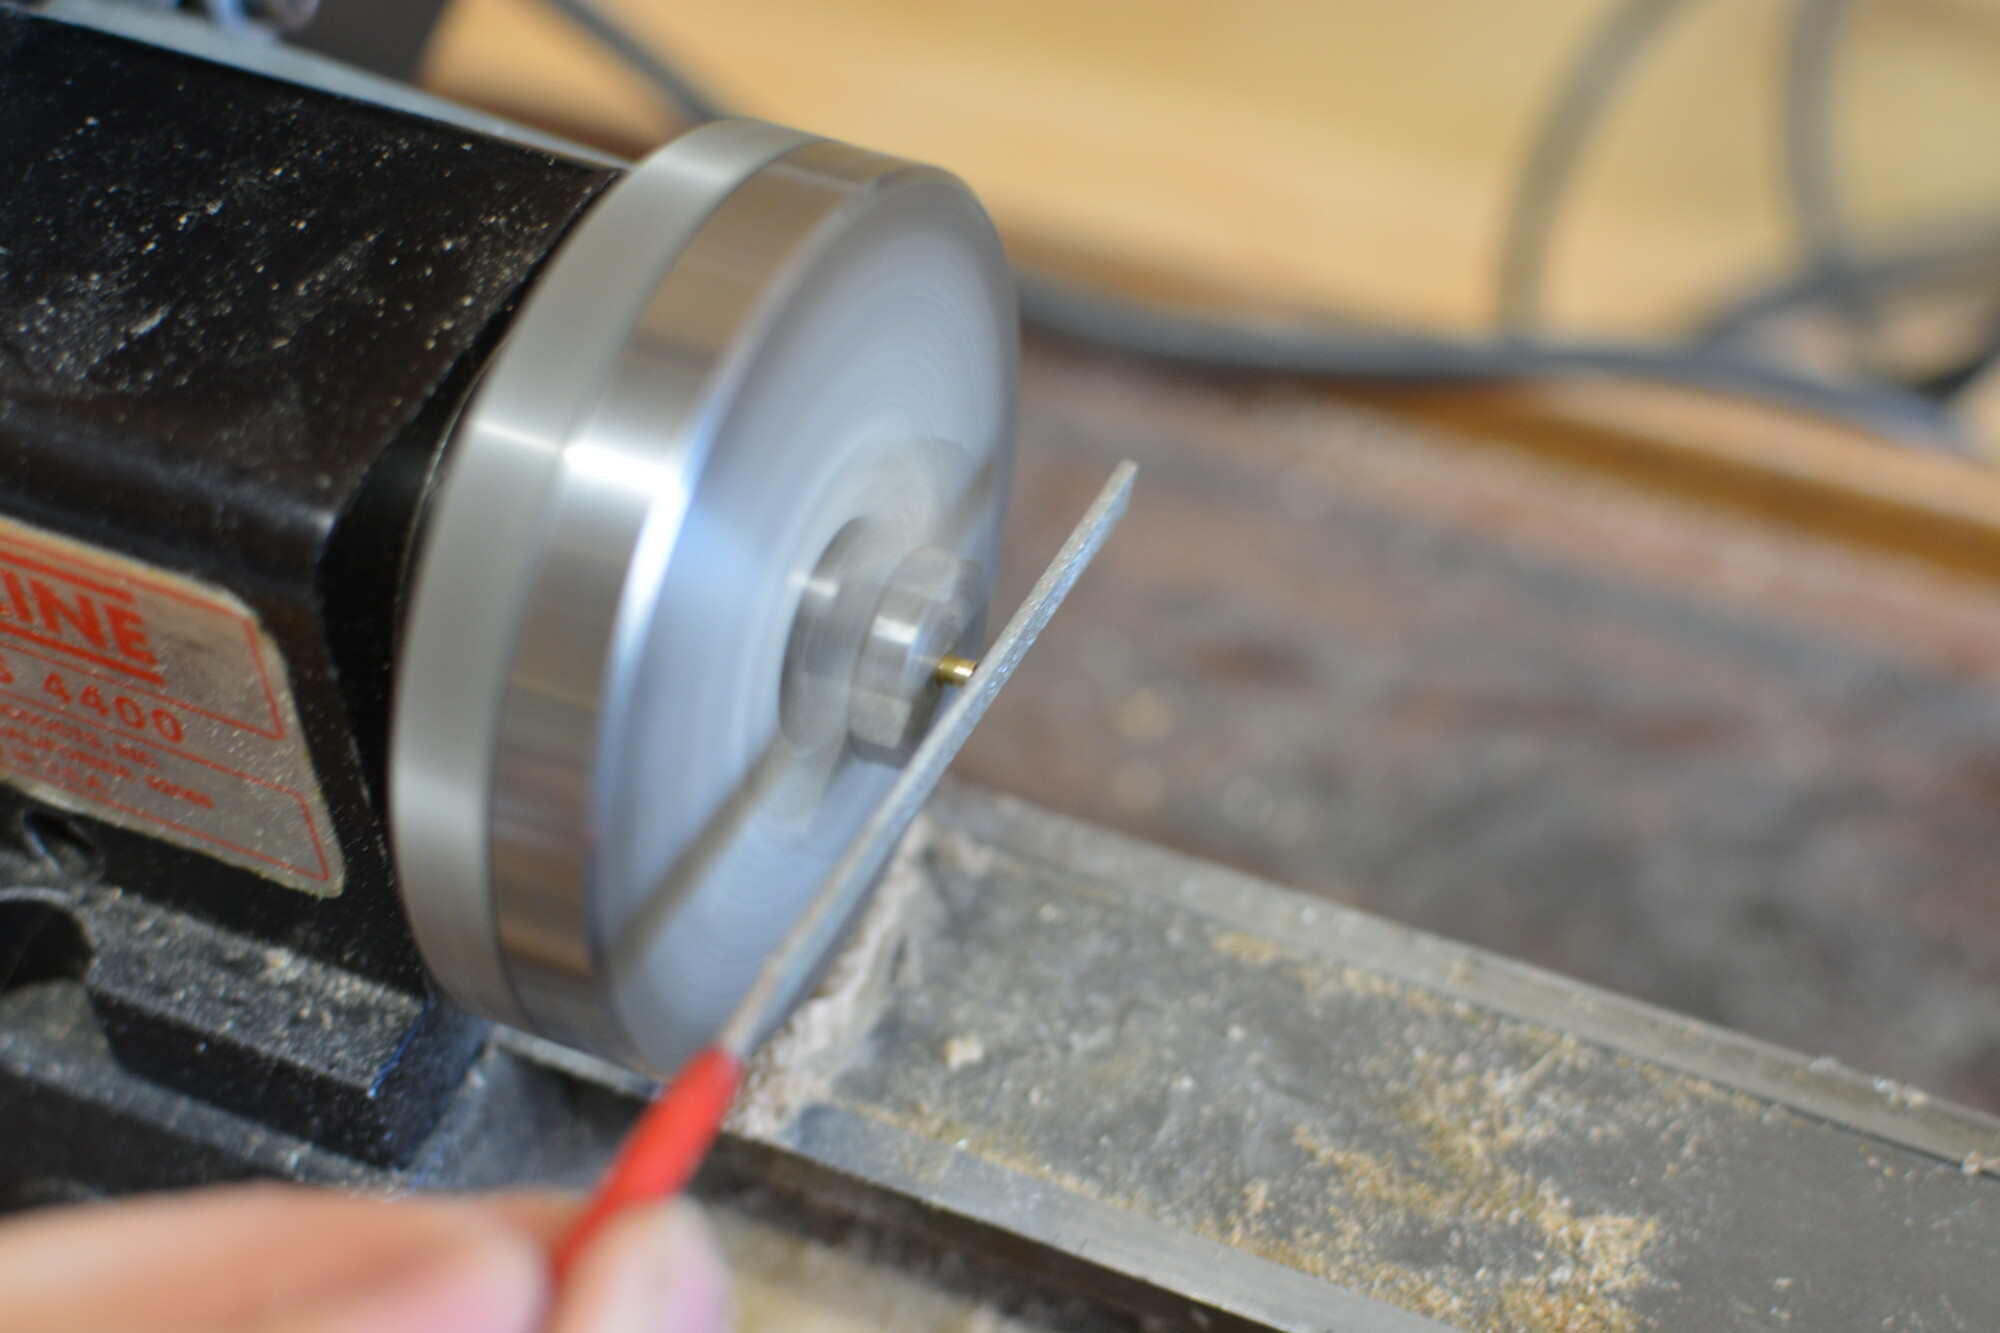
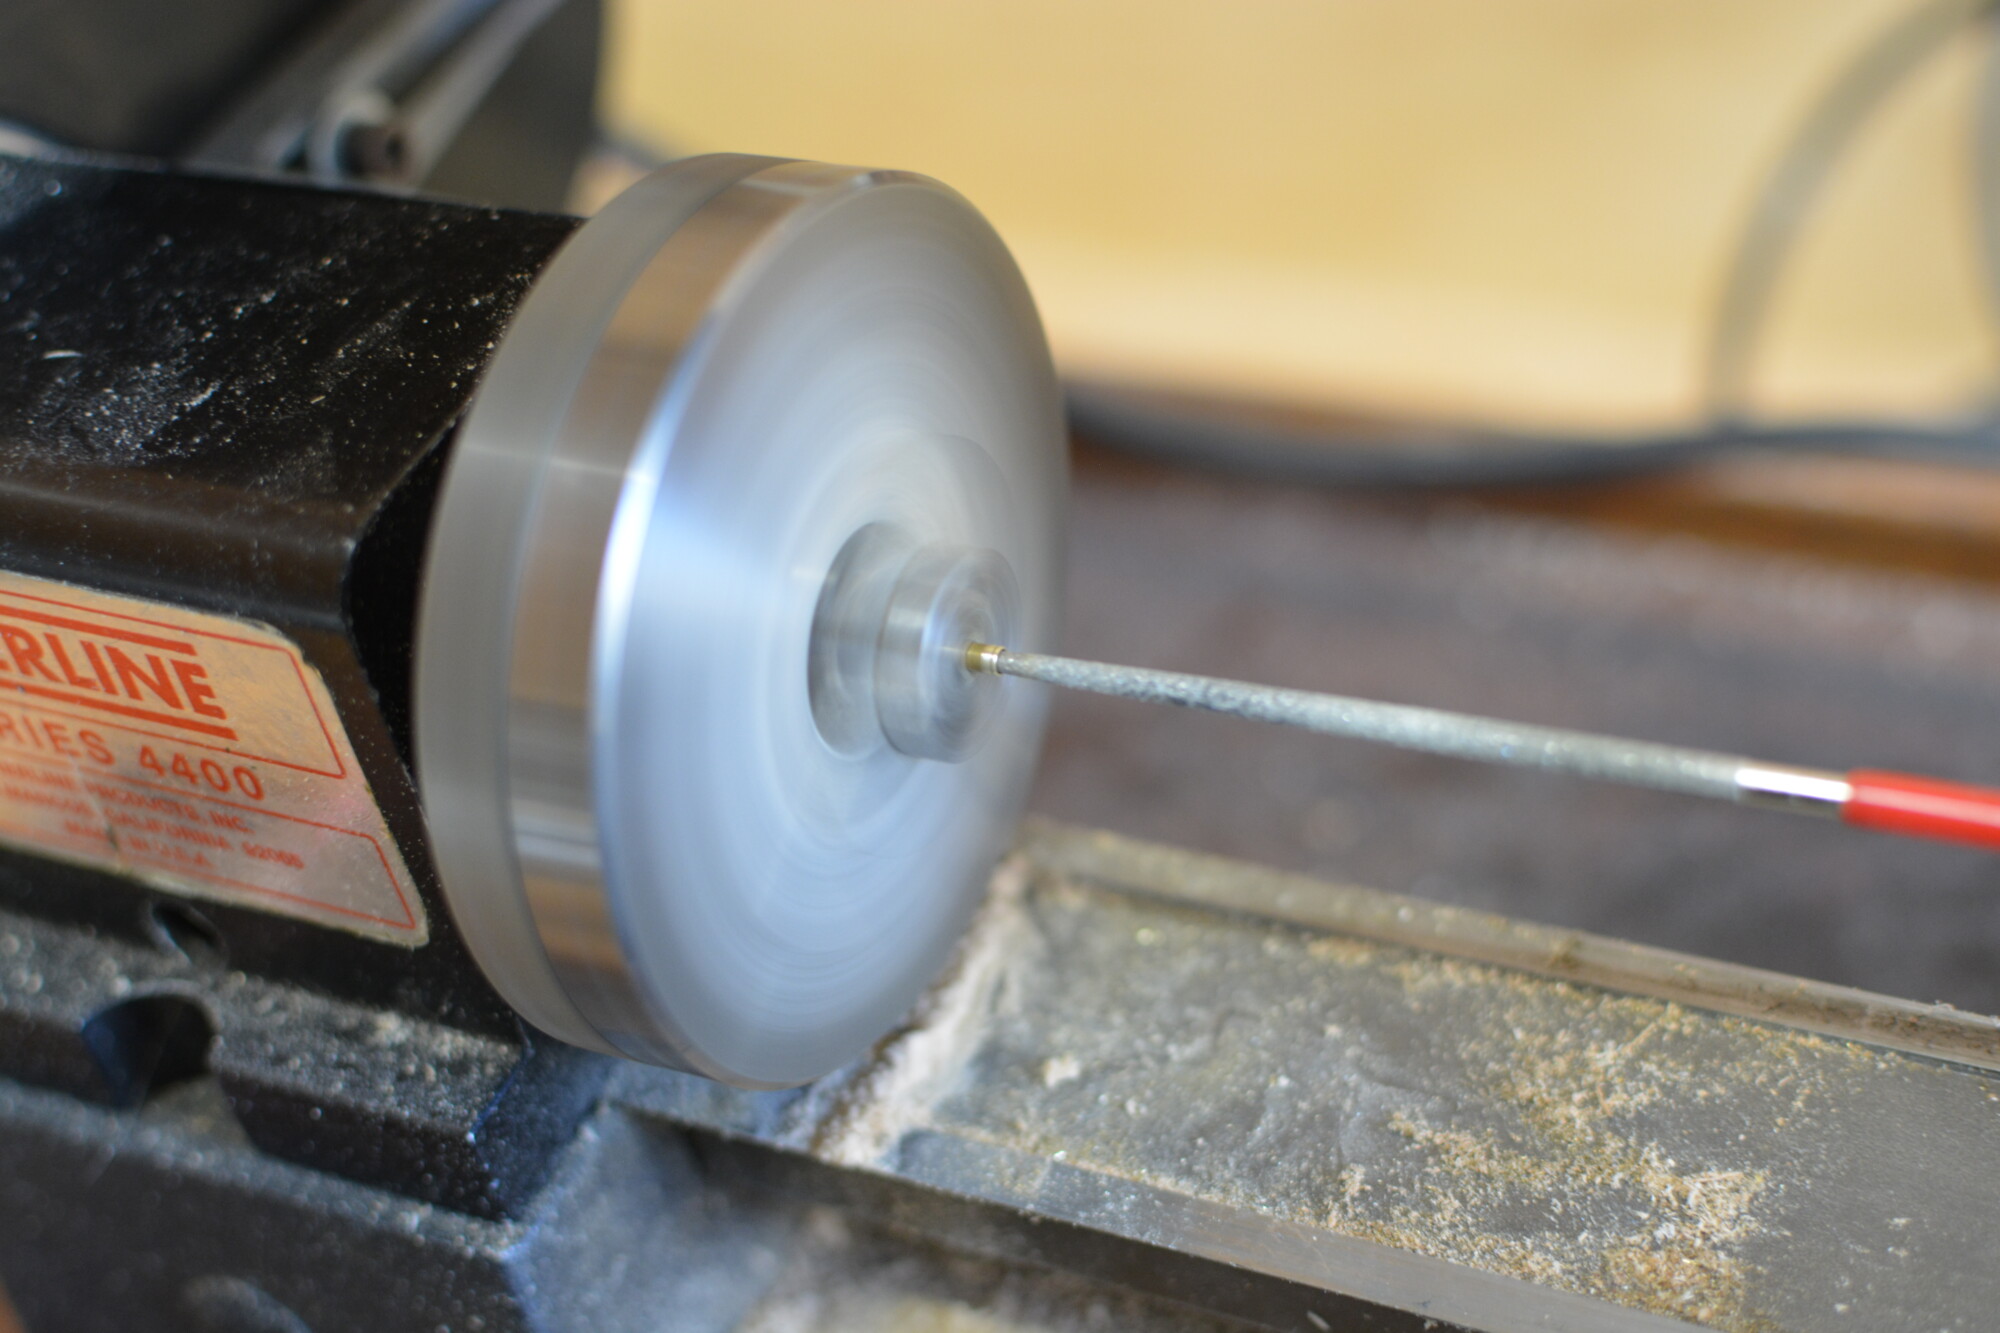
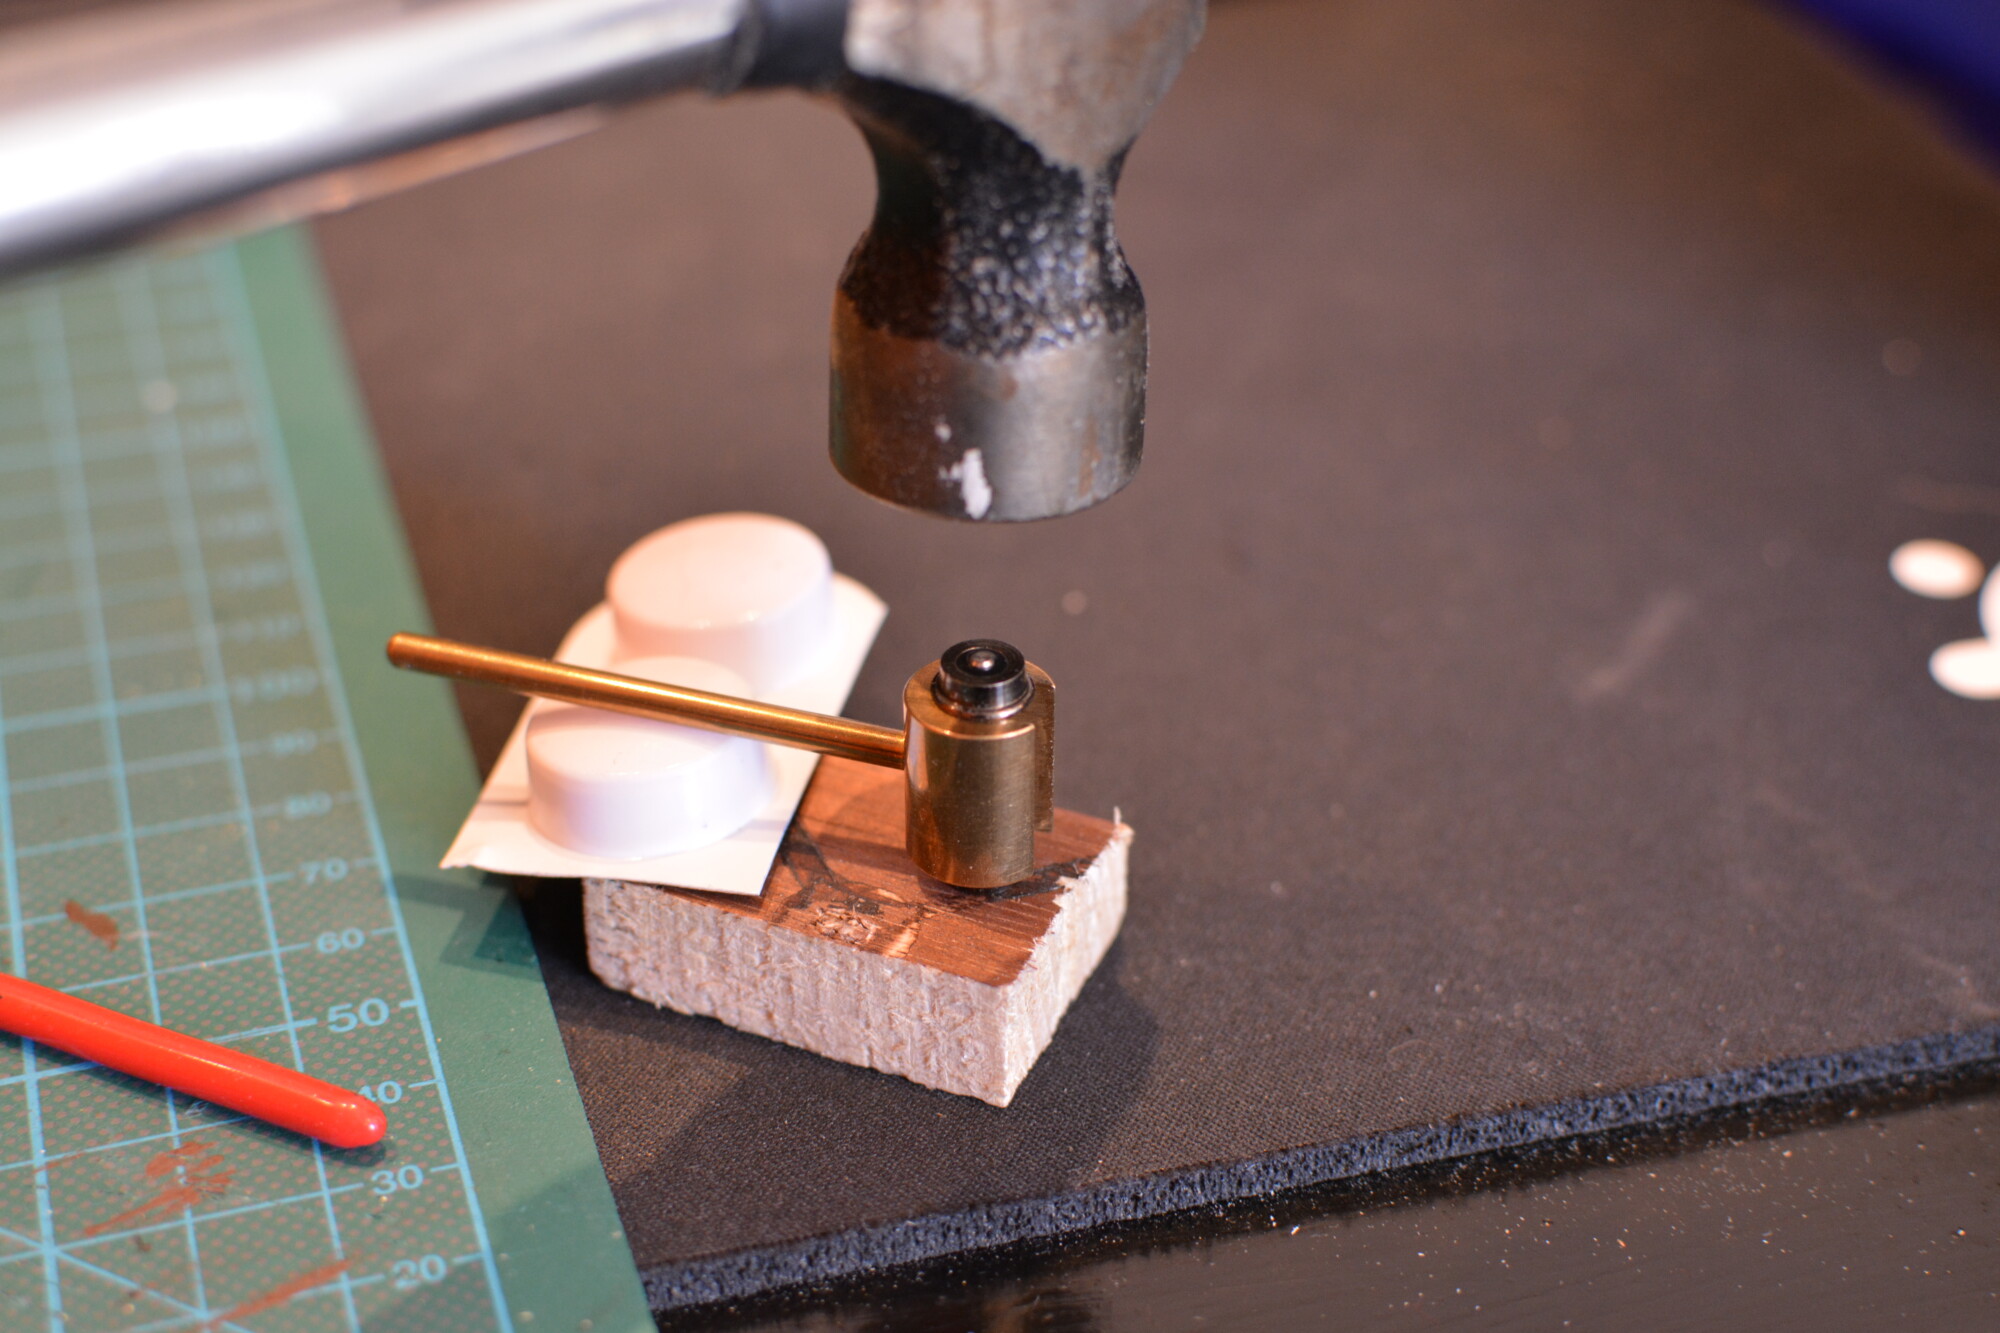
I had a length of 2mm (internal diameter) brass tube lying around from an old project, so I thought I’d have a go at making some bearing to try and reduce the friction.
Removing the wheels
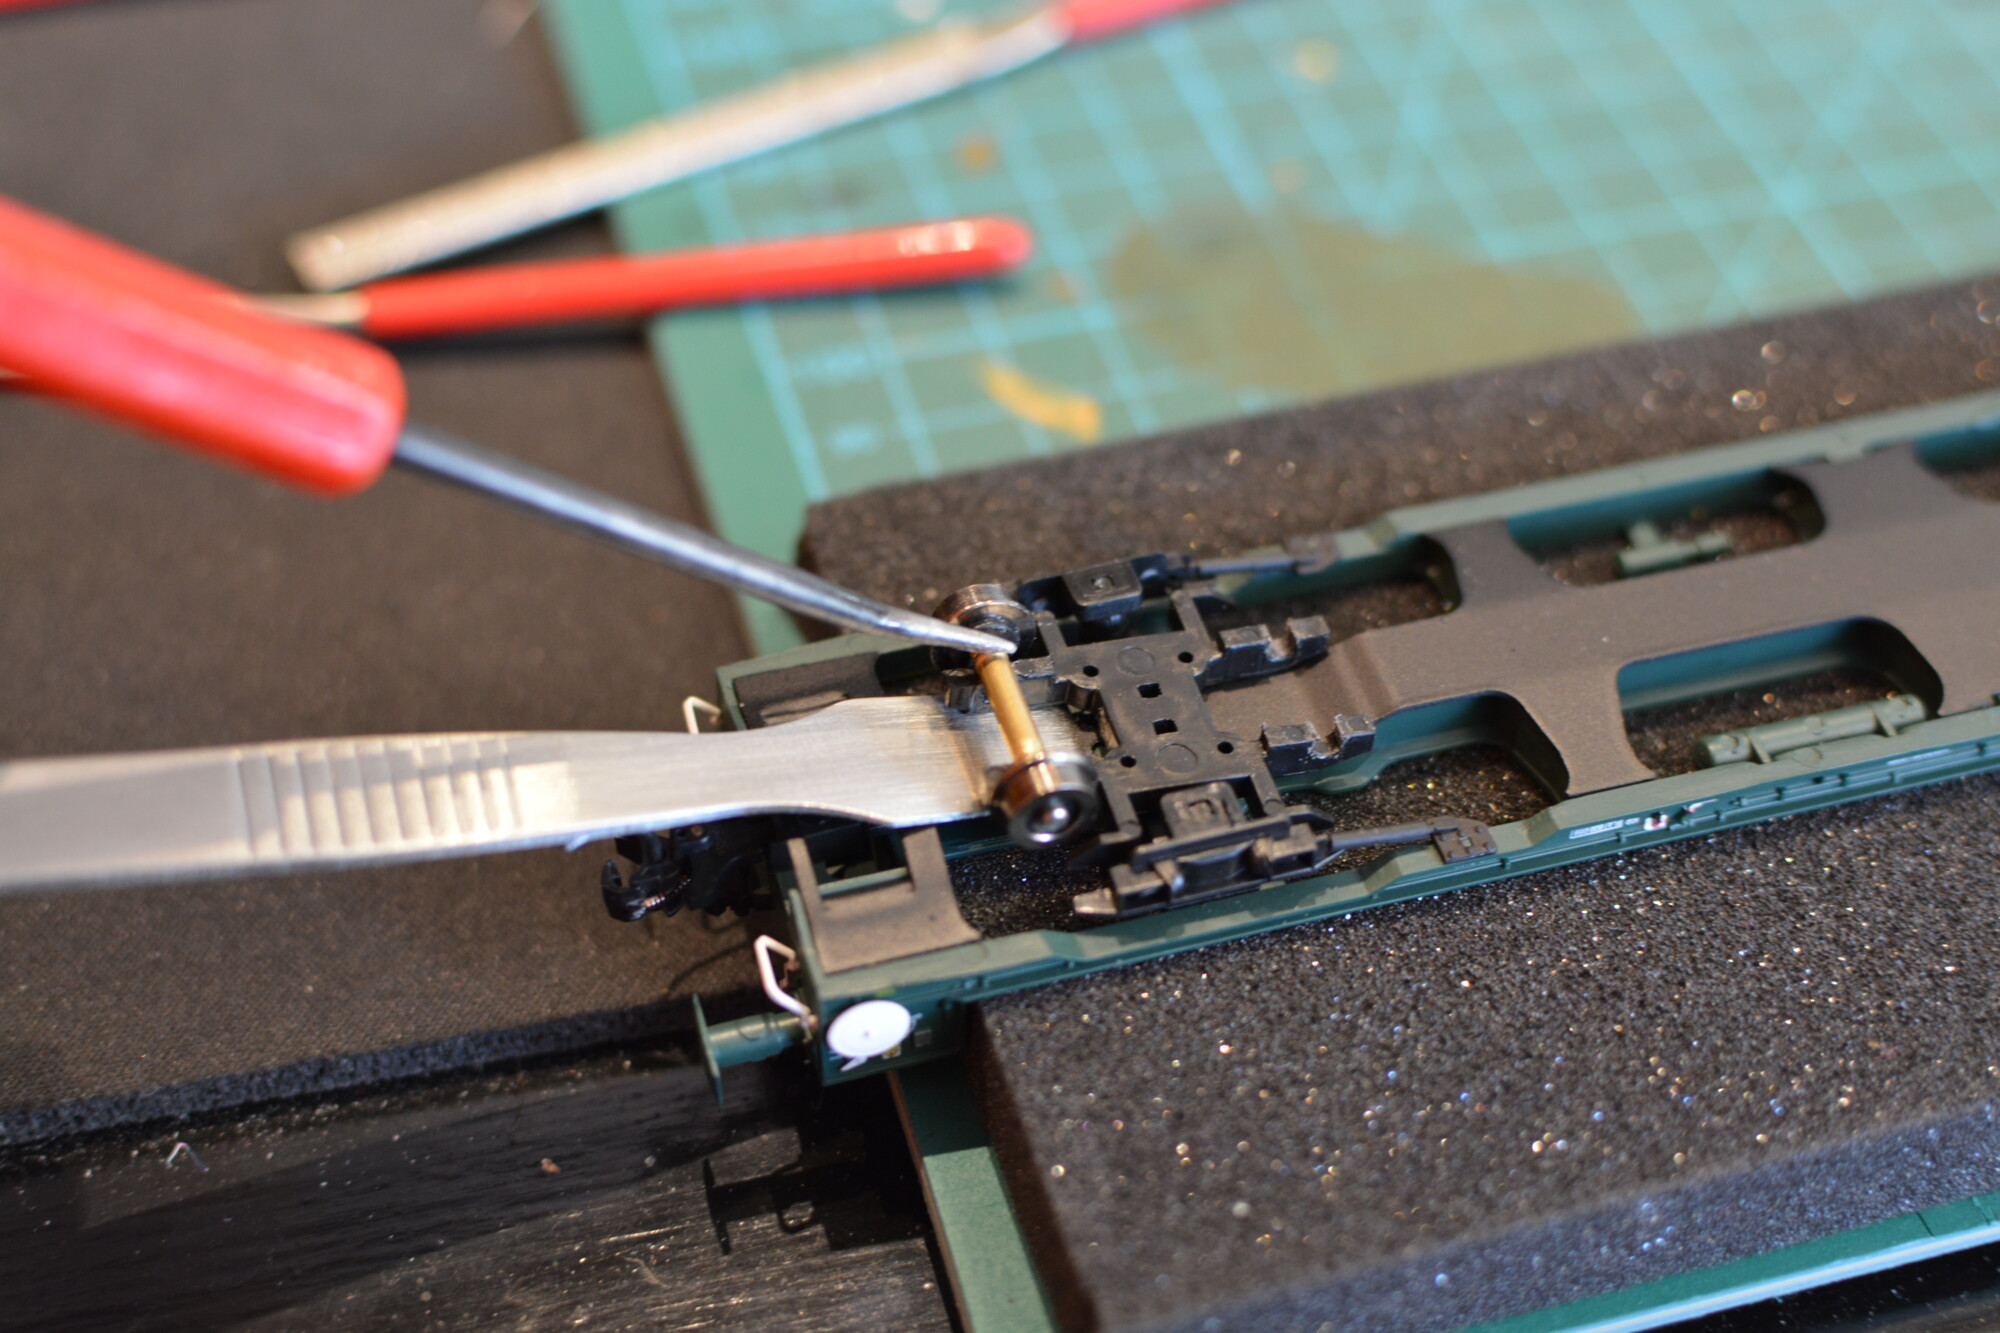
Before removing the wheelsets, I separated the two vehicles to make working with them easier. I then popped each axle out of the bogie by levering it upwards, pushing down against a small spatula to prevent damage to the model.
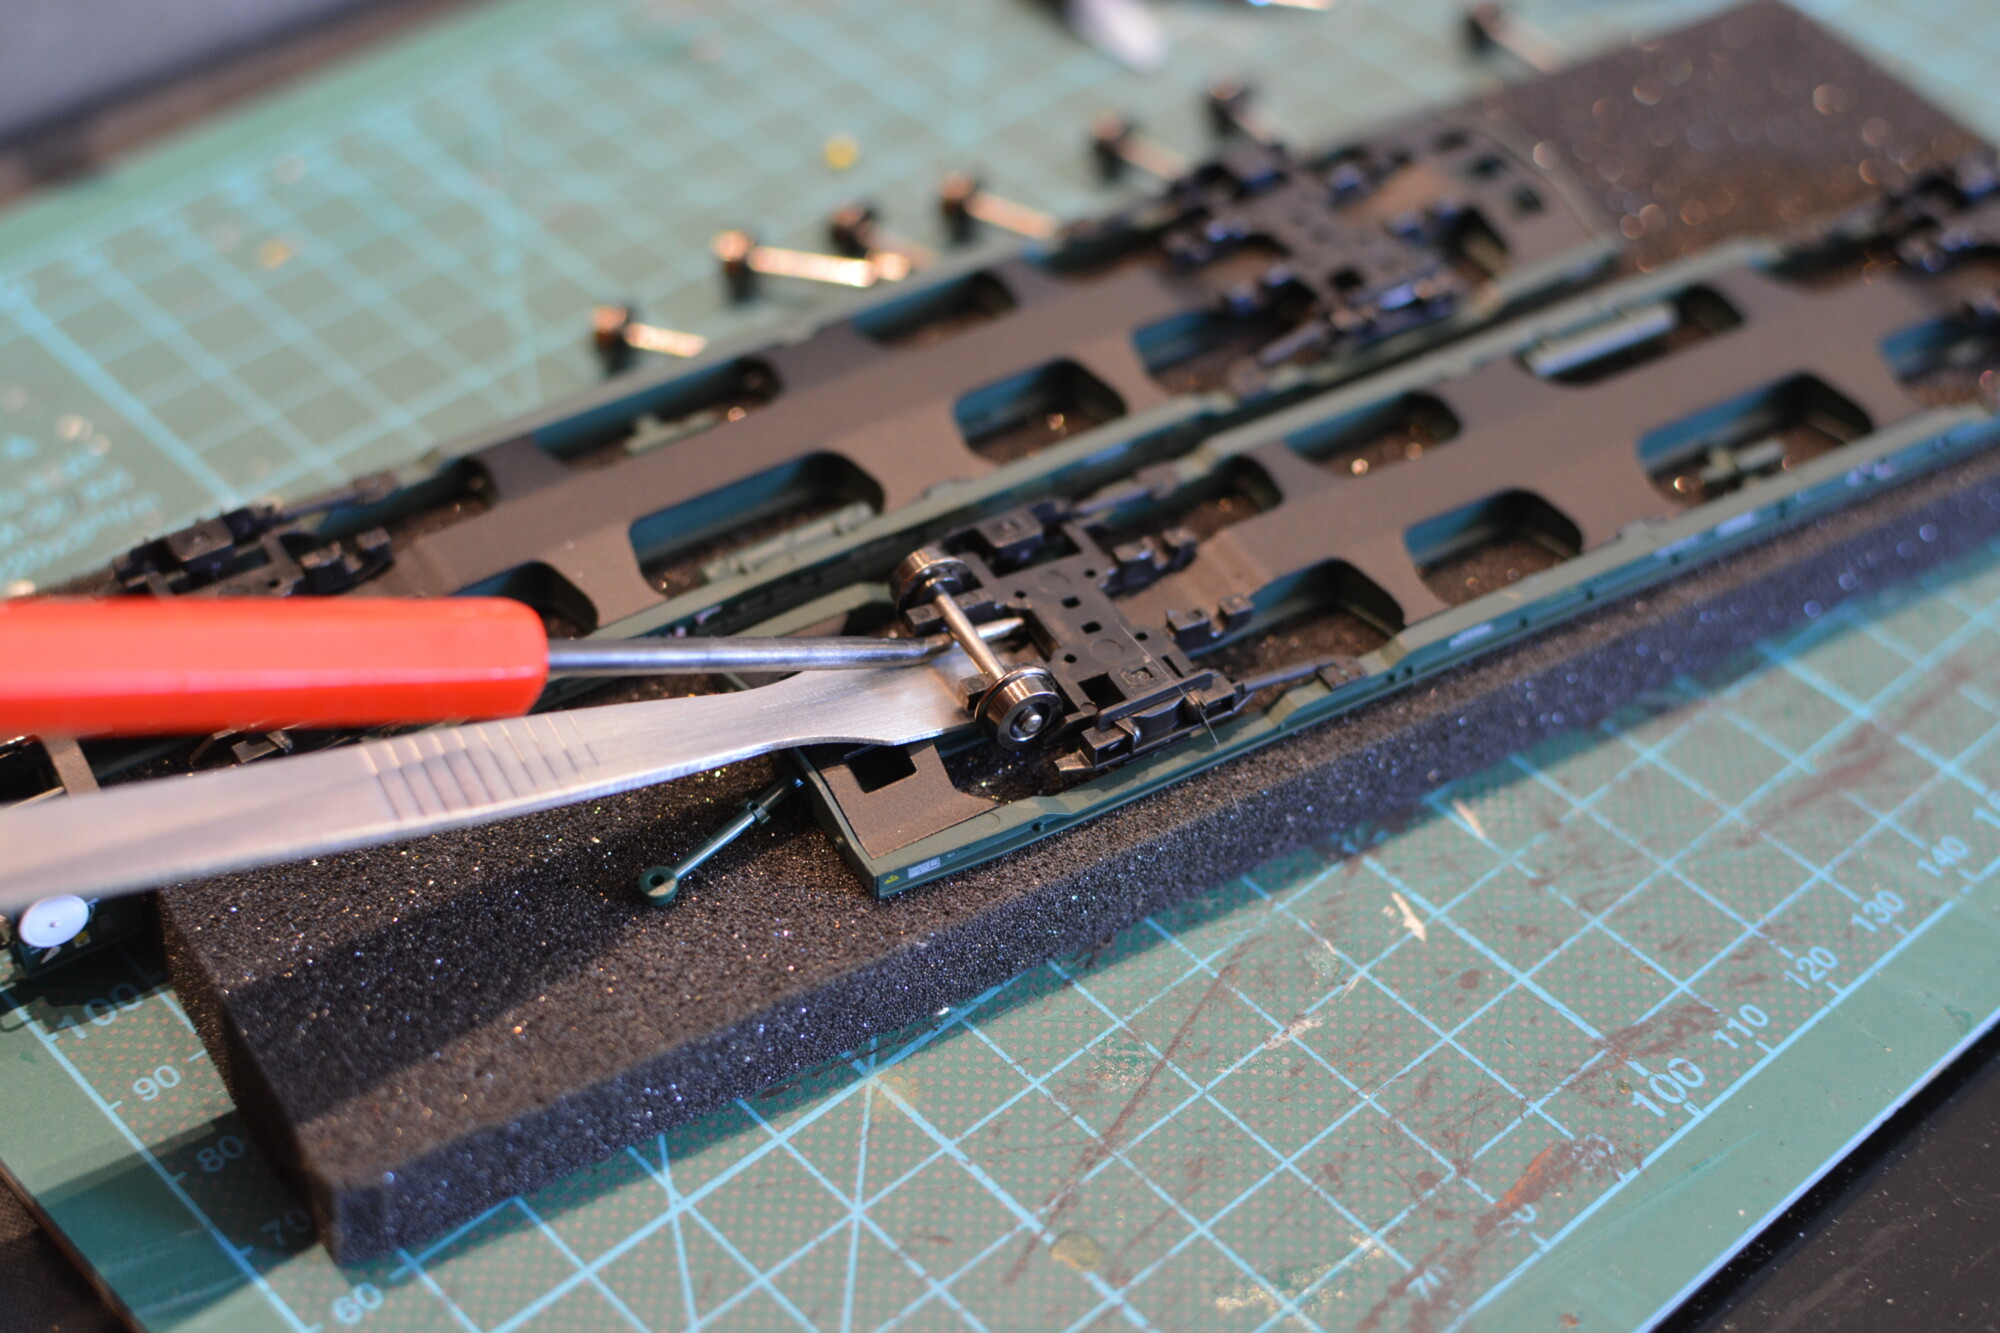
Next, I removed one wheel from each axle using my wheel jig (which is just a piece of wood with a slot cut in it).
Making the tube bearings
I’m using 2mm internal diameter brass tube, which fits perfectly over the 2mm axle and allows it to rotate freely. I started by cutting the tube into 12.5mm lengths, which is about 1mm longer than the bogie width. This extra length is to reduce the amount of side-to-side slop that the wheels have, which should hopefully help improve running a bit. Once cut, each bearing was put on the lathe and gently filed to remove any burrs and square them up.
Reassembling the wheels
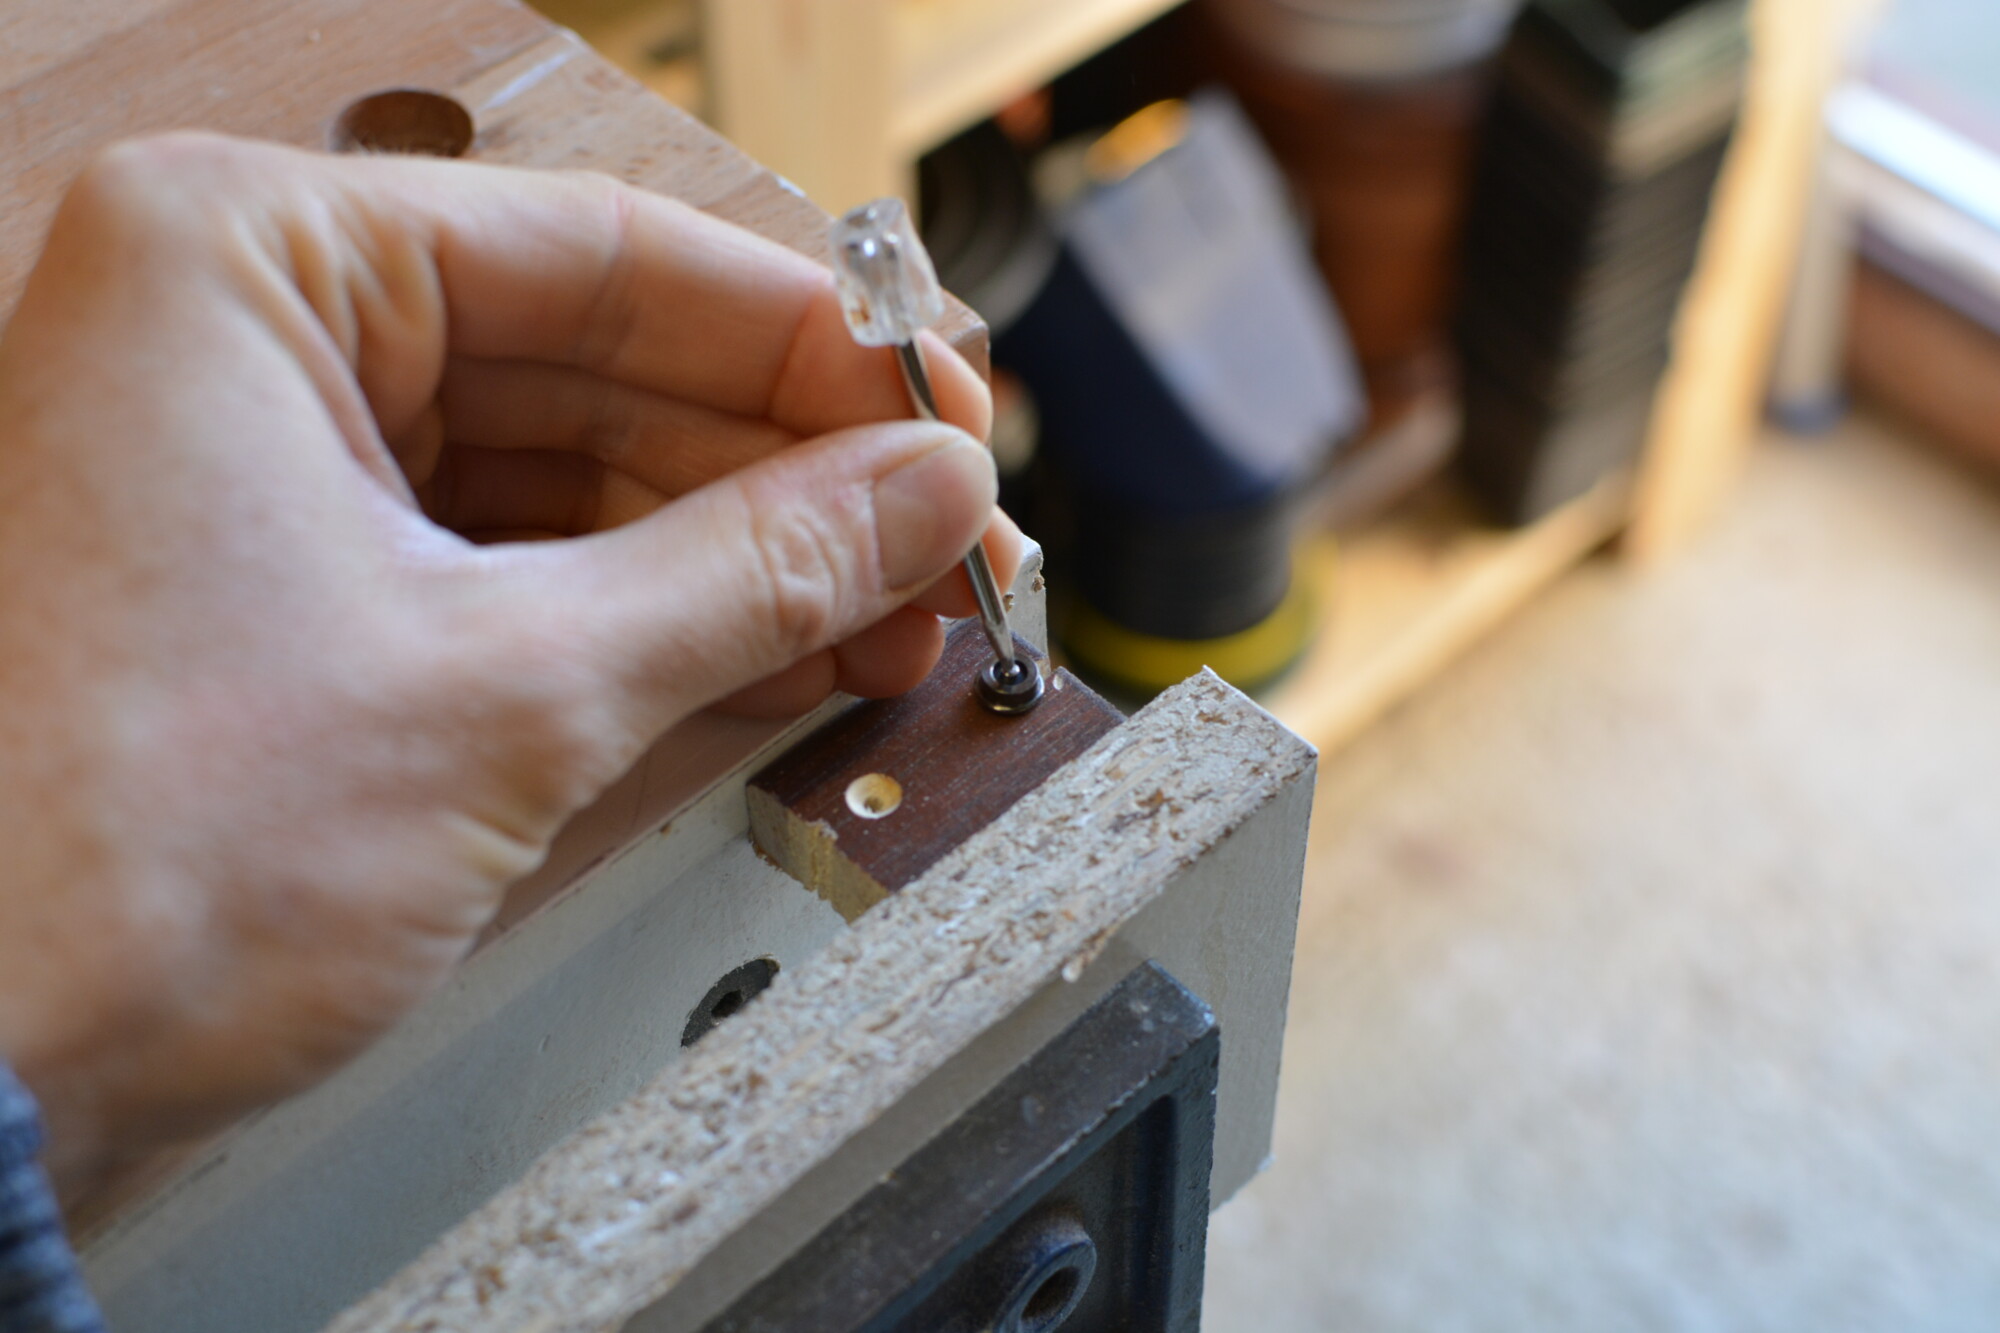
To put the wheels back together, I turned once again to my trusty jig. I gently pushed the wheel onto the axle, then inserted the back-to-back gauge (which ensures a wheel-to-wheel distance of 14.5mm), and then gently tapped the top of the axle with a hammer. The jig has a hole in it that allows the axle to go past the end of the wheel.
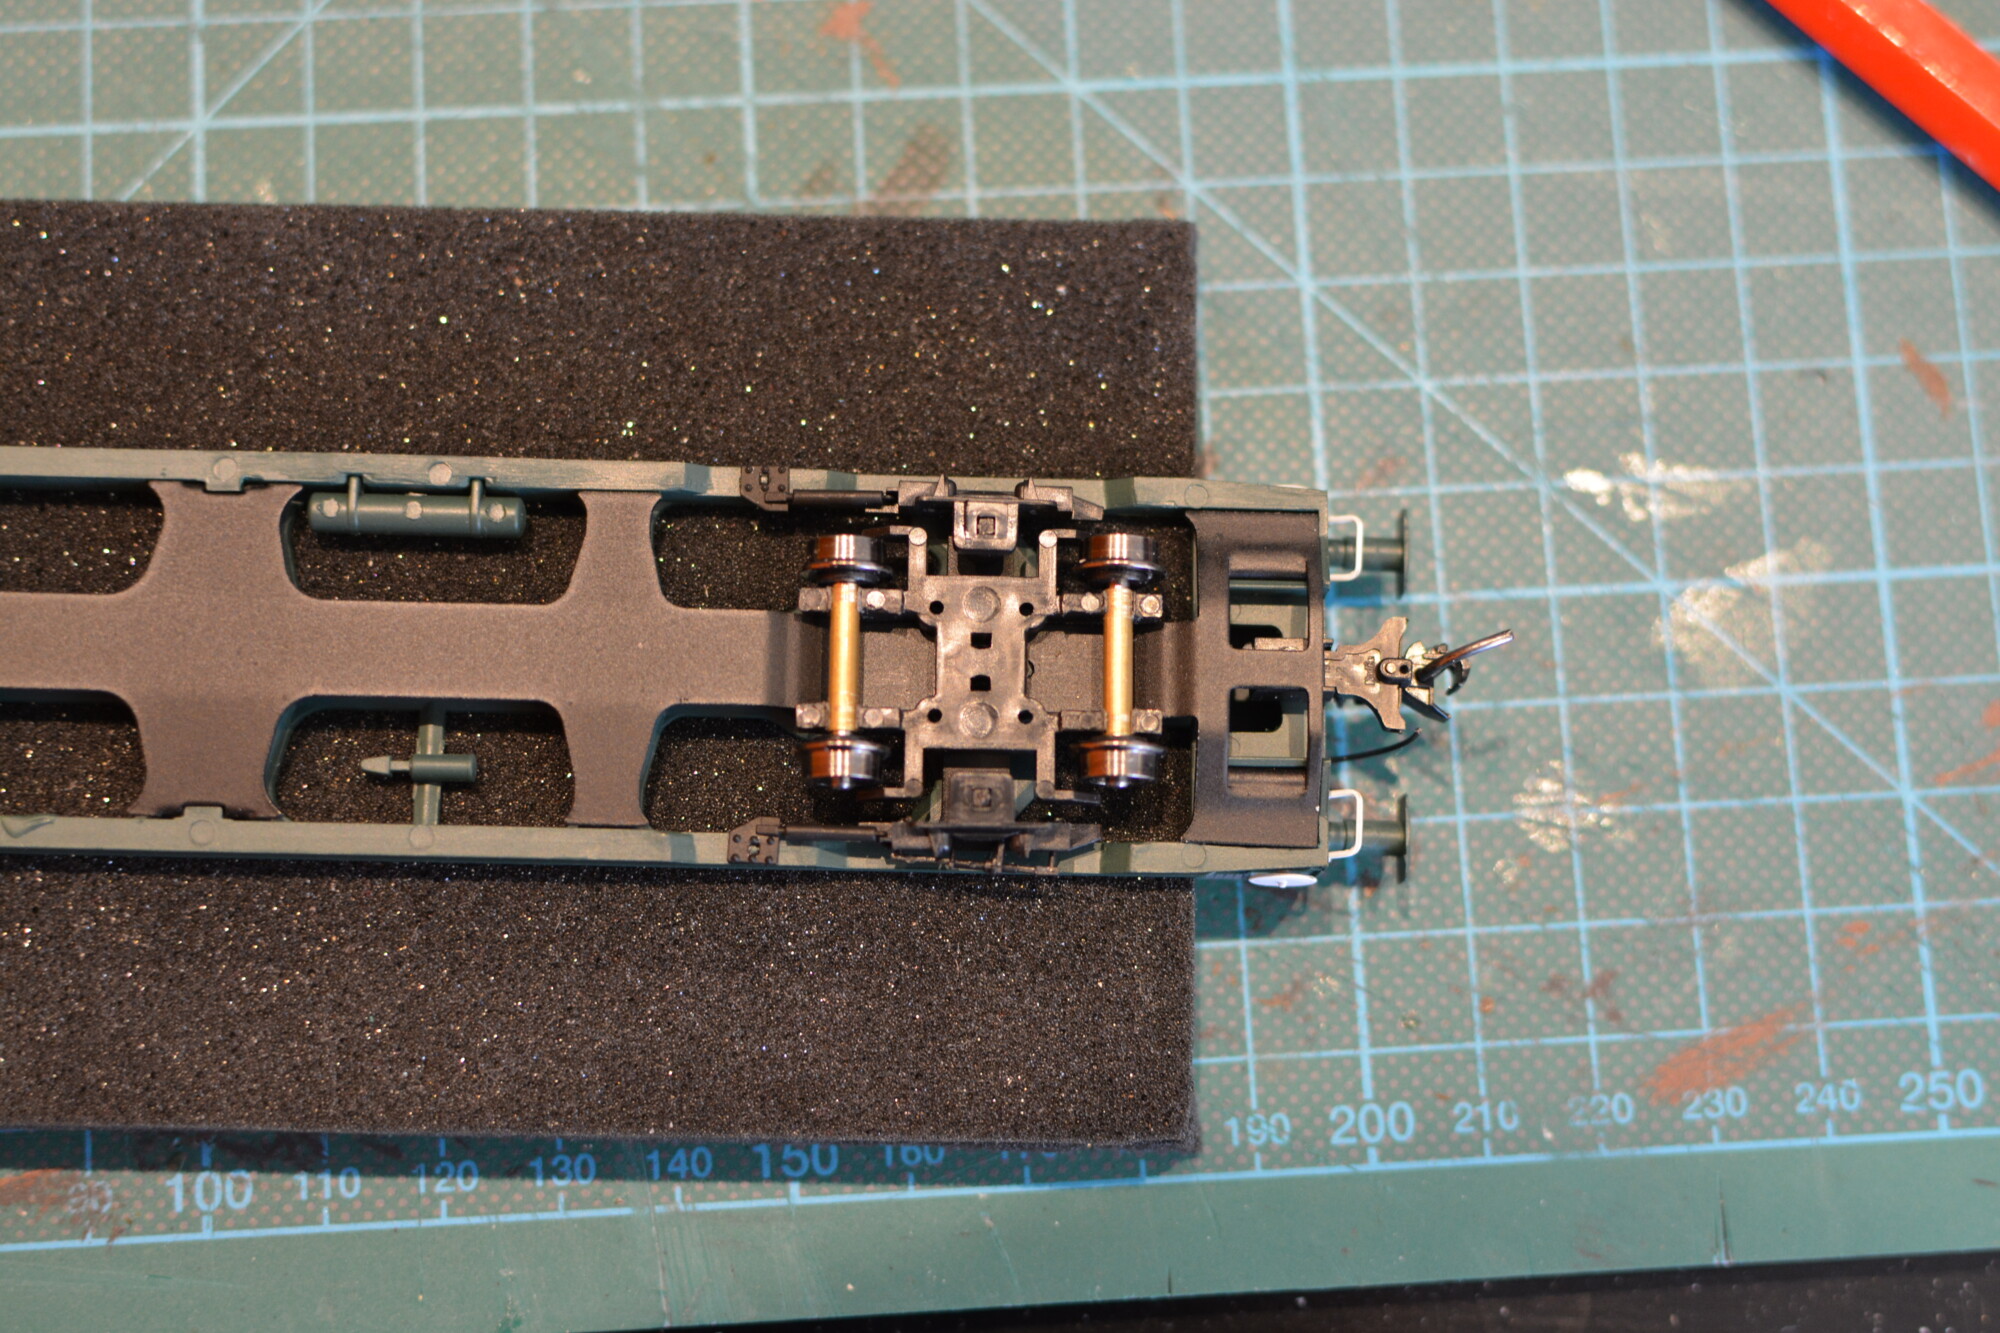
Once reassembled, the wheel was popped back into the bogie, again using a small metal spatula between the bogie and the chassis. Before I did this, I opened out the holes a fraction using a round file, since the diameter of the brass tube is slightly larger than the holes.
The result
Of course the proof of the pudding is how easily the wagons roll, so I devised a simple test. Two pairs of wagons, one with the new bearings fitted, were placed on two parallel sections of track. I pushed them using a flat object up to a set point, and then measured how far each wagon rolled from that point. The video below shows the test.
In this particular test, the pair of wagons with the new bearings travelled 34 sleepers before coming to a stop, vs 20 sleepers for the unmodified wagons. This represents an increase in “rolling distance” of 70%, which is a pretty decent improvement. I repeated this test several times, and the increase was around 70% each time.
This decrease in friction now means I can run several pairs of these FLAs at the rear of a reasonable length train without derailments happening, so I’m happy with the result. It was quite a quick job to do (I’d say each pair of wagons took about 40 minutes from start to finish), and it’s something I’m considering doing on some other “sticky” items of rolling stock, such as tenders on old steam locos for example.