
This post will cover my first serious attempt at weathering rolling stock. I’ve had a few goes in the past, and whilst I learned something each time, I was never really happy with the results. Having recently watched Everard Junction’s video on weathering wagons, and seeing as I also have a set of seacows that could do with being weathered, I decided to give it a proper go.
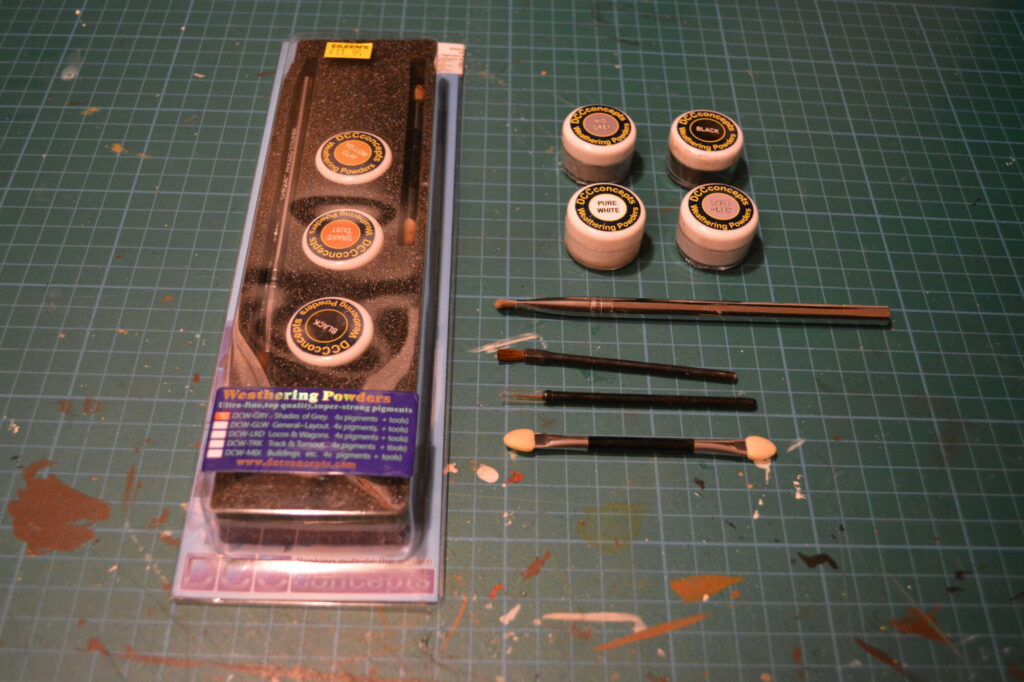
I’ll be using weathering powders for the first time, specifically a couple of sets of powders from DCC Concepts (their full range can be found here) that I picked up a show recently. I chose the “Shades of Grey” and “Locos and Wagons” sets, as this gives me a wide range of colours to work with.
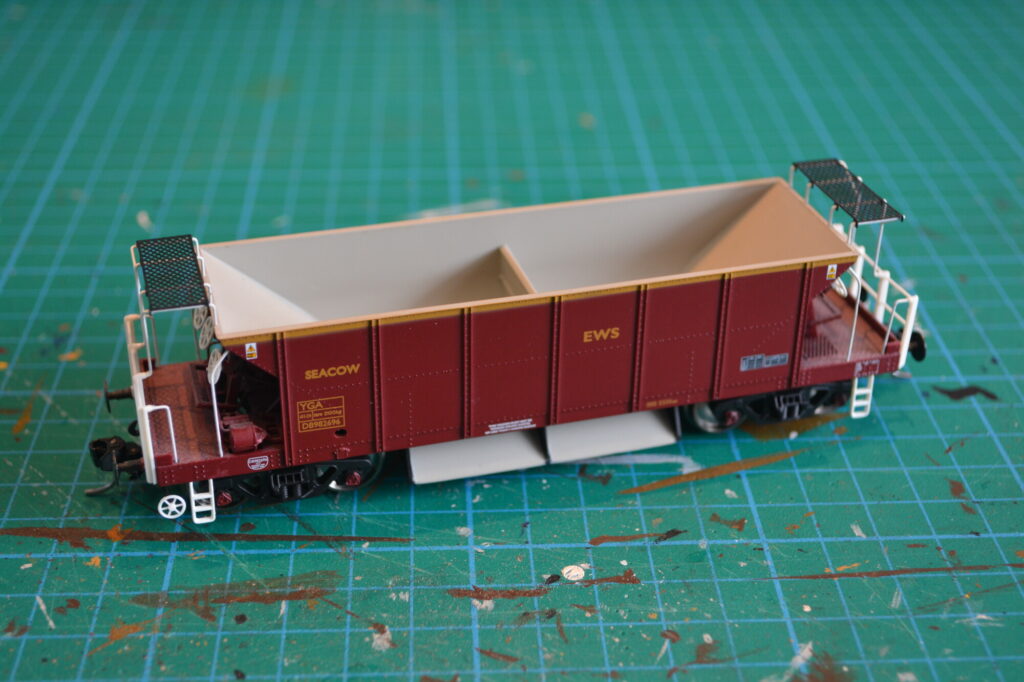
The wagons I’ll be working on are a set of six Bachmann ex-Sealion Seacows in EWS maroon that I’ve had for a few years now.
One of the mistakes I’ve made in the past is not looking at photos of the real thing when working on the model. So I’ve done some digging and found a selection of photos of Seacows in service.
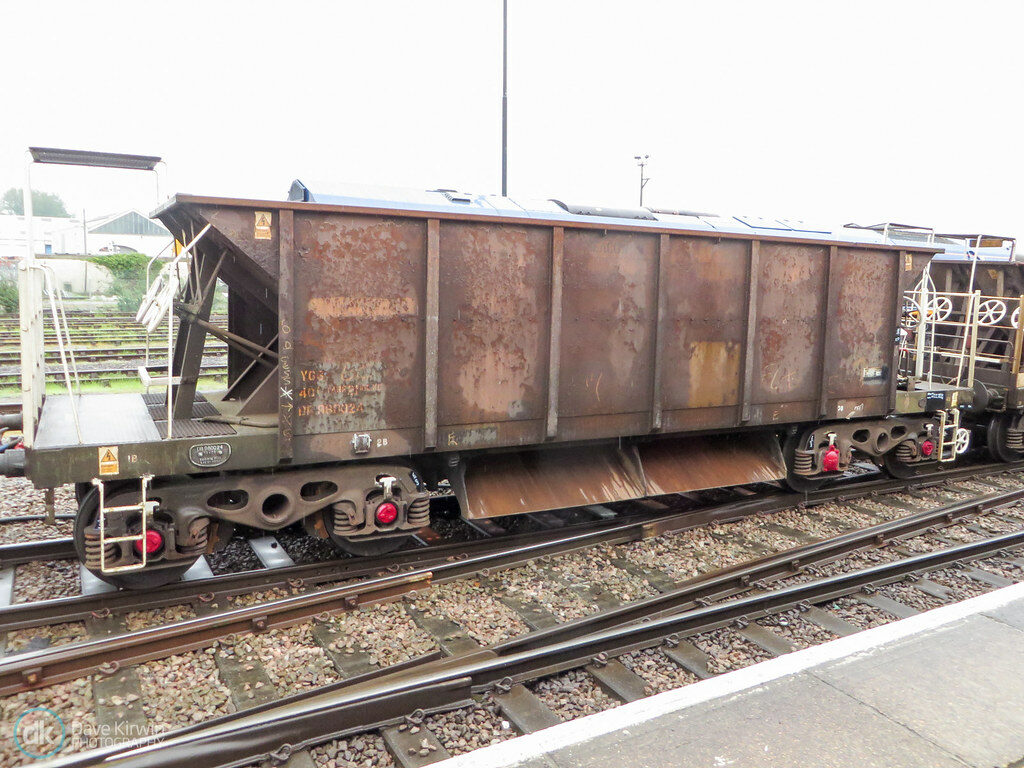
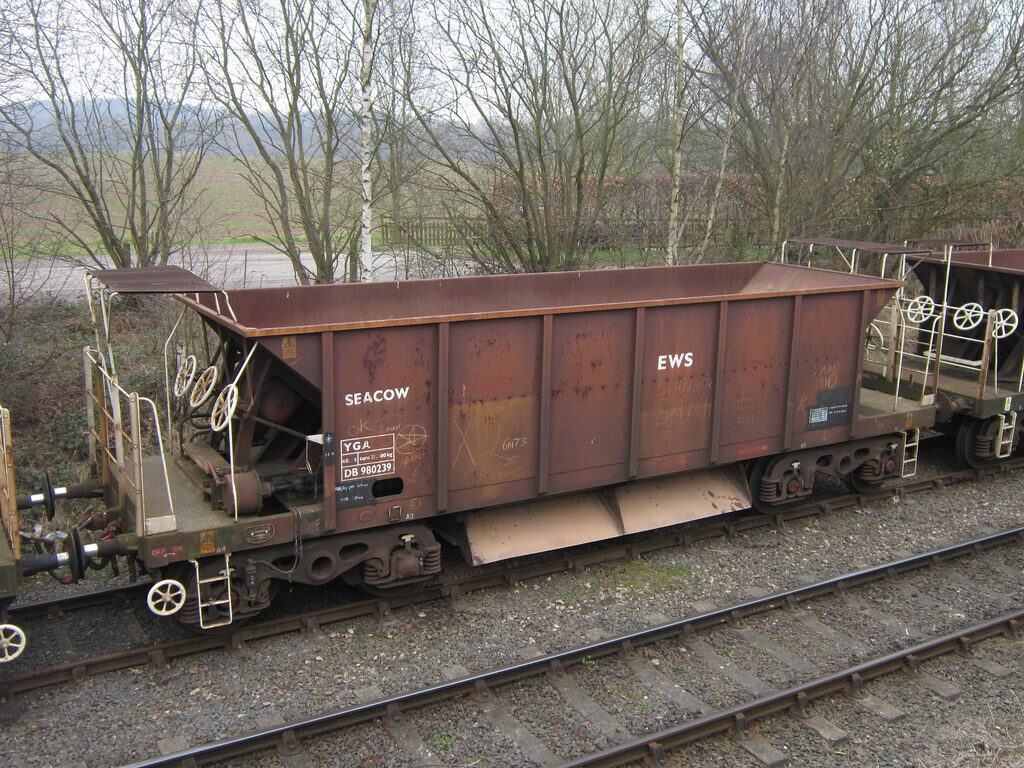
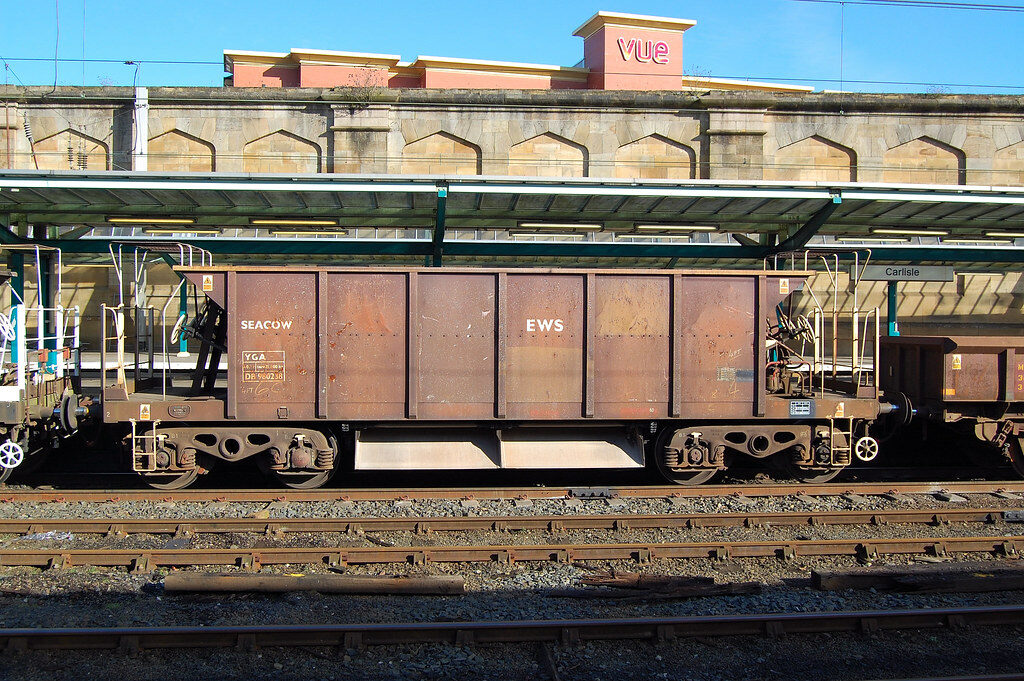
These photos show a common base colour, but with a wide variation of interesting effects on top. There’s the usual mix of rust spots and patches on the body and a layer of brake dust wash on the bogies and underframe, and also patches on the body where it looks like paint has been applied, along with various hand-drawn markings. I’ll be trying to replicate some of these effects on my models.
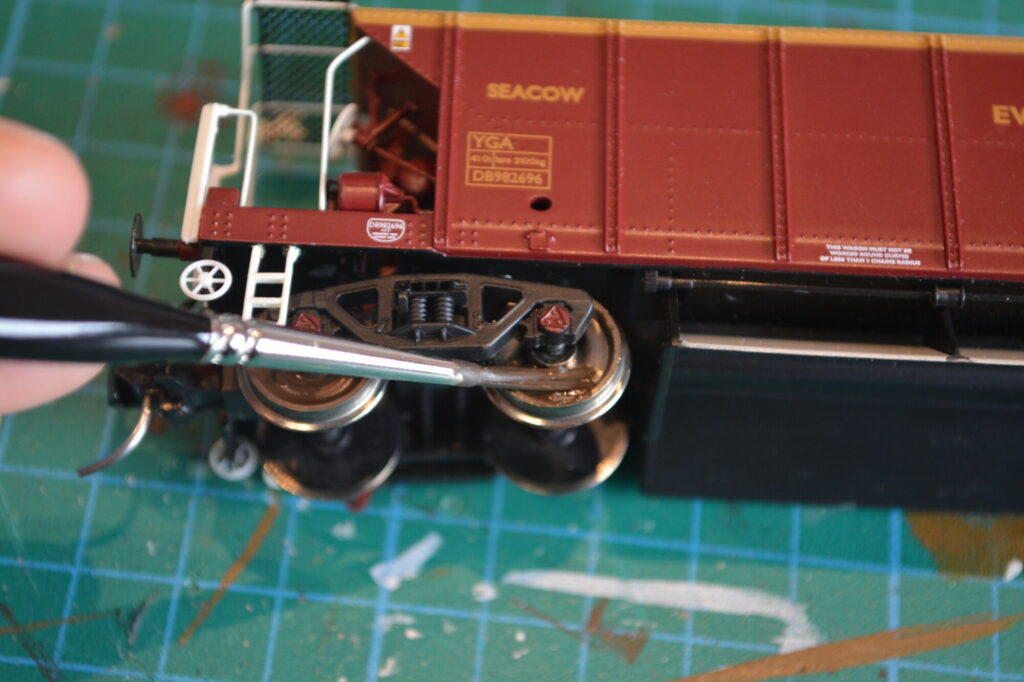
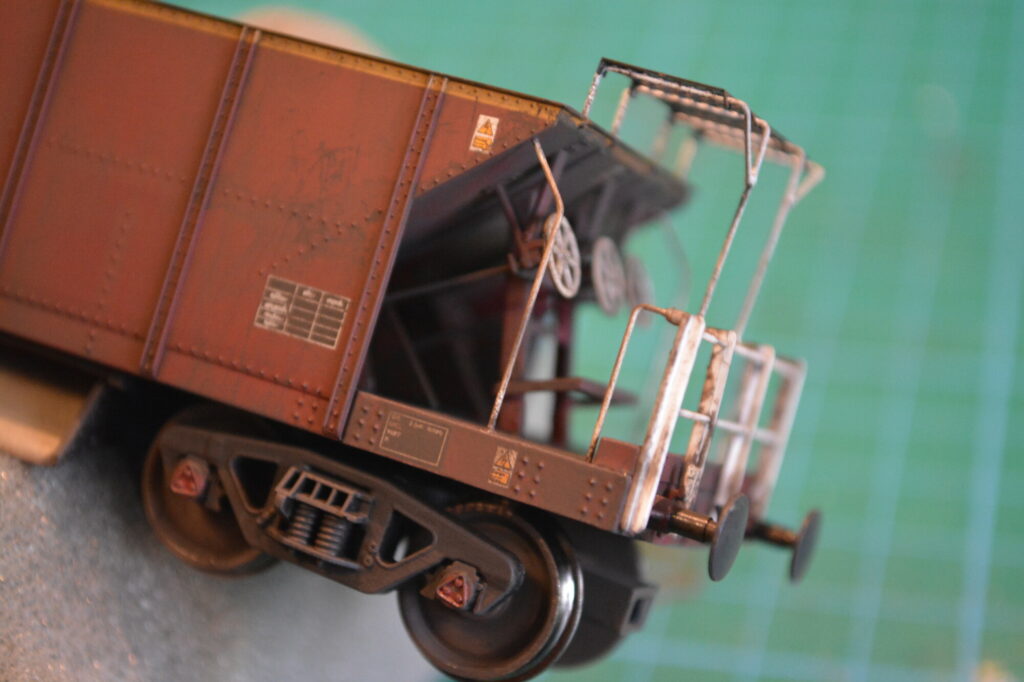
Painting the wheels and inside
Before any weathering can be done, I need to paint some parts of the model. The wheels are bright silver-grey, so they need to be done, and judging by the photographs of the prototype, the inside of the wagon is not correct either. For both of these tasks I’ll be using a mix of brown and black Revell acrylic paint – specifically a 5:1 mix of Leather Brown to Black from their excellent Aqua-Color range.
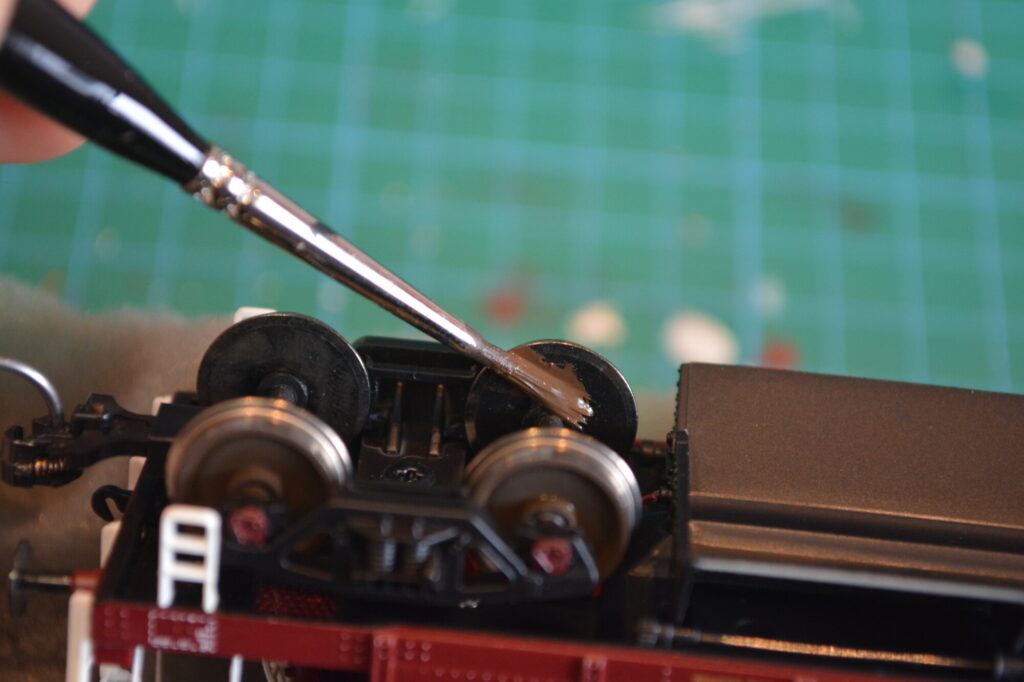
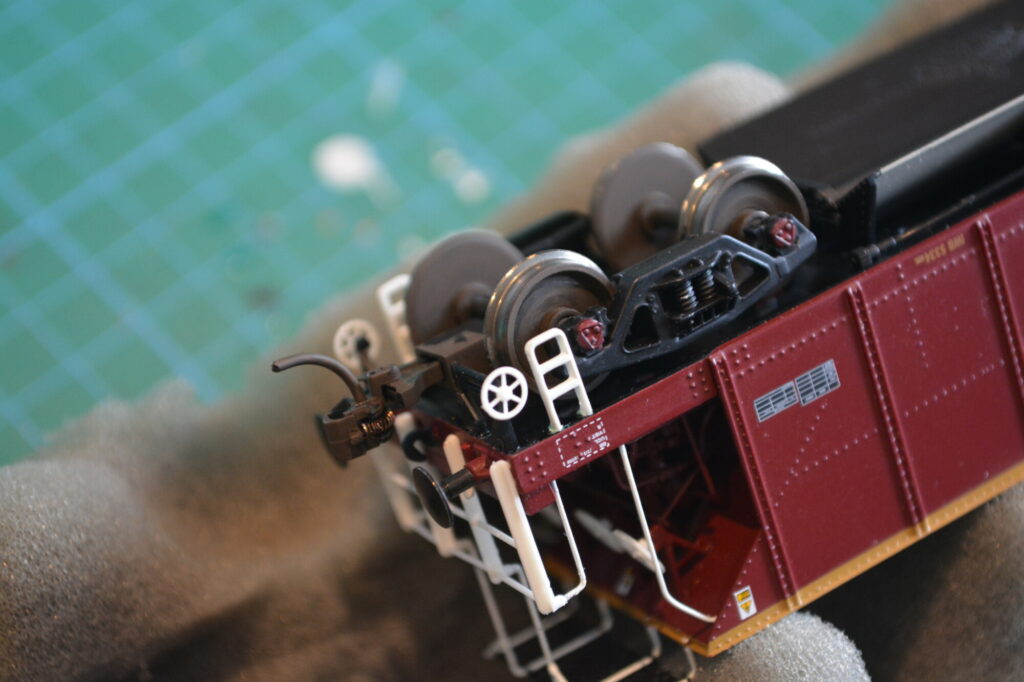
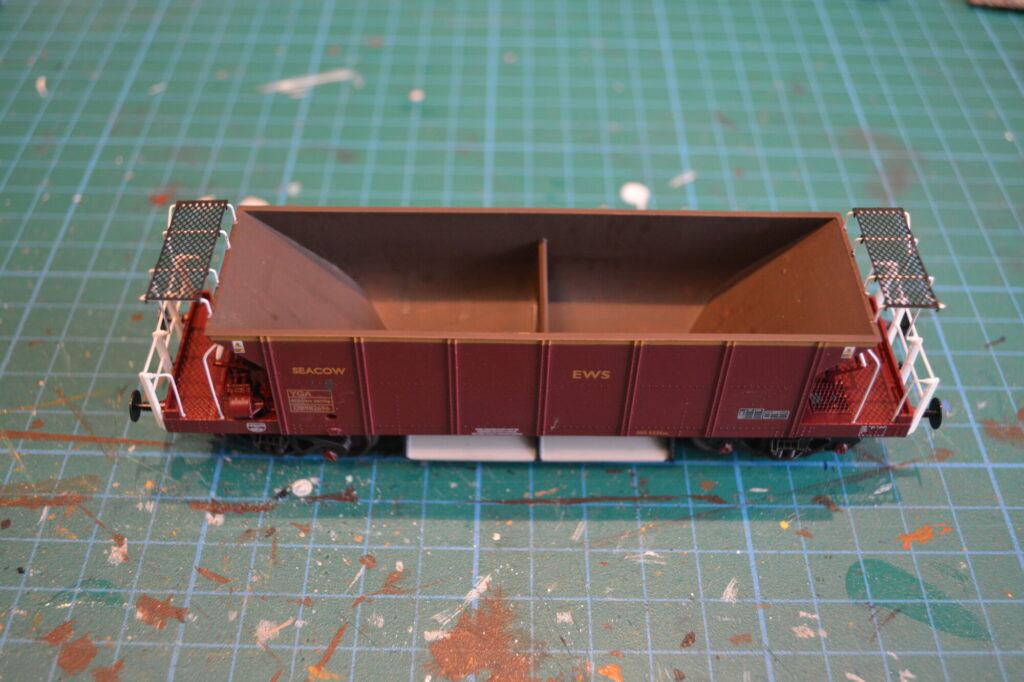
The wheels and wagon inside each took two coats to get a good finish. Even after this, there’s still some slight variations in colour, but I want that variation – it will add to the overall effect. I’m really pleased with the improvement painting the wheels and inside has made. The wagon now looks much more like a “working wagon” and much less like a model.
I’d say that even if you’re not planning on weathering your rolling stock, simply painting the wheels makes a massive difference to the overall appearance. In my opinion it’s the best “bang for the buck” upgrade you can give your vehicles.
Applying a base layer
Now onto the weathering! I’ll be starting by applying a wash of black powder and water along the tops and down the side panel ribs, as well as around the ends. I’ll then take an old bristly brush and use it to work the wash down the body, using only downward strokes. After that I’ll take one of the make-up brushes supplied with the DCC Concepts powders and work the powder around into all the little corners as it dries. This wash technique is actually borrowed from the Everard Junction video linked above.
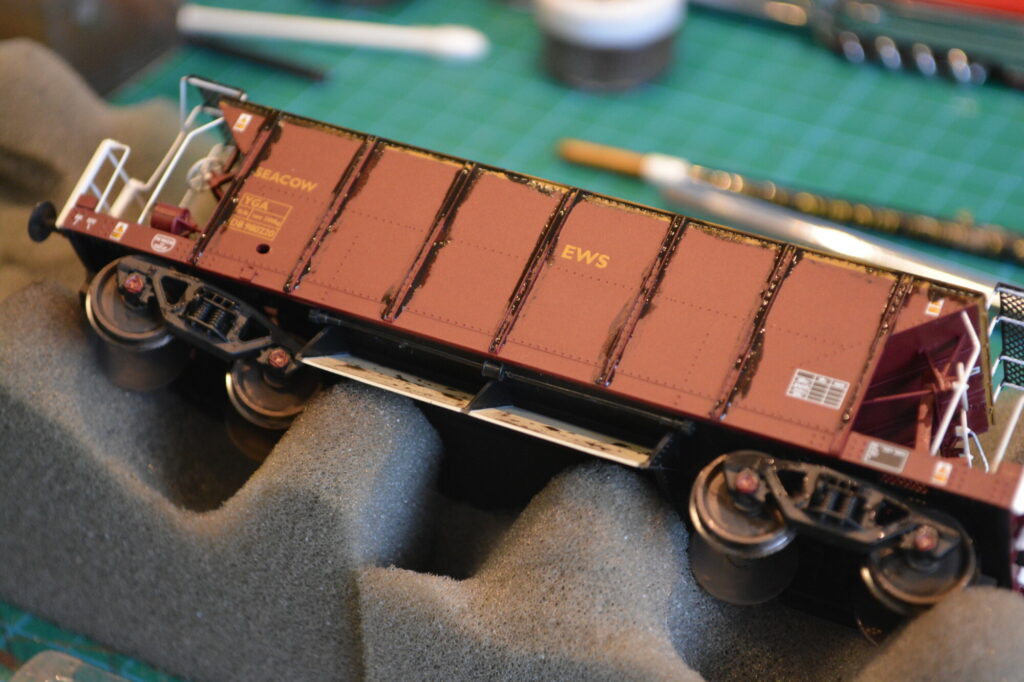
After a bit of experimentation, I found that a ratio of about 10 parts water to 1 part powder worked well.
Colour variation
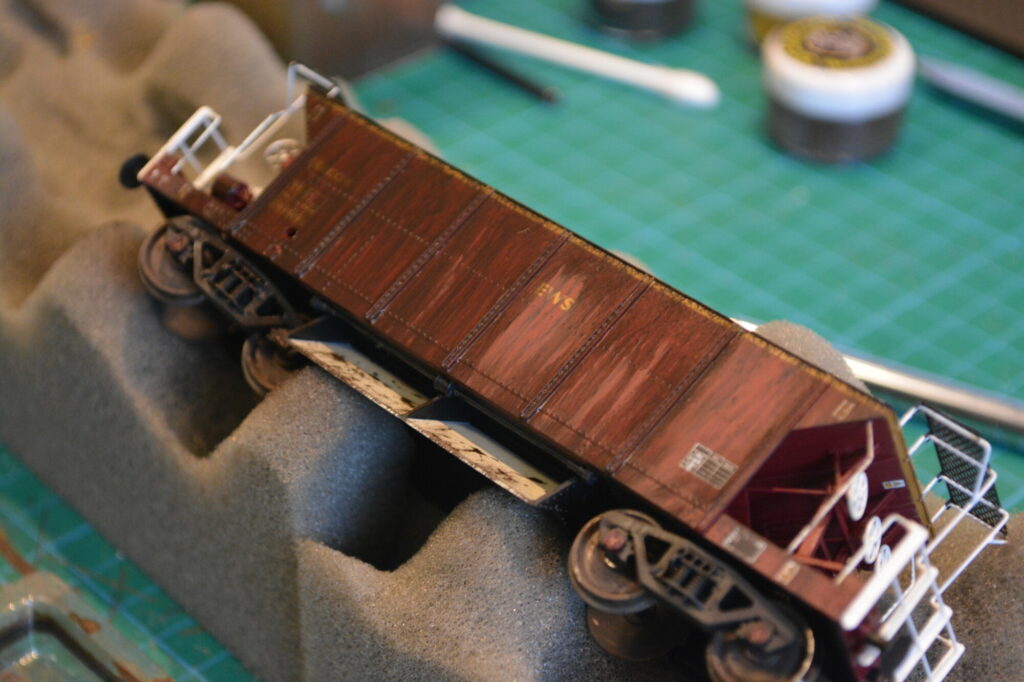
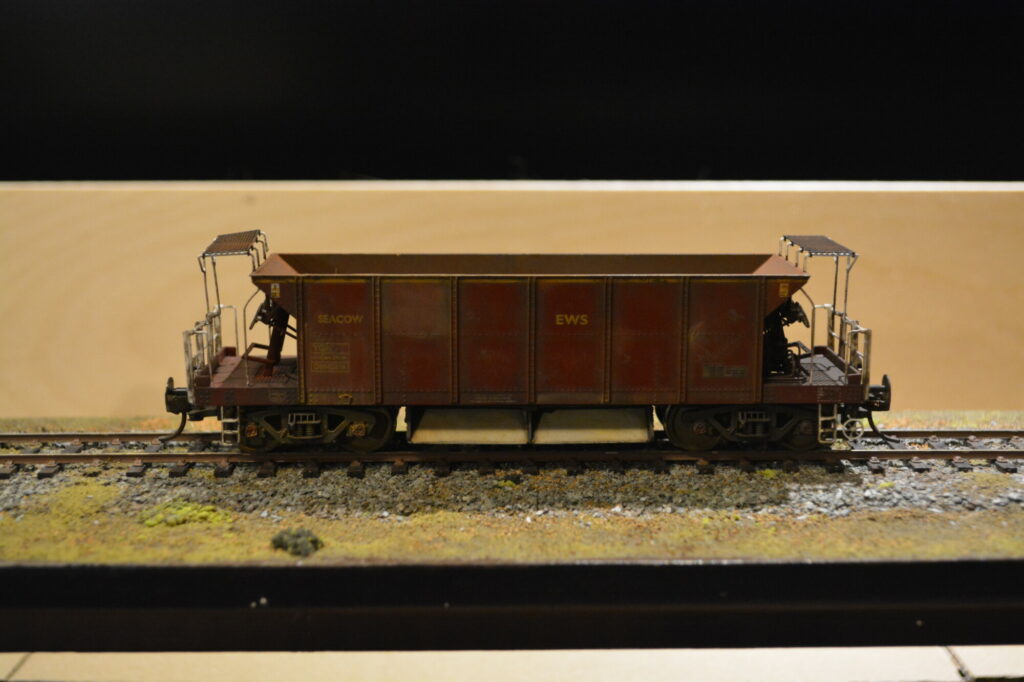
In the photos of the prototype you can see a great deal of variation in colour. Some panels seems to be redder and darker than others, some are almost yellow, and some areas seem to have been painted or treated in some way. There are markings and rust patches everywhere.
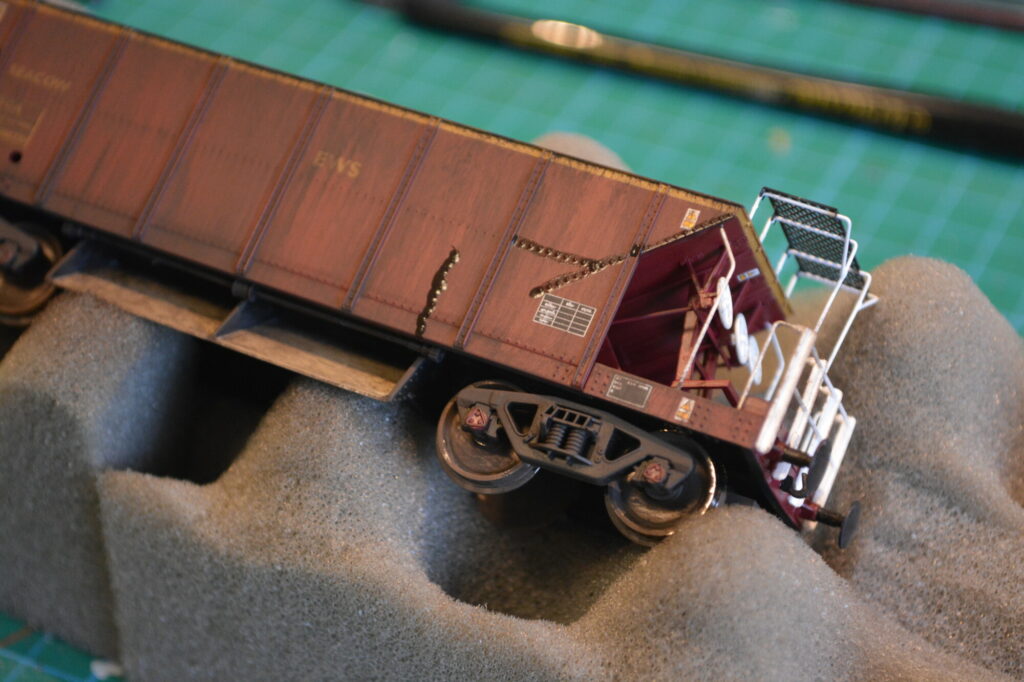
As I’ve worked through the set of six wagons, I’ve really tried to weather each one slightly differently. In reality, no two wagons look exactly the same so it makes sense to do this.
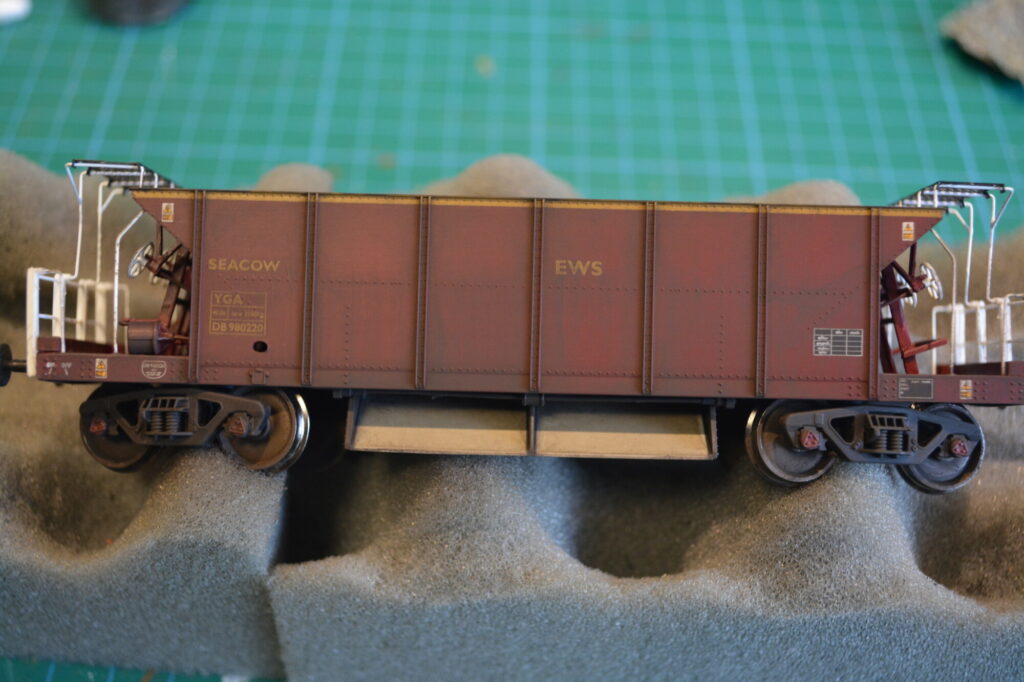
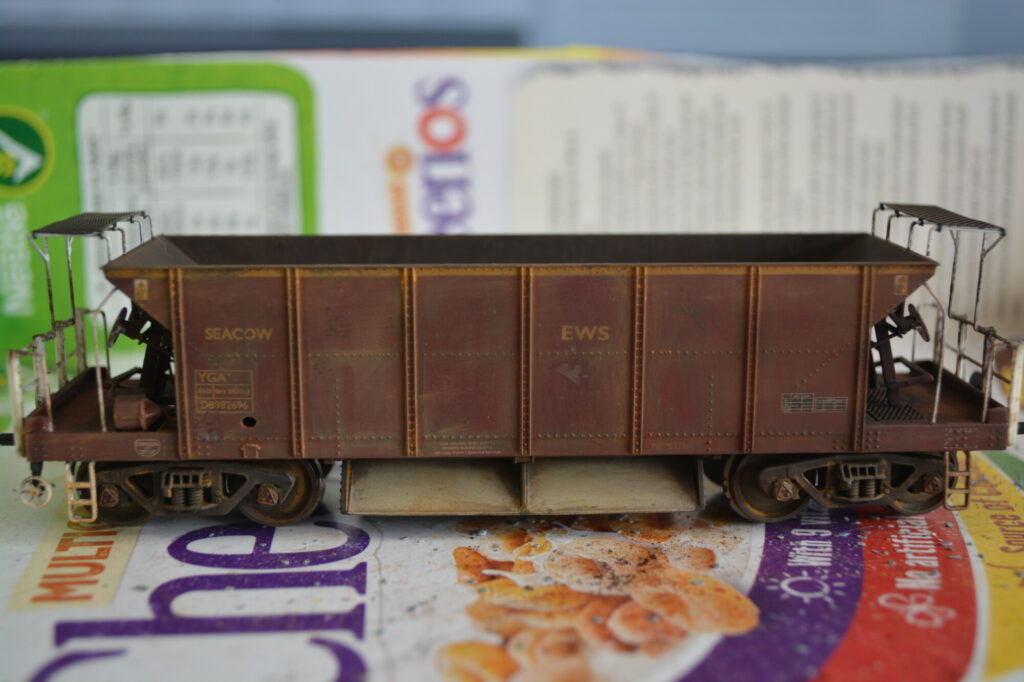
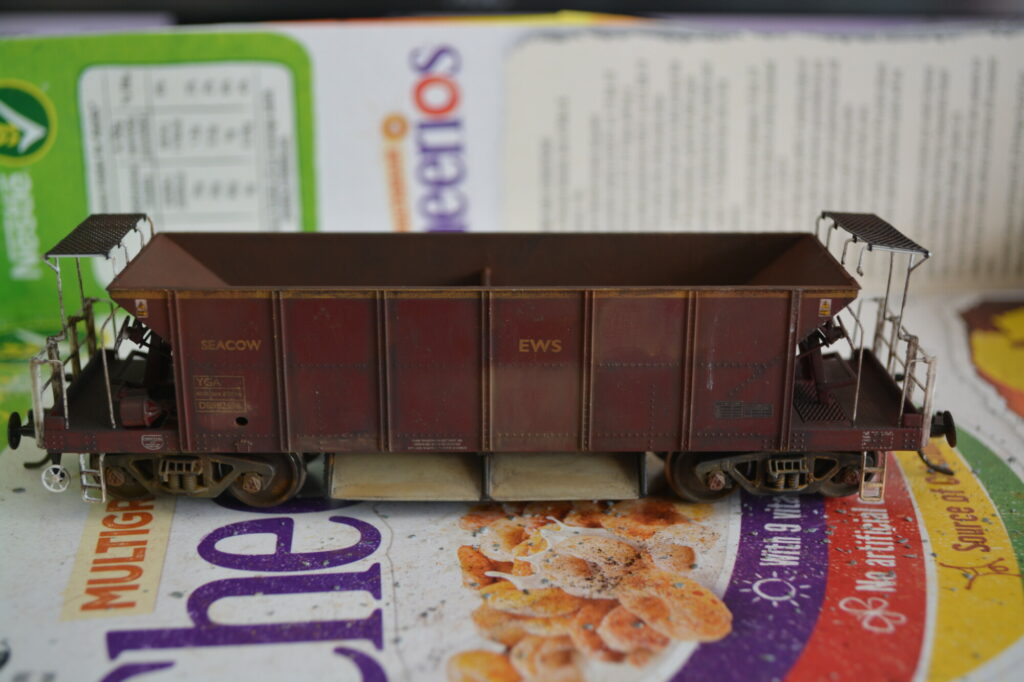
The nearly-finished set
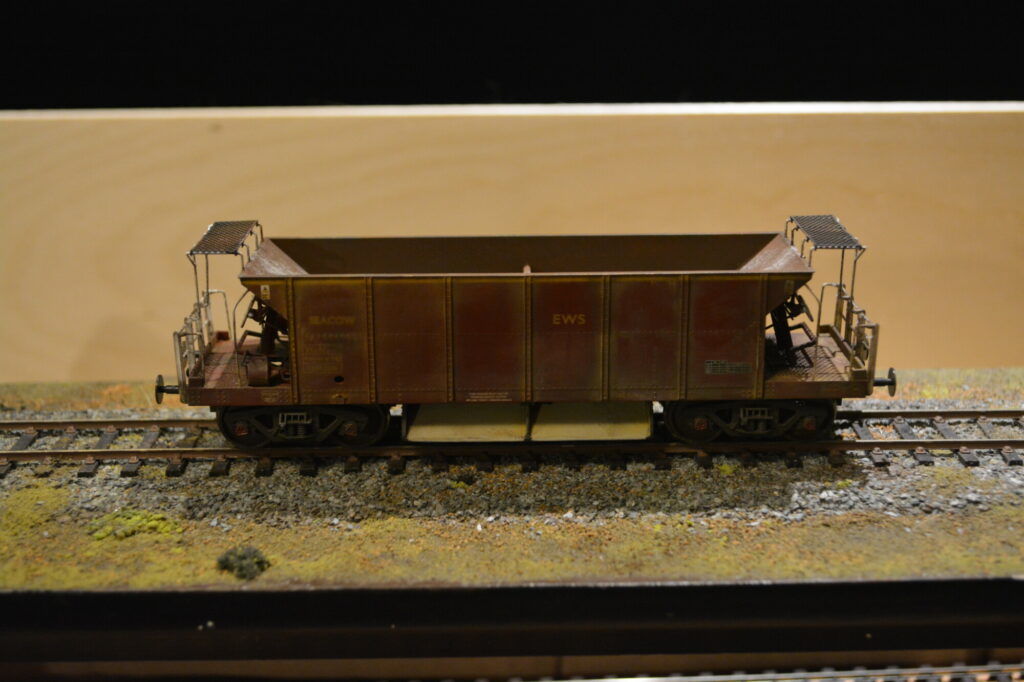
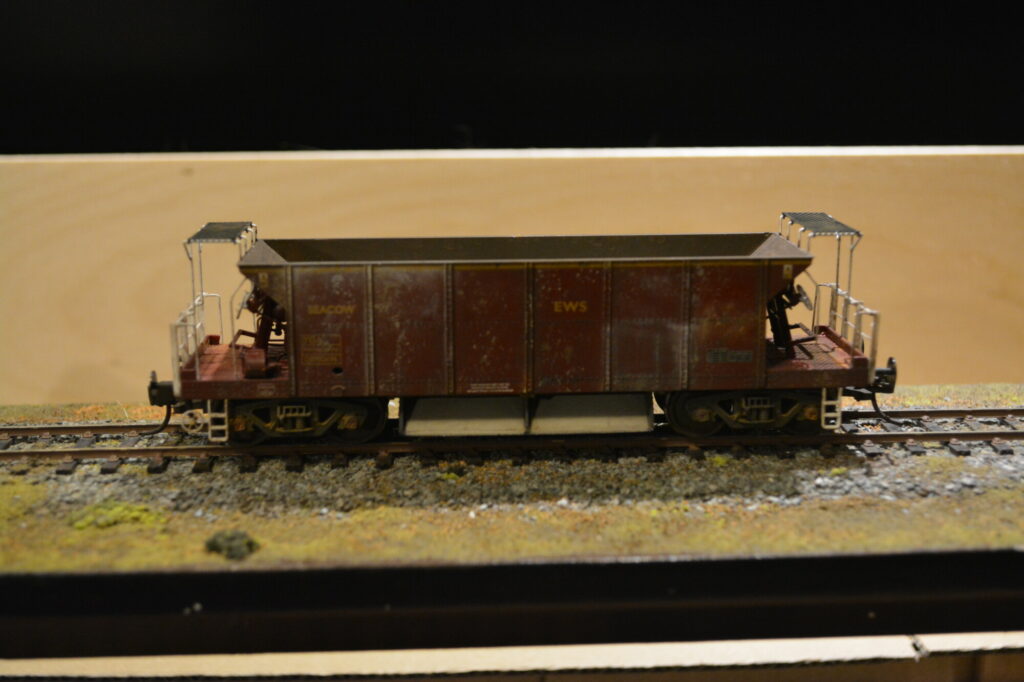
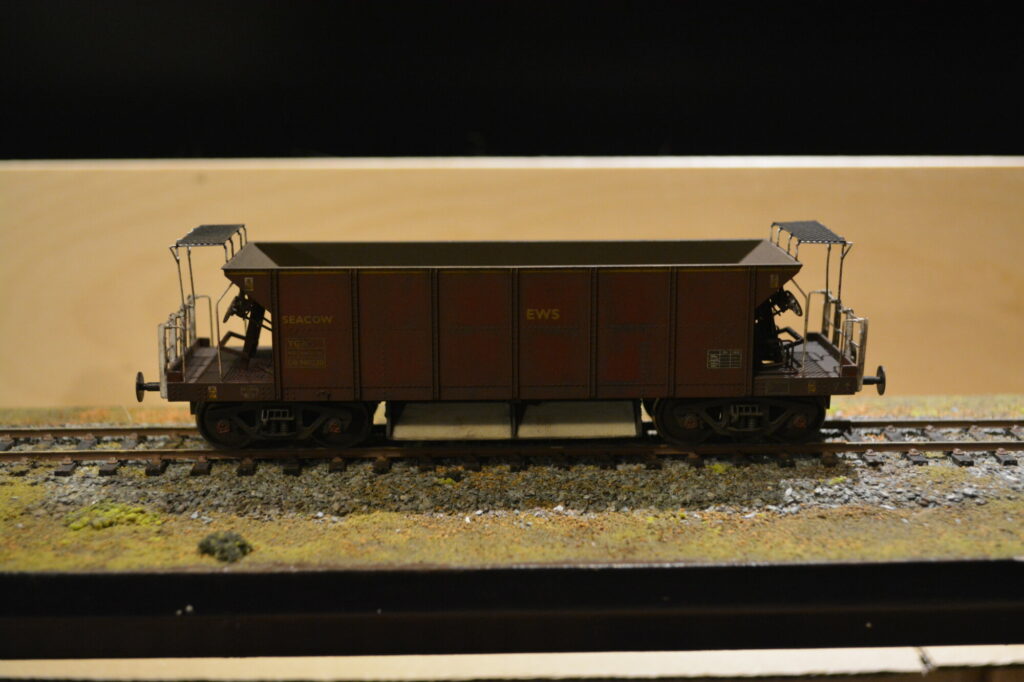
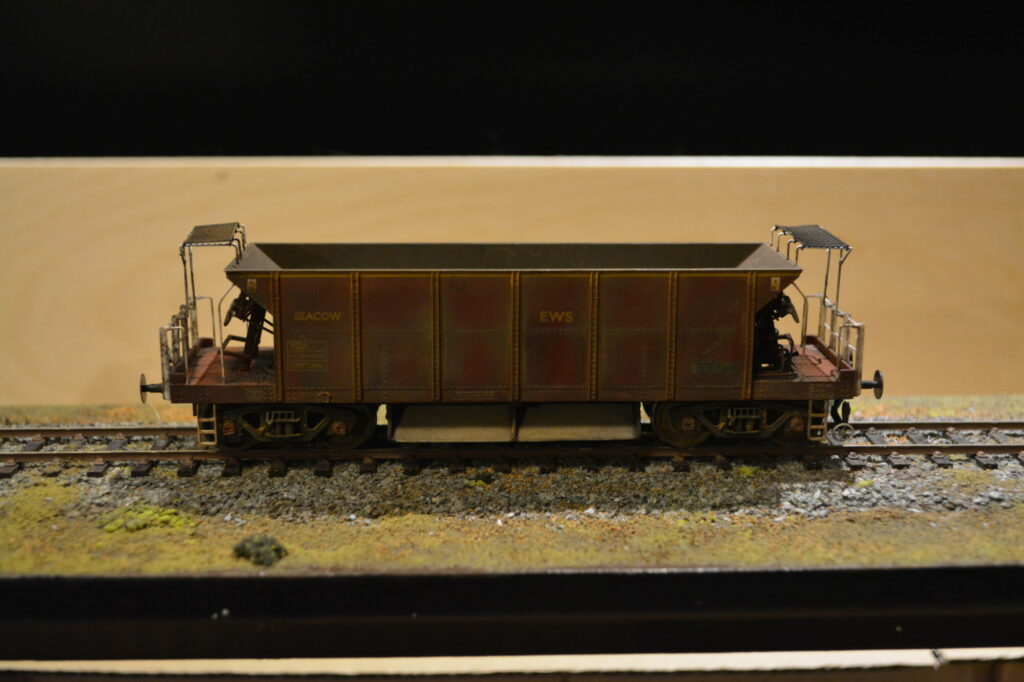
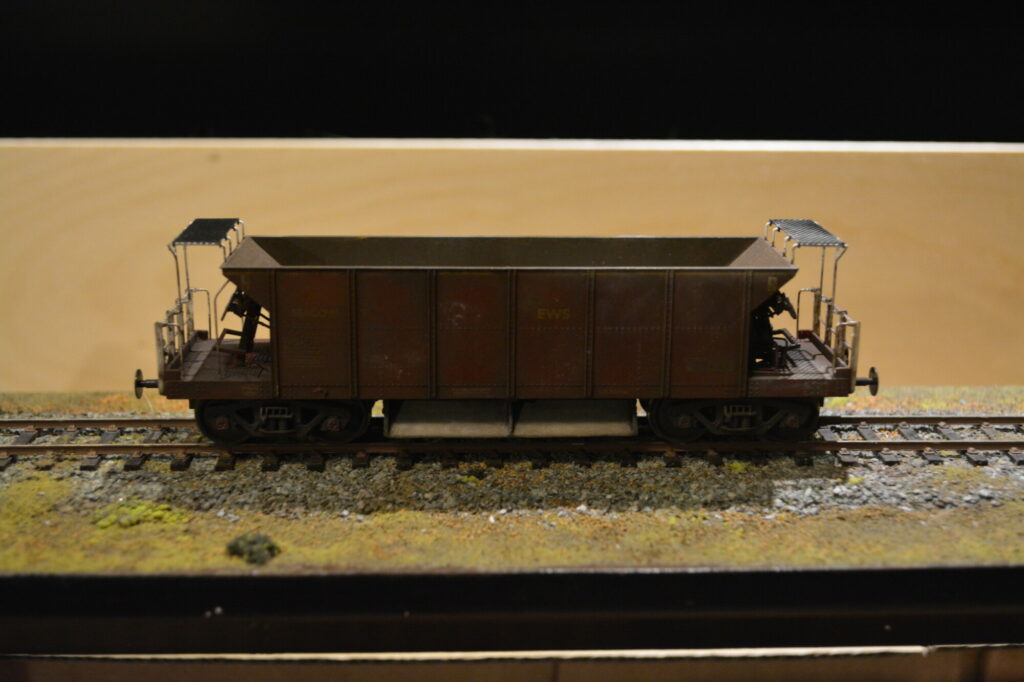
These wagons are not finished yet – they still need spraying with matt varnish to keep the powders in place and granite ballast loads fitting, but they’ve turned out rather well. I can wholeheartedly recommend the DCC Concepts weathering powders, they’re so fine that they really do stick to the model once applied.
Once the wagons are completely finished, I think I might turn my attention to weathering a loco to pull them, most likely my ViTrains 37. This will require quite a bit of research, as locomotives have more effects that need to be captured when weathering. Watch this space!